How to Set Up an Indoor Herb Garden Kit?
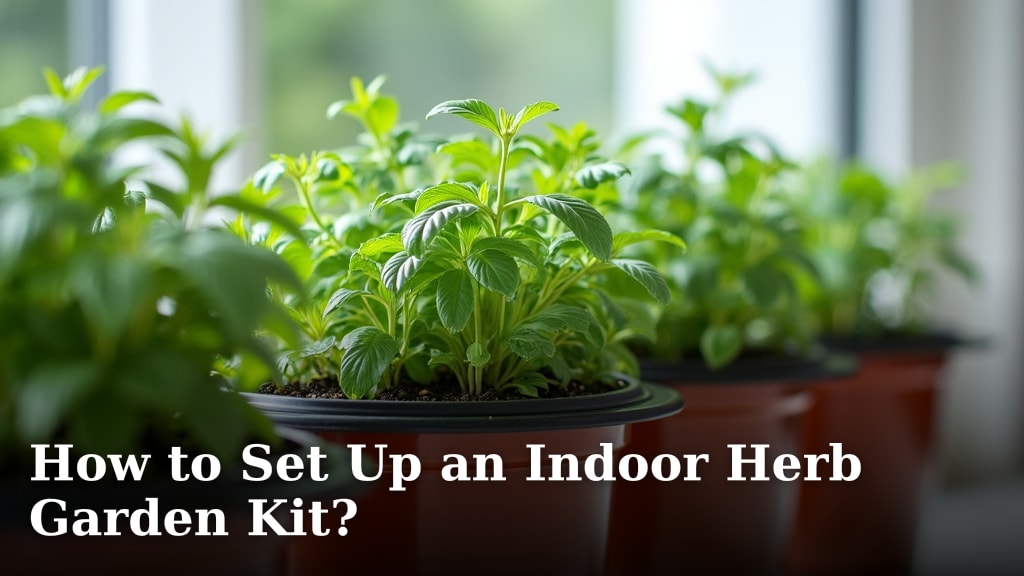
To set up an indoor herb garden kit, start by unboxing your kit and identifying all components, then prepare the growing medium and plant your seeds or seedlings according to the instructions. We found that most kits are designed for straightforward assembly, making it easy to begin growing fresh herbs indoors right away.
Indoor herb garden kits are a fantastic way to enjoy fresh herbs year-round, regardless of your outdoor space or climate. Many kits provide everything you need, from seeds to growing lights, which makes them perfect for beginners and seasoned gardeners alike. You’ll soon discover the joy of having tasty, homegrown herbs at your fingertips.
- Unbox your herb garden kit.
- Prepare the growing medium (usually included).
- Plant your seeds or seedlings carefully.
- Provide proper lighting and water as directed.
- Enjoy fresh herbs from your own home.
Ready to transform your kitchen into a fragrant oasis? Let’s walk through exactly how to set up an indoor herb garden kit, step by simple step.
Getting Started with Your Indoor Herb Garden Kit
Setting up your new indoor herb garden kit is an exciting step! You’re about to bring fresh flavors right into your kitchen. We’ll walk you through each part of the process. This way, you can start growing with confidence.
Unboxing and Inventory: What’s Inside?
First things first, let’s open that box. Carefully remove all the items. Lay them out on a clean surface. It helps to have everything visible. Most kits come with a list of contents. Check each item off as you go.
Common Kit Components
What should you expect to find? While kits vary, you’ll generally see similar items. We’ve found these are the most common components:
- Planters or growing trays: These hold your plants.
- Growing medium: This could be soil pods, coco coir, or rockwool.
- Seed packets or pre-seeded pods: Your chosen herbs, ready to grow.
- Nutrient solution or plant food: To feed your growing herbs.
- Lighting system: Often LED grow lights, especially for hydroponic kits.
- Water reservoir: For self-watering or hydroponic systems.
- Instruction manual: Your guide to that specific kit.
Does anything seem to be missing? Double-check the packaging. If something is truly absent, contact the kit manufacturer. They are usually very helpful.
Preparing Your Growing Medium
The growing medium is where your herb roots will live. It’s a key part of healthy growth. How you prepare it depends on what type came with your kit.
For Soil Pods or Coco Coir
Many kits include compressed soil pods or coco coir discs. These need water to expand. Place them into their designated planting spots. Then, add water slowly. Watch them swell up! They will become loose and ready for seeds. This process is usually quick and fun to watch.
For Rockwool or Other Hydroponic Media
If your kit is hydroponic, you might have rockwool cubes. These are often pre-moistened. They don’t usually need extra water to expand. Just make sure they fit snugly into the system’s baskets. Hydroponic systems use water and nutrients, not soil.
Planting Your Seeds or Seedlings
Now comes the exciting part: planting! This is where you bring your garden to life. Always follow your kit’s specific instructions. They know best for their product.
Sowing Seeds
If you have seed packets, you’ll be doing the sowing. We found that most instructions suggest planting 2-3 seeds per spot. This increases the chance of germination. Gently push the seeds a small distance into the growing medium. A good rule of thumb is twice the seed’s diameter deep. Lightly cover them. Don’t bury them too deeply.
Which herbs are good for beginners? Basil, mint, and cilantro are popular choices. They often germinate well indoors. We found these to be very rewarding for new growers.
Using Pre-Seeded Pods
Many modern kits come with pre-seeded pods. These are super convenient! You just place them directly into the system. No need to handle tiny seeds. This is a great option for busy people or those new to gardening. They often include a nutrient block for initial growth.
Setting Up Lighting and Water
Your herbs will need light and water to thrive. These are their lifeblood! Most kits make this part simple. Remember, consistency is key here.
Grow Light Assembly and Placement
If your kit includes a grow light, assemble it according to the manual. Position it correctly. Most experts agree that LED grow lights are highly efficient for indoor herbs. The lights should be close enough to your plants. This prevents them from stretching too much. We found that 4-6 inches above the growing medium is a good starting point for most kits. However, some kits have adjustable lights. (Purdue Extension)
What about light cycles? Generally, herbs need 12-16 hours of light per day. Most kit lights have a built-in timer. Set it and forget it! Your herbs will thank you.
Filling the Water Reservoir
For hydroponic kits or self-watering systems, you’ll fill a reservoir. Use clean, fresh water. Tap water is usually fine, but some people let it sit for 24 hours. This allows chlorine to evaporate. Add the provided nutrient solution to the water. Always follow the mixing ratios in your kit’s guide. Too much or too little can harm your plants.
Adding Nutrients
Nutrients are like food for your plants. They help them grow strong and healthy. Most kits include a liquid nutrient solution. You’ll add this to your water. Understanding how to mix hydroponic nutrients correctly is vital for plant health.
Understanding Nutrient Schedules
Your kit will have a feeding schedule. Typically, you add nutrients every 1-2 weeks. Some systems require a complete water change every few weeks. This prevents nutrient buildup. Read the instructions carefully. It’s often written on the nutrient bottle or in the manual. Don’t guess on amounts. This is a common mistake for new growers, we found.
Initial Care and Troubleshooting Tips
You’ve done all the setup! Now, it’s time for some patience. Here are a few things to keep in mind during the first few days and weeks.
Watch for Germination: Your seeds should sprout within a week or two. Some might take longer. Don’t lose hope if you don’t see them right away. Basil and dill are usually quick, while rosemary can be slower.
Thinning Seedlings: Once your seedlings have two true leaves, you might need to thin them. If you planted multiple seeds and they all sprouted, select the strongest one. Gently snip the others at the soil line. This gives the strongest seedling room to grow. Don’t pull them out; this can disturb the roots of the one you want to keep.
Monitor Water Levels: Keep an eye on your water reservoir. Refill it as needed. Don’t let it run dry. Plants get very thirsty! We found that daily checks are best for new setups.
Observe for Pests or Disease: Indoor gardens are less prone to pests. But it’s always good to check. Look for tiny bugs or unusual spots on leaves. Early detection is helpful. A gentle wipe with a damp cloth can often solve minor issues (University of Maryland Extension).
Here’s a quick checklist to make sure you’re ready:
All kit components accounted for?
Growing medium properly hydrated and placed?
Seeds or pods planted correctly?
Grow light positioned and timer set?
Water reservoir filled with water and nutrients?
Instruction manual kept handy for reference?
Comparing Different Kit Types
It’s helpful to understand that not all kits are the same. Each type has its own pros and cons. We found that understanding these differences helps set expectations.
| Kit Type | Pros | Cons | Best For |
|---|---|---|---|
| Soil-Based Kits | Familiar, easy for beginners, budget-friendly. | Can be messy, slower growth, risk of soil pests. | Traditional gardeners, those on a budget. |
| Hydroponic Kits | Faster growth, less mess, water-efficient, often includes lights. | Higher initial cost, more complex nutrient management. | Tech-savvy growers, quick harvests, modern kitchens. |
| Self-Watering Planters | Reduces watering frequency, simple design. | Less control over nutrients, still uses soil. | Busy individuals, those who forget to water. |
As you can see, your specific kit might fall into one of these categories. Each offers a unique growing experience. But the core steps we discussed apply across the board. You’re now well on your way to enjoying fresh, homegrown herbs!
Conclusion
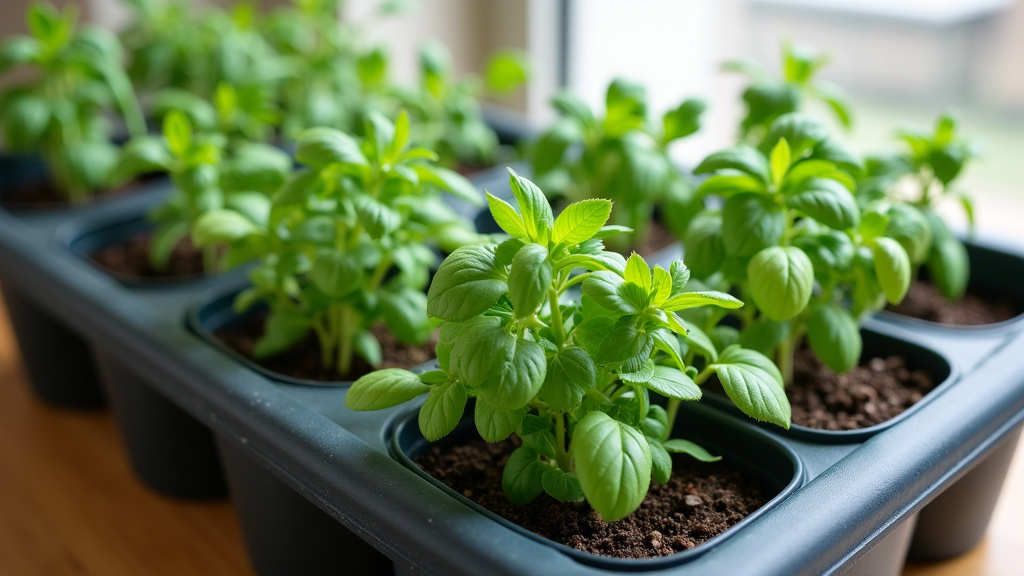
You’ve now walked through every step of setting up your indoor herb garden kit. We found that by carefully unboxing, preparing your medium, planting, and managing light and water, you’re setting yourself up for success. Growing fresh herbs indoors is a rewarding journey, transforming your home with delightful aromas and flavors.
Remember, consistency in care is your best friend for a thriving garden. Don’t be afraid to adjust based on your kit’s specific needs. Now, go ahead and start enjoying the incredible taste of homegrown herbs in your next meal!
Frequently Asked Questions
What’s the best spot in my home for an indoor herb garden kit?
We found that a location with stable temperatures, away from drafts, is ideal. If your kit doesn’t have a grow light, place it near a south-facing window for maximum natural light. Consistency in environment helps your herbs thrive.
How often should I water my indoor herbs?
Watering frequency depends on your kit type and herb variety. For soil-based kits, check the soil moisture daily; water when the top inch feels dry. Hydroponic systems usually require checking the reservoir weekly and refilling as needed, following your kit’s instructions.
My seeds aren’t sprouting. What could be wrong?
Several factors can affect germination. We often find issues arise from planting too deep, inconsistent moisture, or insufficient warmth. Review your kit’s instructions for recommended planting depth and ensure the growing medium stays consistently damp, not soggy.
Can I use regular tap water for my indoor herb garden?
For most indoor herb kits, regular tap water is perfectly fine. However, if your tap water has high chlorine levels, some gardeners let it sit out for 24 hours to allow the chlorine to dissipate. Always follow your kit’s specific water recommendations, especially for hydroponic systems.
How long does it take to harvest herbs from a kit?
The time to harvest varies by herb. We found that fast-growing herbs like basil and mint can often be ready for a light harvest in 3-4 weeks. Slower growers, like rosemary, might take 8-12 weeks before you can start snipping. Check your kit’s guide for specific timelines for each herb.