
How to Grow Spider Plants Indoors?
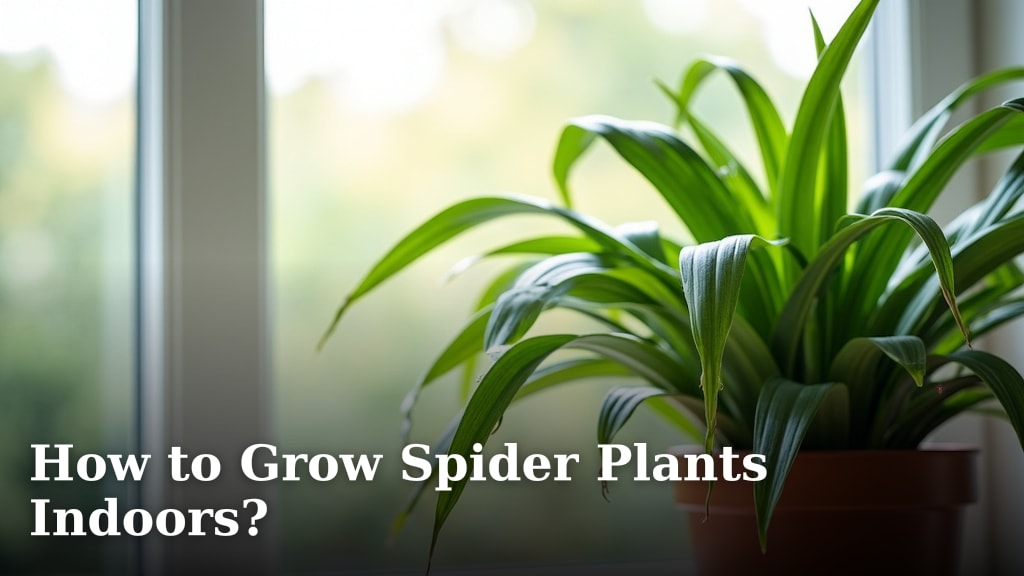
Growing spider plants indoors is surprisingly easy and rewarding. You can successfully grow these charming, air-purifying plants with just a few key steps. They are known for their adaptability and forgiving nature, making them a top choice for beginners.
These houseplants are beloved for their unique arching leaves and the adorable “spiderettes” they produce. Many plant enthusiasts find them to be a great addition to any room. Proper care ensures your spider plant will thrive for years and can even be propagated to share with friends.
- Choose the right pot and soil.
- Provide adequate light, but avoid direct sun.
- Water them properly – don’t overdo it!
- Watch out for common issues like brown tips.
Let’s walk through exactly how to get your spider plant looking its best, step by step. You’ll be a spider plant pro in no time!
Caring for Your Spider Plant Indoors
Growing spider plants indoors is a fantastic way to add a touch of green to your home. These plants are known for their beauty and air-purifying qualities. Many experts agree they are some of the easiest houseplants to care for. You can create a healthy environment for your spider plant with just a few simple steps. Let’s get started on making your spider plant thrive!
Choosing the Perfect Home for Your Spider Plant
Finding the Right Pot and Soil
The pot and soil are the foundation for your spider plant’s health. A pot with drainage holes is **absolutely essential**. Without them, water can sit and lead to root rot, which is a common problem. You want to avoid soggy soil at all costs. This is like giving your plant a constant foot bath it doesn’t want!
For soil, a good quality, well-draining potting mix is ideal. You can find these at most garden centers. A mix that contains perlite or vermiculite will help with aeration and drainage. This ensures the roots get air and don’t get waterlogged. Many sources, like the University of Illinois Extension, recommend a standard potting mix for most houseplants.
Repotting Your Spider Plant
Spider plants grow relatively quickly. They might need repotting every year or two. You’ll know it’s time when you see roots poking out of the drainage holes or circling the top of the soil. It’s also a good sign if the plant seems to be drying out much faster than usual.
When repotting, choose a pot that is only about one to two inches larger in diameter than the current one. A pot that’s too big can hold too much moisture. Gently remove the plant from its old pot. Loosen any tightly bound roots. Place it in the new pot with fresh potting mix. Water it thoroughly after repotting. This helps the soil settle around the roots.
Light Requirements: Finding the Sweet Spot
Bright, Indirect Light is Best
Spider plants love light, but they are sensitive to direct sun. Think of them like sunbathers who prefer a nice shady spot under an umbrella. Too much direct sunlight can scorch their leaves, leaving brown tips and dry patches. This is a common sign of stress for spider plants.
The ideal location for your spider plant is near a window that gets bright, indirect light. East-facing windows are often perfect for this. North-facing windows can also work, as they provide consistent, gentle light. A few hours of morning sun through an east window might be tolerated, but observe your plant closely. If you notice leaf damage, move it further from the window. If you notice leaf damage, move it further from the window and consider other low-light plants.
Signs Your Plant Needs More or Less Light
If your spider plant isn’t getting enough light, its growth will slow down. The leaves might appear dull, and it will produce fewer “pups” or spiderettes. If you see this, try moving it to a brighter spot. Remember to do this gradually to avoid shocking the plant.
On the other hand, if the leaves are turning yellow or developing crispy brown tips, it might be getting too much direct sun. You may also see brown spots appear on the leaves. In this case, move your spider plant to a location with even less intense light. You’re aiming for a happy medium where the plant looks vibrant and healthy.
Watering Wisely: The Key to Happy Roots
How Often Should You Water?
Overwatering is the most common mistake people make with spider plants. They prefer to dry out slightly between waterings. A good rule of thumb is to check the top inch of soil. If it feels dry to the touch, it’s time to water. This often means watering about once a week, but it can vary.
Factors like humidity, temperature, and the size of your plant will affect how often you need to water. In warmer, drier conditions, you’ll need to water more frequently. In cooler, more humid environments, you might only need to water every ten days or so. It’s always better to err on the side of underwatering than overwatering.
The Best Way to Water Your Plant
When you do water, water thoroughly until you see water drain from the bottom of the pot. This ensures that all the roots get moisture. Discard any excess water that collects in the saucer. Letting the plant sit in standing water is a recipe for root rot.
Some spider plants can be sensitive to the chemicals in tap water, such as fluoride and chlorine. This sensitivity can lead to brown leaf tips. If you notice this happening consistently, try using filtered water, distilled water, or rainwater. This can make a **big difference** in your plant’s appearance. Many gardening sites recommend this simple switch. If you notice brown tips, try switching to filtered water and consider how to increase humidity for your spider plant.
Humidity and Temperature: Creating a Comfortable Environment
Ideal Conditions for Spider Plants
Spider plants are quite adaptable when it comes to temperature. They are comfortable in average room temperatures, typically between 65-75°F (18-24°C). They can tolerate slightly cooler or warmer temperatures, but consistent conditions are best. Avoid placing them near drafty windows, heating vents, or air conditioners. Sudden temperature fluctuations can stress the plant.
Regarding humidity, spider plants appreciate a bit of moisture in the air. They originate from tropical regions, so a humid environment feels like home. However, they usually do quite well in average household humidity levels. If your home is particularly dry, especially during winter months when heating systems are running, you might consider increasing the humidity around your plant.
Boosting Humidity (If Needed)
There are a few easy ways to boost humidity for your spider plant. One common method is to place the pot on a pebble tray. Fill a shallow tray with pebbles and water. Make sure the bottom of the pot isn’t sitting directly in the water. As the water evaporates, it will increase the humidity around the plant. This is a simple trick that works wonders.
Another option is to mist your spider plant occasionally. While this provides a temporary boost, it’s not a long-term solution. Some sources suggest grouping plants together, as they can create a microclimate with higher humidity. You could also consider a small humidifier in the room where your plant lives. These methods help mimic their natural, humid habitat.
Feeding Your Spider Plant: A Little Goes a Long Way
When and How to Fertilize
Spider plants are not heavy feeders. Over-fertilizing can actually harm them, leading to salt buildup in the soil and brown leaf tips. During the growing season, which is typically spring and summer, you can fertilize about once a month. Use a balanced liquid houseplant fertilizer diluted to half strength. This is a safe approach that most experts recommend.
Avoid fertilizing in the fall and winter when the plant’s growth slows down. If you’re repotting with fresh potting mix, the new soil usually contains enough nutrients for several months. So, you might not need to fertilize right away. Always follow the instructions on your chosen fertilizer packaging, and when in doubt, use less.
Common Spider Plant Problems and Solutions
Dealing with Brown Leaf Tips
Brown leaf tips are the most frequent complaint among spider plant owners. We’ve touched on a few causes already. The most common culprits are chemical sensitivities in tap water, low humidity, and over-fertilizing. Sometimes, it’s just a natural process as older leaves age.
To address brown tips, try switching to filtered or distilled water. Ensure your plant is not over-fertilized. If you see brown tips, you can trim them off with clean scissors. Cut just past the brown part, following the natural shape of the leaf. This doesn’t harm the plant and improves its appearance. It’s a cosmetic fix, but a satisfying one!
Pests and Diseases to Watch For
Spider plants are generally quite resistant to pests and diseases. However, they can occasionally attract common houseplant pests like spider mites, mealybugs, or aphids. These pests feed on plant sap and can weaken the plant. You might notice tiny webs, white fuzzy spots, or small insects on the leaves or stems.
If you spot pests, act quickly. Isolate the affected plant to prevent the pests from spreading. You can often wipe them away with a damp cloth or a cotton swab dipped in rubbing alcohol. For more persistent infestations, insecticidal soap or neem oil can be effective. These are readily available at garden centers. Following proper care routines will help your plant stay healthy and less susceptible to pests.
Understanding Yellow Leaves
Yellowing leaves on a spider plant can signal a few different issues. It might be a sign of overwatering, where the roots are suffocating. It could also be a sign of underwatering, especially if the plant is also wilting. Sometimes, it’s simply a sign that an older leaf has reached the end of its life cycle and is being naturally shed.
Assess your watering schedule and soil moisture. If the soil is consistently wet, reduce your watering frequency. If it’s very dry, increase it. If only a few lower leaves are yellowing and the rest of the plant looks healthy, it’s likely normal aging. You can simply remove the yellowed leaves. For overall yellowing, consider light levels and nutrient balance.
Propagating Your Spider Plant: Sharing the Love
How to Make More Spider Plants
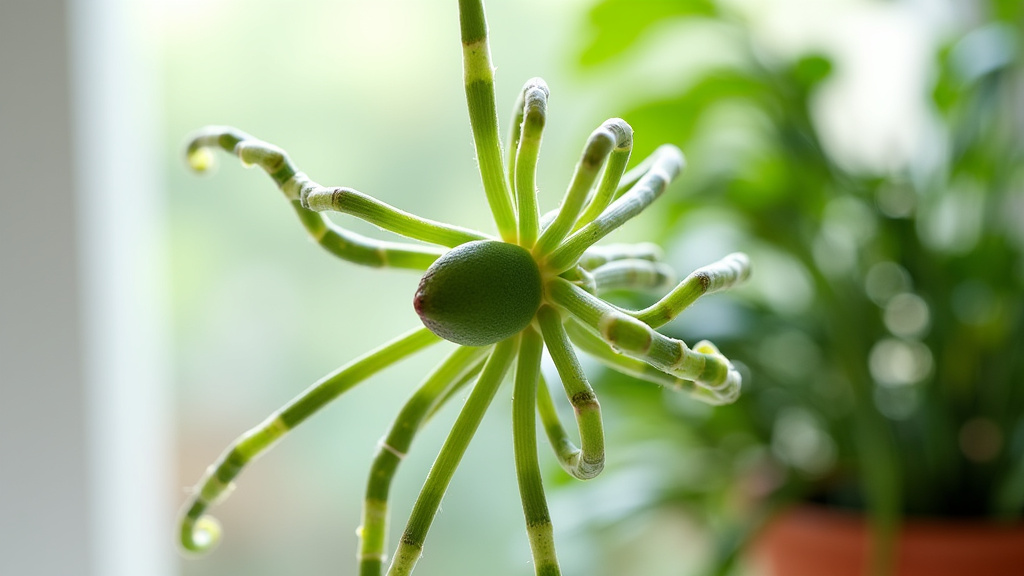
One of the most rewarding aspects of growing spider plants is their ability to produce “pups” or spiderettes. These are baby plants that grow on long stems. Once these pups have developed a few small leaves and tiny roots, they are ready to be propagated. This is a fun and easy way to share your plant with friends and family.
You can propagate spiderettes in two main ways. You can either plant them directly into soil, or you can root them in water first. Both methods are quite successful. Many gardeners find propagating to be one of the highlights of owning these plants. It’s like a plant party!
Water Propagation Method
To root a pup in water, gently snip the stem connecting it to the mother plant. Place the pup in a small glass or jar filled with water. Make sure the base of the pup is submerged, but not the leaves. Keep the water clean by changing it every few days. In a couple of weeks, you should see tiny roots emerge.
Once the roots are about an inch long, you can transplant the new plant into a small pot filled with well-draining potting mix. Water it well after planting. Keep the soil consistently moist for the first week or two to help it establish. You’ll have a brand new spider plant in no time!
Soil Propagation Method
Alternatively, you can plant the pup directly into soil. Once the pup has a few leaves and small roots, carefully snip it from the mother plant. Plant it in a small pot filled with moist potting mix. You can sometimes stick the base of the pup directly into the soil. You might want to use a toothpick or small stick to help support it.
Keep the soil consistently moist, but not soggy. You can cover the pot loosely with a plastic bag to create a humid environment, which helps the new plant get established. Remove the bag after a week or two. With a little patience, your new spider plant will start to grow.
Quick Propagation Checklist:
- Gently snip spiderettes with developed roots.
- Choose either water or soil for rooting.
- For water, change water every few days.
- For soil, keep it consistently moist.
- Wait for roots to establish before further care.
- Pot up into a small container when ready.
Conclusion
You’ve now learned the essential steps to grow a thriving spider plant indoors. Remember, these plants are incredibly forgiving and adapt well to different conditions. By providing the right pot and soil, finding that sweet spot for light, and watering wisely, you’re setting your spider plant up for success. Don’t forget that a little fertilizer during the growing season and occasional humidity boosts can make a big difference. Your next step is to apply these simple techniques and enjoy watching your spider plant flourish and produce adorable pups to share!
Frequently Asked Questions
How often should I water my spider plant if it’s in a self-watering pot?
Self-watering pots can be great, but it’s still important to check the soil moisture. Allow the top inch or two of soil to dry out before refilling the reservoir. Overwatering can still happen if the reservoir is kept constantly full, so monitor your plant’s needs closely.
Why are my spider plant’s leaves turning yellow and mushy at the base?
Yellow, mushy leaves at the base are a strong indicator of overwatering. The roots are likely sitting in too much moisture, leading to root rot. Ensure your pot has adequate drainage and allow the soil to dry out more between waterings.
Can I put my spider plant outside in the summer?
Yes, you can usually move your spider plant outdoors for the summer once temperatures are consistently above 50°F (10°C). Choose a location with bright, indirect light, protected from harsh sun and strong winds. Remember to bring it back inside before the first frost.
What is the best way to deal with brown tips on spider plant leaves?
Brown tips are often caused by minerals in tap water, low humidity, or fertilizer buildup. Try switching to filtered or distilled water and increasing humidity by misting or using a pebble tray. If fertilizing, ensure you’re diluting it properly or fertilizing less often.
How long does it take for a spider plant pup to grow into a new plant?
Once you’ve rooted a pup in water or soil, it typically takes about 4-6 weeks to establish a good root system and begin showing new leaf growth. With consistent care, it will develop into a mature plant over several months.
