
How to Grow a Countertop Salad Garden?
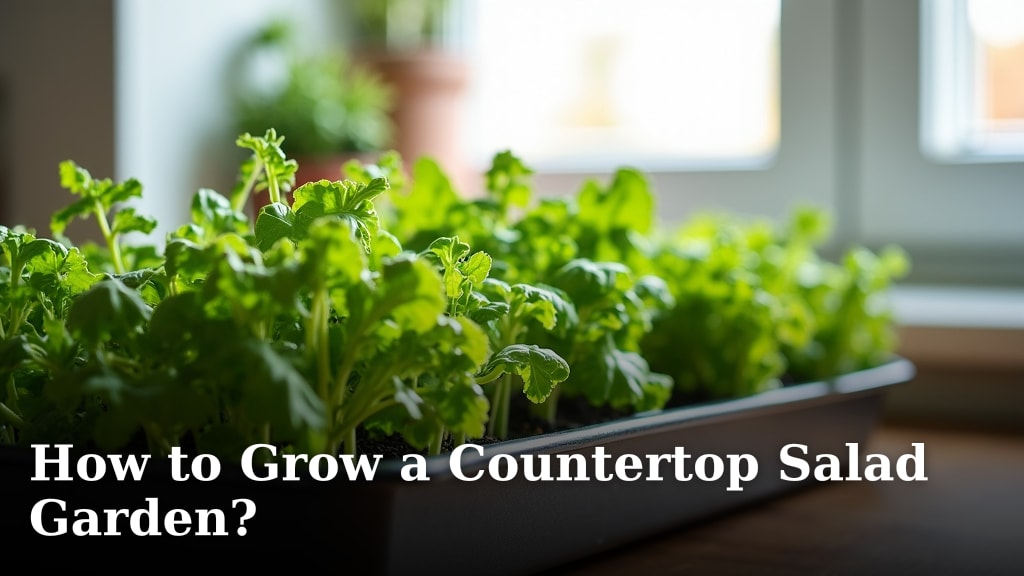
To grow a countertop salad garden, start with easy-to-grow greens like lettuce, spinach, or microgreens. You’ll need small containers, good quality soil, and a spot with plenty of sunlight or a grow light. It’s a simple way to have fresh salad fixings right in your kitchen.
You can enjoy fresh, homegrown salads even without a backyard garden. A countertop garden lets you harvest delicious greens year-round, no matter the weather outside. We found that it’s a convenient and rewarding project for anyone wanting to add more fresh produce to their diet.
- Choose the right greens for small spaces.
- Gather essential supplies like pots and soil.
- Provide adequate light and water.
- Learn simple harvesting techniques.
- Troubleshoot common growing issues.
Ready to get your hands a little dirty? Let’s walk through exactly how to grow a countertop salad garden, step by step.
Getting Started with Your Countertop Salad Patch
Transforming your kitchen counter into a productive garden begins with a few simple choices. We found that picking the right plants and gathering the correct supplies makes all the difference for a successful harvest.
Selecting Your Greens: What Grows Best Indoors?
Not all plants are created equal when it comes to indoor growing. You want varieties that are compact, fast-growing, and don’t need a lot of depth for their roots. Think about what you love to eat in a salad!
- Loose-leaf Lettuce: Varieties like Black Seeded Simpson or Buttercrunch are perfect. They grow quickly, and you can harvest outer leaves without pulling up the whole plant.
- Spinach: This leafy green is a cool-weather crop, making it ideal for indoor conditions where temperatures are stable. Its shallow roots are great for pots.
- Arugula: If you like a peppery kick, arugula is a fantastic choice. It sprouts fast and can be harvested young for a milder flavor.
- Radishes: While not a leafy green, radishes grow quickly and their greens are also edible! They add a nice crunch and zest.
- Microgreens: These tiny powerhouses are perhaps the easiest and fastest. We found that mustard, broccoli, and pea shoots give you a harvest in just 7-14 days (University of Maryland Extension).
- Herbs: Basil, cilantro, and parsley can also thrive, adding flavor to your salads. Just be sure to give them slightly more space.
Consider your personal taste preferences. What salads do you make most often? Start with one or two types you really enjoy.
Essential Tools for Your Indoor Garden
You don’t need a lot of fancy equipment to start. Think of it like setting up a small cooking station – a few key items will do.
- Containers: Size matters here. For most greens, pots that are 4-6 inches deep and at least 6 inches wide are ideal. Ensure they have drainage holes to prevent root rot. You can use plastic pots, terracotta, or even repurpose old food containers (just punch holes in the bottom!).
- Seed Starting Mix or Potting Soil: This is not the same as garden soil. Choose a lightweight, well-draining mix specifically designed for containers. It provides the right balance of nutrients and aeration for delicate roots.
- Seeds: Opt for organic seeds if that’s important to you. Check the seed packets for “days to harvest” and “suitable for containers” information.
- Watering Can or Spray Bottle: A small watering can with a narrow spout helps you water gently without disturbing tiny seedlings. A spray bottle is excellent for keeping seeds moist during germination.
- Light Source: This is often the most critical factor for indoor plants. We’ll dive deeper into this next.
- Small Hand Trowel or Spoon: Handy for moving soil and planting seeds.
- Scissors or Small Shears: Perfect for harvesting your greens cleanly.
Setting Up Your Salad Garden: Light, Water, and Location
Once you’ve chosen your greens and gathered your tools, it’s time to create the perfect environment. Think about your plants like little sunbathers – they need their warmth and hydration!
Finding the Right Light: Sun or Grow Lights?
Light is the fuel for your plants. Without enough, they’ll become leggy and weak. What kind of light do you have available?
Natural Sunlight Requirements
A south-facing window is usually the best spot for natural light. Your plants will need at least 4-6 hours of direct sunlight each day. East or west-facing windows can also work, but may provide less intense light. Rotate your containers every few days to ensure all sides of the plant get light.
Observe your plants. If they are stretching towards the window, they are telling you they need more light. Their leaves might also appear pale.
Choosing a Grow Light
If natural light is scarce, a grow light is a game-changer. We found that even a simple LED grow light can dramatically improve your plants’ health and yield. They come in various forms, from small clip-on lights to larger panels.
- LED Grow Lights: These are energy-efficient and emit a broad spectrum of light ideal for plant growth. Many are full-spectrum, mimicking natural sunlight.
- Fluorescent Lights (T5 or T8): These are also good options and generally more affordable. They work well for leafy greens that don’t need extremely high light intensity.
Position your grow light about 6-12 inches above your plants. Use a timer to give your plants 12-16 hours of light daily, followed by a period of darkness for rest. This mimics natural day cycles.
Watering Wisely: Not Too Much, Not Too Little
Overwatering is a common mistake for indoor gardeners. It can lead to root rot and other issues. Underwatering, of course, causes wilting.
The best way to tell if your plants need water is to feel the soil. Stick your finger about an inch deep into the soil. If it feels dry, it’s time to water. If it still feels damp, wait a day or two.
Water slowly until you see water draining from the bottom of the pot. This ensures the entire root ball gets hydrated. Empty any excess water from the drainage saucer to prevent your roots from sitting in standing water.
Ideal Location and Environment
Your kitchen counter is a great spot, but consider a few things:
- Temperature: Most greens prefer cooler temperatures, around 60-70°F (15-21°C). Avoid placing them directly above heat vents or next to drafty windows.
- Humidity: Average household humidity is usually fine. If your home is very dry, especially in winter, a humidity tray (a tray with pebbles and water) can help.
- Air Circulation: Good air flow helps prevent fungal diseases. A gentle fan can be beneficial if your space feels stagnant.
Planting Your Seeds and Nurturing Growth
Now comes the exciting part: getting those seeds into the soil! It’s like sending little promises into the earth, waiting for them to sprout.
The Planting Process
Planting seeds is straightforward. Here’s how you do it:
- Fill your containers: Leave about an inch of space from the rim. Gently pat down the soil, but don’t compact it too much.
- Plant the seeds: Check your seed packet for specific depth and spacing. Generally, plant seeds about twice as deep as their size. For most small greens, a quarter-inch deep is good. Scatter microgreen seeds more densely on the surface.
- Cover lightly: Gently cover the seeds with a thin layer of soil.
- Water gently: Use your spray bottle to mist the surface until it’s damp, not soaking wet.
- Provide warmth: Seeds need warmth to germinate. A spot near a warm appliance or on a seedling heat mat can help.
- Cover (optional): You can cover the pots with a clear plastic dome or plastic wrap to create a mini-greenhouse effect, helping to retain moisture until germination. Remove it once sprouts appear.
Be patient! Some seeds sprout in a few days, others can take a week or two.
Thinning and Feeding Your Seedlings
Once your seedlings emerge, you might need to thin them out. This sounds harsh, but it’s important for stronger plants.
Thinning: When your seedlings have developed their second set of “true leaves” (not the first, round cotyledon leaves), snip the weaker ones at the soil line, leaving the strongest plants spaced according to package directions. For lettuce, this might be 3-4 inches apart. This gives the remaining plants room to grow and prevents overcrowding.
Feeding: Your potting soil usually has enough nutrients for the first few weeks. After that, you might consider a diluted liquid fertilizer made for vegetables. Follow package directions carefully, as too much fertilizer can harm young plants (Purdue University Extension).
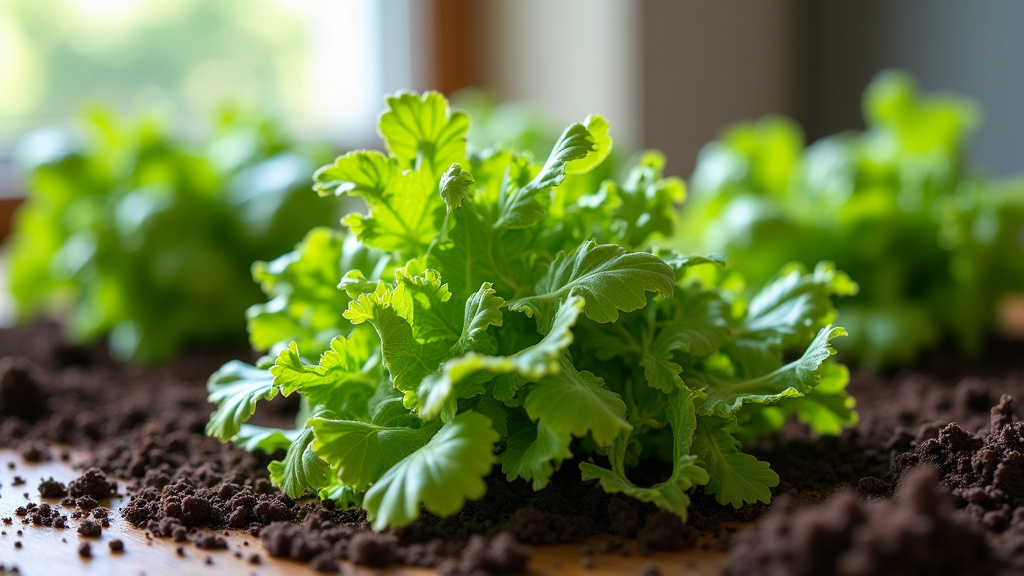
Harvesting Your Fresh Greens
This is what it’s all about – enjoying the fruits (or leaves!) of your labor. Harvesting correctly can prolong your plant’s life and give you continuous yields.
How to Harvest for Continuous Growth
Most leafy greens are “cut-and-come-again” crops. This means you can harvest some leaves and the plant will continue to produce more.
- Outer Leaf Method: For lettuce, spinach, and arugula, snip the larger, outer leaves first, leaving the inner leaves and growing point intact. This allows the plant to keep producing from the center.
- Haircut Method: For microgreens, simply snip the greens about an inch above the soil line when they reach a height of 2-4 inches. You usually get one good harvest from microgreens.
- Don’t take too much: Never take more than one-third of the plant’s leaves at a time. This ensures the plant has enough foliage to continue photosynthesis and grow.
Harvest in the morning when leaves are crispest and most flavorful. Rinse your fresh greens under cool water and enjoy them immediately!
Countertop Salad Garden Checklist
Keep this handy as you set up your indoor oasis:
- Are your containers sized right and have drainage holes?
- Is your soil fresh, lightweight potting mix?
- Do you have a clear plan for adequate light (natural or artificial)?
- Is your watering routine consistent but not excessive?
- Are you ready to thin seedlings for optimal growth?
- Do you know the best way to harvest your chosen greens?
Troubleshooting Common Indoor Garden Issues
Even the most careful gardeners sometimes face challenges. Don’t be discouraged if you encounter a few bumps along the way. It’s part of learning!
Dealing with Pests and Diseases
Indoor gardens are less prone to pests than outdoor ones, but they can still appear. We found that prevention is key.
- Fungus Gnats: These tiny, annoying flies often indicate overwatering. Let the soil dry out more between waterings. Yellow sticky traps can also help catch adults.
- Aphids or Spider Mites: If you see tiny bugs or fine webbing, gently wipe them off with a damp cloth or spray with insecticidal soap (make sure it’s safe for edible plants). Isolate affected plants immediately.
- Mold or Mildew: Poor air circulation and high humidity can cause this. Improve airflow and avoid overwatering.
Always inspect new plants before bringing them into your home. A clean environment helps prevent these issues.
Why Your Plants Might Be Struggling
If your plants aren’t thriving, look for these common culprits:
| Symptom | Possible Cause | Solution |
|---|---|---|
| Yellowing leaves | Overwatering or nutrient deficiency | Check soil moisture; consider diluted fertilizer. |
| Leggy, spindly plants | Not enough light | Move to brighter spot or add a grow light. |
| Wilting despite watering | Root rot (overwatering) or extreme underwatering | Check drainage; adjust watering schedule. |
| Slow growth | Lack of light, nutrients, or incorrect temperature | Ensure adequate light and warmth; fertilize if needed. |
Don’t be afraid to experiment a little. Adjusting one factor at a time helps you pinpoint the problem. Your plants will tell you what they need if you observe them closely.
Conclusion
Growing a countertop salad garden is a rewarding journey that brings fresh, healthy produce right into your kitchen. You’ve learned how to choose the right greens, gather essential supplies, and provide the perfect environment. By following these steps, you can enjoy a continuous supply of delicious, homegrown salads. We found that a little consistent care goes a long way. So, get ready to harvest your very own fresh greens and transform your meals!
Frequently Asked Questions
Can I use regular garden soil for my countertop salad garden?
No, it’s best to avoid regular garden soil. Garden soil is often too heavy and can compact in pots, hindering root growth and drainage. We found that a lightweight, well-draining potting mix or seed starting mix works best for indoor containers.
How often should I fertilize my indoor salad greens?
For most salad greens, you won’t need to fertilize immediately. Your potting mix usually contains enough nutrients for the first few weeks. After that, you can use a diluted liquid fertilizer every 2-4 weeks, following the product’s instructions carefully.
What if my plants are attracting tiny flying bugs?
These are likely fungus gnats, which often signal overwatering. Let your soil dry out more between waterings. You can also use yellow sticky traps near your plants to catch adult gnats and help reduce their population.
My lettuce leaves are bitter. What’s causing this?
Bitterness in lettuce is usually a sign of stress, often due to too much heat or insufficient water. Try to keep your indoor garden in a cooler spot and ensure consistent watering. Harvesting greens when they are young can also help prevent bitterness.
Can I grow different types of greens in the same container?
Yes, you can! Just make sure the chosen greens have similar light, water, and temperature requirements. For example, growing lettuce and spinach together works well. We found that grouping plants with similar needs simplifies care and creates a lush, diverse garden.
