
Can You Use Grow Lights to Start Seeds Early for Outdoor Planting?
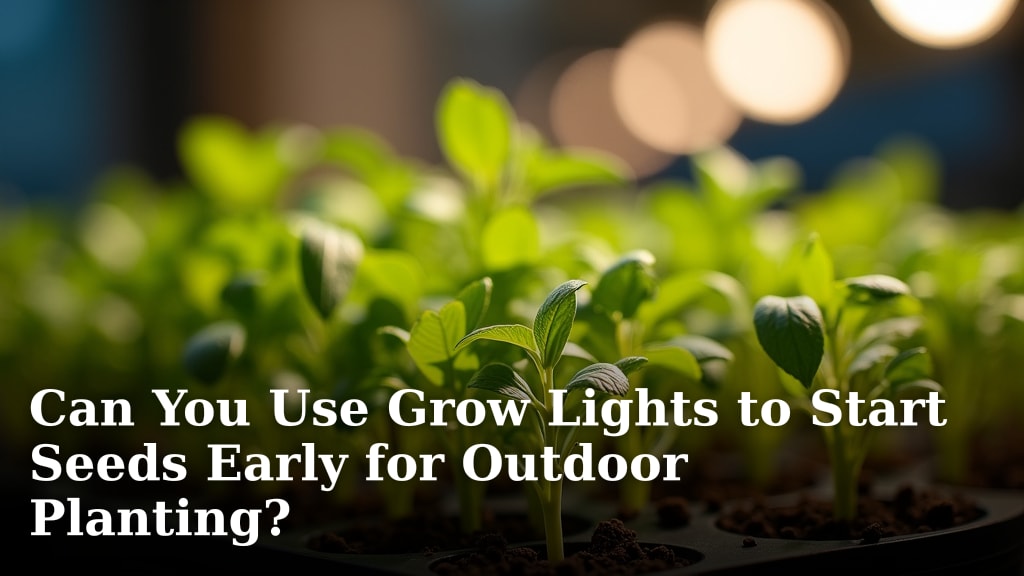
Yes, you absolutely can use grow lights to start seeds early for outdoor planting, and it’s a fantastic way to get a head start on your gardening season. Grow lights provide the essential light spectrum your tiny seedlings need to thrive indoors.
This method allows you to sprout delicate plants while it’s still too cold outside. You’ll gain a few extra weeks, or even months, for your vegetables and flowers to mature. It’s all about giving your plants the best possible start before they face the elements.
- Grow lights are great for starting seeds indoors.
- They give your plants a head start before outdoor planting.
- You can extend your growing season significantly.
- Proper lighting is key for strong, healthy seedlings.
Ready to turn your indoor space into a bustling nursery? Let’s research and find out how you can successfully use grow lights to prepare your seeds for a flourishing outdoor life.
Getting Your Seedlings Ready Early with Grow Lights
Starting seeds indoors under grow lights is a simple and effective strategy. It gives your young plants a significant advantage. You’re essentially creating a perfect spring environment inside your home, even when it’s cold and dreary outdoors. This controlled start means healthier, stronger seedlings that are ready to flourish once transplanted.
Think of it as giving your plants a head start in a cozy nursery. They can develop robust root systems and sturdy stems without facing harsh weather too soon. We found that gardeners often achieve higher germination rates and more uniform growth using this method.
Understanding Light Needs for Seedlings
Not all light is created equal, especially for tiny seedlings. They need specific types of light to grow correctly. You’re trying to mimic the natural sunlight they’d get outside, but in a controlled setting. This involves considering the light’s intensity, duration, and spectrum.
Research shows that young plants rely heavily on certain colors of light. These colors trigger essential processes like photosynthesis. Getting this right is key to preventing leggy, weak seedlings and promoting vigorous, compact growth.
Light Spectrum: What Colors Do Plants Need?
When you look at sunlight, you see white light. But white light is actually made up of a rainbow of colors. Plants use different colors of this spectrum for various growth stages. For seedlings, two colors are particularly important: blue and red light.
Blue light helps with vegetative growth, creating strong stems and healthy leaves. Red light is crucial for flowering and fruiting, but also plays a role in early development, influencing stem elongation and root growth (University of Florida Extension). A good grow light will provide a balanced mix of these.
Light Intensity and Duration: How Much and How Long?
Seedlings need enough light to grow, but not too much that it stresses them out. Think of it like a gentle morning sun, not a scorching midday blaze. The intensity, or brightness, matters, as does how long the lights stay on each day. This is called the photoperiod.
Generally, seedlings benefit from 12 to 16 hours of light per day. They also need a period of darkness, usually 8 to 12 hours, to rest and process the energy they’ve absorbed. This dark period is just as important as the light period for healthy development.
Choosing the Right Grow Lights
With so many options available, picking a grow light can feel overwhelming. Don’t worry, we’ll break it down. Your choice depends on your budget, the number of plants you’re growing, and your personal preferences. The goal is always to provide adequate light without spending a fortune or using too much energy.
Many gardeners find that certain types of lights are more effective or economical for seed starting. You want a light that is efficient, provides the right spectrum, and doesn’t generate excessive heat. This keeps your young plants comfortable and thriving.
Types of Grow Lights for Seed Starting
Let’s look at the most common types of grow lights you might consider. Each has its pros and cons, but all can be effective for getting your seeds started. We found that fluorescent and LED lights are often the top choices for home gardeners.
| Light Type | Pros | Cons | Best For |
|---|---|---|---|
| Fluorescent (T5, T8) | Affordable, low heat, good spectrum | Less intense, bulbs need replacing | Budget-friendly, small setups |
| LED Grow Lights | Energy efficient, long-lasting, customizable spectrum | Higher upfront cost | All setups, long-term use |
| High-Pressure Sodium (HPS) | Very intense, good for flowering | High heat, energy use, less ideal for seedlings | Large-scale, later growth stages |
| Metal Halide (MH) | Good for vegetative growth | High heat, energy use, less ideal for seedlings | Large-scale, later growth stages |
For most home seed starting, you’ll likely focus on fluorescent or LED options. They offer the best balance of cost, efficiency, and suitable light for delicate seedlings.
Setting Up Your Seed Starting Station
Once you have your grow lights, the next step is setting up your seed starting area. This doesn’t need to be fancy or expensive. A simple shelf, a table, or even a dedicated grow tent can work. The key is to create a functional space where your seedlings can grow undisturbed.
You’ll need more than just lights. Consider factors like temperature, humidity, and air circulation. A well-designed setup provides a stable environment, which is crucial for young plants. We recommend a clean, draft-free spot in your home.
Light Placement and Height
This is a critical detail. Placing your lights at the wrong height can lead to problems. Too far away, and your seedlings will stretch and become “leggy,” reaching for the light. Too close, and they might burn. It’s a delicate balance to achieve.
For fluorescent lights, aim for 2-4 inches above the plant tops. For LEDs, which are often more intense, start with 6-12 inches and adjust as needed. Always observe your plants closely. If they are stretching, lower the light. If leaves look stressed or scorched, raise it (National Gardening Association).
Temperature and Humidity Considerations
Seedlings prefer a warm, stable environment. Most seeds germinate best between 65-75°F (18-24°C). Once they sprout, a slightly cooler temperature might be fine, but consistency is important. Avoid sudden drops or spikes in temperature, which can stress young plants.
Humidity is also vital. High humidity helps prevent seedlings from drying out. You can achieve this by using clear plastic domes over your seed trays or placing a humidity tray nearby. Good air circulation also helps prevent fungal diseases, so a small fan can be beneficial.
Troubleshooting Common Seedling Problems Under Lights
Even with the best intentions, you might run into a few common issues when starting seeds indoors. Don’t get discouraged! Most problems are easily fixable once you know what to look for. Your keen observation skills will be your best tool here.
Identifying problems early can save your entire batch of seedlings. We found that most issues relate back to environmental factors: light, water, temperature, or air. Let’s look at some common complaints and their solutions.
Leggy Seedlings: Why They Stretch and How to Fix It
This is perhaps the most common problem. You notice your seedlings are tall, thin, and appear to be “stretching” towards the light source. Their stems look weak and brittle. This is almost always a sign that they aren’t getting enough light intensity or duration.
The fix is usually simple: lower your grow lights or increase the hours they are on. If you have adjustable lights, move them closer to the plant tops. Ensure they are getting at least 12-16 hours of strong light per day. Sometimes, simply rotating your trays can also help even out light exposure.
Damping-Off Disease: Preventing Fungal Issues
Damping-off is a heartbreaking problem where healthy seedlings suddenly keel over and die, often right at the soil line. This is caused by various fungi and is a common killer of young plants. It thrives in wet, cool, and poorly ventilated conditions.
To prevent damping-off, use sterile seed-starting mix, not garden soil. Ensure good air circulation with a small fan. Avoid overwatering; let the soil surface dry slightly between waterings. And make sure your seed trays are clean. These simple steps can make a huge difference.
Transitioning Seedlings Outdoors: Hardening Off
After weeks of pampering your seedlings indoors, you can’t just plop them outside. They need to gradually adjust to the harsher outdoor conditions. This process is called “hardening off,” and it’s vital for their survival. Skipping this step often leads to shock and stunted growth.
Hardening off prepares your plants for direct sunlight, wind, and fluctuating temperatures. It’s like sending your child to camp: you don’t just drop them off; you pack their bags and tell them what to expect. This gradual adjustment builds their resilience.
The Hardening Off Schedule
This process usually takes 7-14 days. Start by placing your seedlings in a sheltered, shady spot outdoors for just a few hours on the first day. A porch or under a tree is perfect. Each day, increase their exposure to sunlight and wind by an hour or two. Gradually move them to brighter, more exposed locations.
Remember to bring them indoors if temperatures drop significantly or if there’s a strong storm. After about two weeks, your seedlings should be ready for their permanent home in your garden. They’ll be tougher, more robust, and ready to face the world.
Checklist for Successful Seed Starting with Grow Lights
To recap, here’s a quick checklist to ensure your seed-starting journey is a success:
- Choose the right grow light: Fluorescent or LED for seedlings.
- Provide adequate light duration: 12-16 hours per day.
- Maintain correct light height: Close enough to prevent legginess, not too close to burn.
- Use sterile seed-starting mix: Prevents diseases.
- Ensure good air circulation: A small fan helps prevent fungal issues.
- Harden off your seedlings: Gradually introduce them to outdoor conditions.
Following these simple steps will set you up for a fantastic gardening season. Your grow lights will become an indispensable tool, helping you grow strong, healthy plants from the very start.
Conclusion
You’ve seen how grow lights can truly transform your gardening approach. By understanding the right light spectrum, intensity, and duration, you’re not just starting seeds; you’re cultivating stronger, healthier plants from day one. This small indoor effort pays off with a bountiful outdoor harvest.
Don’t let cold weather limit your growing season. Equip yourself with the right grow lights and a thoughtful setup. Your seedlings will thank you with vibrant growth. Now, go forth and give your garden the best possible head start!
Frequently Asked Questions
Can I use regular household lamps instead of grow lights for starting seeds?
No, regular household lamps typically don’t provide the specific light spectrum or intensity that seedlings need. They often lead to leggy, weak plants. Purpose-built grow lights are designed to mimic natural sunlight, offering the right blue and red light crucial for healthy development.
How far should my grow lights be from my seedlings?
The ideal distance varies by light type. For fluorescent lights, aim for 2-4 inches above the plant tops. For LED lights, start at 6-12 inches. Always watch your seedlings; if they stretch, move the light closer. If leaves look stressed, move it a bit farther away.
Do seedlings need darkness, or can I leave grow lights on 24/7?
Seedlings absolutely need a period of darkness. Just like humans, plants use this time to rest and process energy absorbed during the light cycle. Providing 12-16 hours of light and 8-12 hours of darkness promotes healthy growth and prevents stress.
What’s the best way to water seedlings under grow lights?
Water from the bottom when possible. Place your seed trays in a shallow pan of water and let them soak it up until the top of the soil is moist. This encourages root growth downwards and helps prevent damping-off disease. Always let the soil surface dry slightly between waterings.
When should I start fertilizing my seedlings under grow lights?
Most seed-starting mixes contain enough nutrients for the first few weeks of growth. You generally don’t need to fertilize until your seedlings have developed their first set of “true leaves.” When you do, use a very dilute, balanced liquid fertilizer, perhaps at half strength.
