How to Start Seeds Indoors Under Grow Lights?
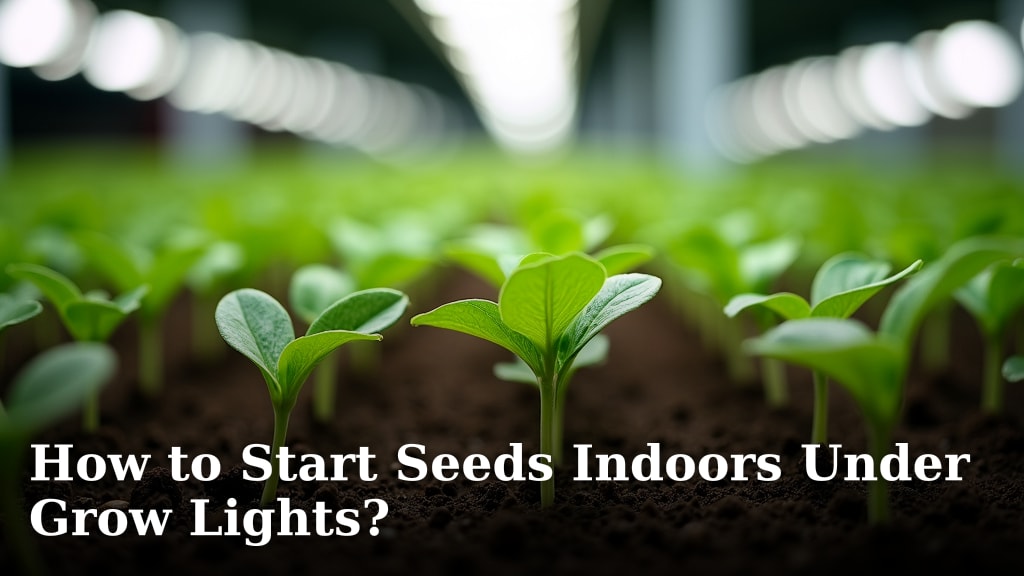
The easiest way to start seeds indoors under grow lights is by first gathering your supplies. This includes seeds, a starting mix, trays, and your chosen grow light setup. Then you will sow your seeds, provide the right light, and manage the growing environment.
You want to give your seedlings the best possible start. Using grow lights helps ensure they get enough light, even on cloudy days. This can lead to stronger, healthier plants ready for your garden.
TL;DR:
- Gather seeds, starting mix, trays, and grow lights.
- Plant seeds in moist starting mix.
- Place trays under grow lights.
- Ensure proper light distance and duration.
- Monitor moisture and temperature for healthy growth.
Ready to turn your home into a thriving seedling nursery? Let’s walk through exactly how to start seeds indoors under grow lights, step by step.
Preparing for Indoor Seed Starting
Before you get your hands dirty, a little preparation goes a long way. Setting up your workspace for success makes the whole process smoother and more enjoyable.
Gather Your Essential Supplies
Having everything ready before you begin will save you time and frustration. Think of it like packing for a trip; you want all your necessities at hand.
Choosing the Right Seeds
Not all seeds are created equal for indoor starting. Consider the variety and type of plant you want to grow. Some vegetables, like tomatoes and peppers, love an early indoor start. Others, like carrots and radishes, prefer direct sowing outside.
Always check the seed packet. It’s your best friend for understanding germination times, light requirements, and specific planting instructions. We found that buying quality seeds from reputable sources often leads to better success rates.
Selecting Seed Starting Mix and Trays
Do not use regular garden soil for starting seeds. It’s too heavy and can introduce diseases. Instead, look for a sterile, lightweight seed starting mix. This specialized mix provides the perfect texture for tiny roots to grow and drains well.
For trays, you have options. Common choices include plastic cell trays, peat pots, or even recycled containers with drainage holes. Make sure your trays have good drainage to prevent root rot. Many experts say that proper drainage is crucial for seedling health (Cornell University).
Understanding Grow Light Options
This is where the “grow light” part comes in! Your seedlings need light, and lots of it. Natural window light often isn’t enough, especially in colder months. Investing in a good grow light setup is key.
Here are common grow light types:
- Fluorescent Lights (T5 or T8): These are economical and work well for most seedlings. They provide a broad spectrum of light.
- LED Grow Lights: More energy-efficient and long-lasting. They often come in “full spectrum” options, mimicking natural sunlight.
- Incandescent Lights: Avoid these for seedlings. They produce too much heat and not enough of the right light spectrum.
When selecting, consider the size of your growing area and your budget. You want enough light to cover all your trays evenly.
Setting Up Your Grow Light Station
Once you have your supplies, it’s time to create the perfect home for your future plants. Think of this as building a cozy, sunlit nursery for your seedlings.
Finding the Ideal Location
Where you set up makes a big difference. Choose a spot with stable temperatures, away from drafts, and easy access. A spare room, a corner in your basement, or even a sturdy shelf can work well.
Aim for a consistent temperature range, generally between 65-75°F (18-24°C), depending on your specific seeds. We found that sudden temperature drops can stress young seedlings.
Assembling Your Grow Light Fixture
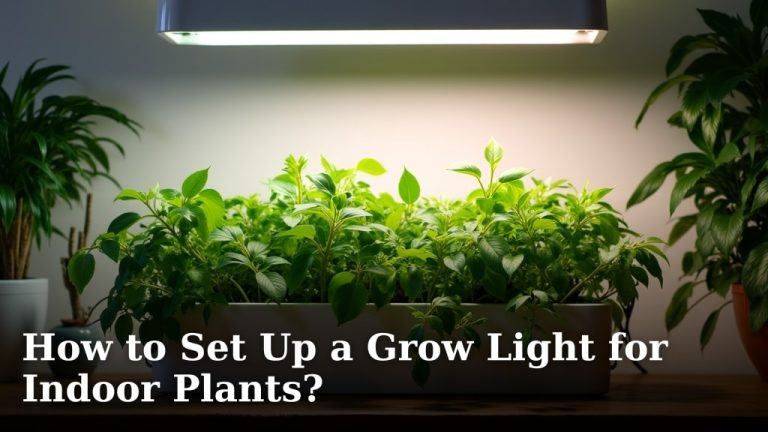
Most grow lights come with instructions for assembly. Follow them carefully. You’ll usually need to suspend the light fixture above your planting area.
Many setups use chains or adjustable hangers. This allows you to easily raise and lower the light as your seedlings grow. Remember, adjustability is key to providing optimal light.
Essential Accessories for Success
Beyond the main equipment, a few accessories can make your life easier and improve seedling success.
- Heat Mats: These go under your seed trays to provide bottom heat, which helps many seeds germinate faster. Not all seeds need them, so check your seed packets.
- Timers: An absolute must-have! Grow lights need to run for specific durations. A simple outlet timer will automate this, ensuring your plants get consistent light without you having to remember.
- Small Fan: A gentle breeze from a small fan helps strengthen seedling stems and improves air circulation, which can prevent fungal diseases.
- Spray Bottle: For gentle watering, especially for delicate new sprouts.
Having these items on hand means fewer surprises and a smoother growing process.
Sowing Your Seeds Under Lights
Now for the exciting part – planting! This is when you plant the tiny promise of a future garden.
Preparing the Seed Starting Mix
Before you plant, moisten your seed starting mix. Put it in a bucket or large bowl and slowly add water, mixing until it’s evenly damp, like a wrung-out sponge. You want it moist, but not soggy.
Fill your seed trays or cells with the moistened mix. Gently tamp down the mix to remove large air pockets, but don’t compact it too much. Roots need space to breathe.
Planting Your Seeds Properly
Follow the instructions on your seed packets for planting depth and spacing. A general rule of thumb is to plant seeds at a depth of twice their diameter. Very tiny seeds might just need to be scattered on the surface.
Plant a few seeds per cell or pot. This accounts for germination failures and allows you to select the strongest seedling later. After placing the seeds, gently cover them with the appropriate amount of seed starting mix.
Initial Watering and Labeling
After planting, lightly mist the surface with your spray bottle. This settles the soil around the seeds without displacing them. Avoid heavy watering that can wash tiny seeds away.
Labeling is critical! Use plant markers to note the plant name and planting date for each cell or tray. Trust us, you won’t remember what’s what a week from now!
The Grow Light Regimen
Once planted, your seeds are ready for their new “sun.” Providing the right light is crucial for strong, healthy growth.
Light Duration and Intensity
Most seedlings need 14-16 hours of light per day. This is where your timer becomes invaluable! Set it and forget it. Giving them a dark period is equally important; plants need rest too (University of Arizona). We found that a consistent light schedule promotes robust growth.
For intensity, make sure your light is bright enough. If seedlings stretch and look leggy (tall and thin), they are telling you they need more light or the light is too far away.
Optimal Light Distance
This is perhaps the most important aspect of using grow lights. The ideal distance depends on your light type and wattage. Fluorescent lights often need to be just a few inches (2-4 inches) above the plant tops.
LED lights can sometimes be placed a bit further, perhaps 6-12 inches, but always check the manufacturer’s recommendations. Too close, and you can burn your plants. Too far, and they’ll stretch, seeking the light they crave.
Many guidelines suggest checking daily. As your seedlings grow, adjust the light upward to maintain that optimal distance. This ensures maximum light exposure without damage.
| Light Type | Recommended Distance (above plant canopy) | Key Benefit |
|---|---|---|
| Fluorescent (T5/T8) | 2-4 inches | Economical, good for general seedlings |
| LED (Lower Power) | 6-12 inches | Energy efficient, tunable spectrum |
| LED (High Power) | 12-24 inches | Very efficient, can cover larger areas |
Caring for Your Young Seedlings
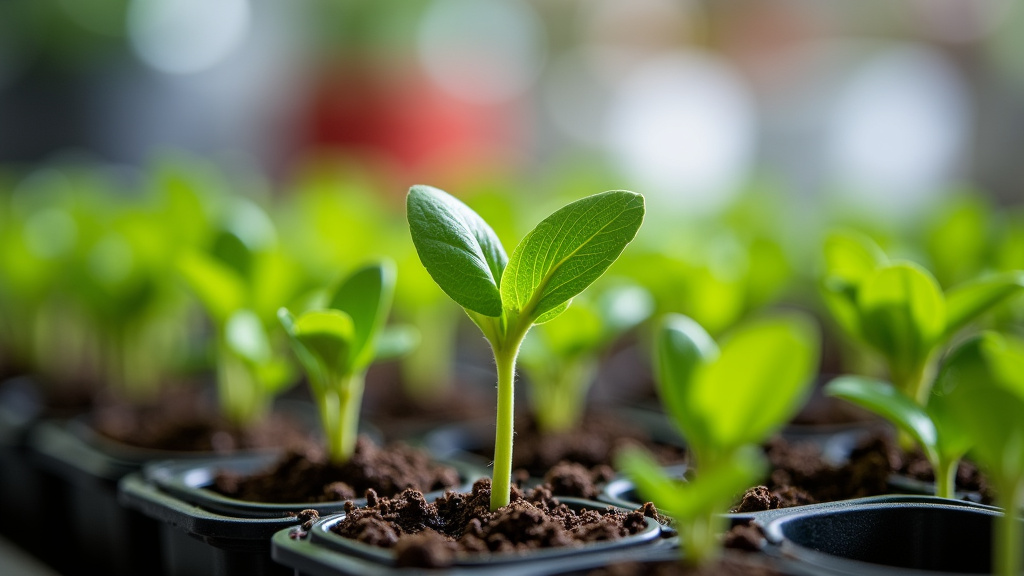
Your seedlings are like babies – they need consistent care and monitoring as they grow. Your efforts now will pay off with a bountiful garden later.
Watering and Fertilizing Practices
Water thoughtfully. Seedlings need consistent moisture, but hate being waterlogged. Water from the bottom whenever possible. Place trays in a shallow pan of water and let the soil soak it up for 15-20 minutes, then remove. This encourages deep root growth.
Don’t fertilize too early. Seed starting mixes usually contain enough nutrients for the first few weeks. Once your seedlings develop their first “true leaves” (the second set of leaves), you can start with a very dilute liquid fertilizer, about ¼ strength (University of California Agriculture and Natural Resources).
Thinning and Air Circulation
If you planted multiple seeds per cell, it’s time to thin them. Once they have their first true leaves, snip off the weaker seedlings at the soil line with small scissors. Leave only the strongest one. This gives the survivor more resources to grow big and strong.
That small fan we mentioned earlier? Now’s the time to use it! A gentle breeze for a few hours a day will help prevent “damping off” (a fungal disease) and strengthen stems. It’s like a tiny workout for your plants.
Signs of Trouble and Solutions
Keep a close eye on your seedlings. They often tell you what they need:
- Leggy seedlings: Need more light or the light is too far away. Lower your grow light.
- Yellowing leaves: Could be overwatering, underwatering, or nutrient deficiency. Check soil moisture first.
- Brown spots: Might be fungal disease from too much moisture and poor air circulation. Increase air flow.
- Wilting: Usually needs water. Check if the soil is dry.
Early intervention can save your seedlings. We found that addressing issues quickly makes a huge difference.
Here’s a quick checklist for your seedlings’ well-being:
- Is the soil consistently moist, but not soggy?
- Is the grow light the correct distance from the plant tops?
- Are they getting 14-16 hours of light daily?
- Is there gentle air movement from a fan?
- Are they showing their “true leaves” and ready for thinning or dilute fertilizer?
Hardening Off for Outdoor Transplant
Once your seedlings are robust and the outdoor conditions are right, they’ll be ready to move outside. But don’t just plop them in the garden! They need to adjust slowly.
This process is called hardening off. It prepares them for the harsher realities of outdoor life, like wind, direct sun, and changing temperatures. Without it, they can go into shock and stop growing, or even die.
Start by taking your seedlings outside for a few hours each day, in a shaded, sheltered spot. Gradually increase the time they spend outdoors and expose them to more sun and wind over a week or two. This slow transition makes them tough! We found that skipping this step is a common mistake for new growers, leading to disappointment. Many gardening resources, like the Old Farmer’s Almanac, provide detailed guides on successful hardening off.
Once hardened off, your sturdy seedlings are ready for their new home in your outdoor garden. Congratulations, you’ve successfully nurtured life from a tiny seed under grow lights!
Conclusion
You’ve seen how straightforward it can be to start your gardening journey indoors. By gathering the right supplies, setting up your grow lights, and tending to your seedlings, you’re giving them the best possible beginning. It’s a rewarding process that transforms tiny seeds into robust plants.
Remember that consistent light, proper watering, and good air circulation are your keys to success. Don’t be afraid to adjust as you go, learning what works best for your setup. Now, go ahead and bring your garden to life, even before spring arrives!
Frequently Asked Questions
What kind of grow lights are best for starting seeds?
Fluorescent lights (like T5 or T8 bulbs) offer an economical option that works well for most seedlings. LED grow lights are more energy-efficient and long-lasting, often providing a full spectrum that mimics natural sunlight effectively.
How long should grow lights be on for seedlings?
Most seedlings thrive with 14-16 hours of light per day. It’s also important to give them a consistent dark period for rest, making a timer an essential tool for maintaining a regular schedule.
How far should the grow light be from my seedlings?
For fluorescent lights, aim for 2-4 inches above the plant tops. LED lights can often be a bit further, around 6-12 inches, but always check the manufacturer’s recommendations for your specific model. Adjust the light as your seedlings grow.
Can I use regular potting soil to start seeds indoors?
It’s best to use a sterile, lightweight seed starting mix instead of regular potting soil. Potting soil can be too heavy, drain poorly, and may contain pathogens that can harm delicate seedlings.
When should I start fertilizing my indoor seedlings?
Most seed starting mixes contain enough nutrients for the first few weeks. You can begin fertilizing with a very dilute liquid fertilizer (about ¼ strength) once your seedlings have developed their first set of “true leaves.”