How to Fix Yellow Leaves on Indoor Plants?
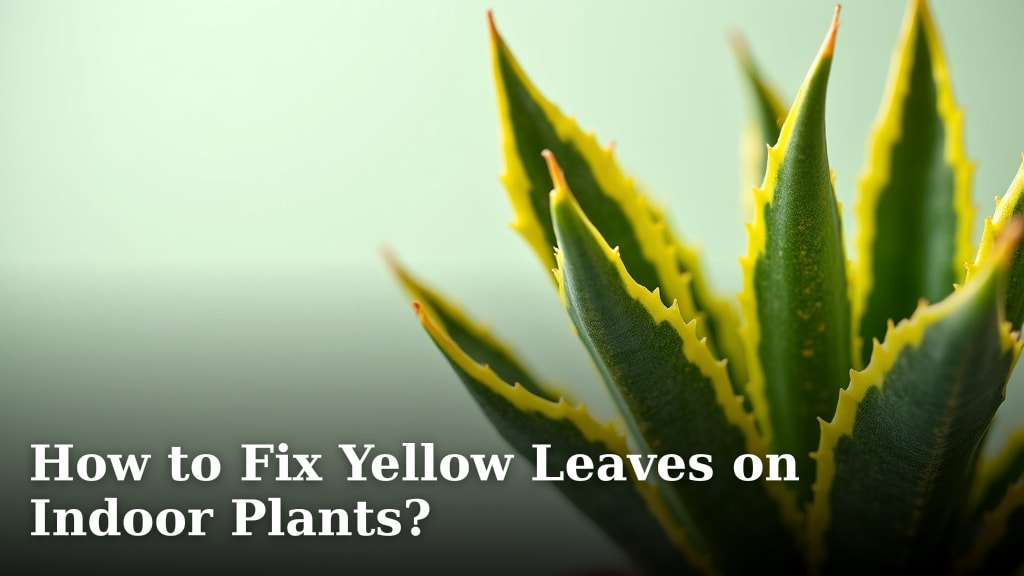
To fix yellow leaves on indoor plants, you need to first identify the underlying cause, which is usually related to improper watering, nutrient deficiencies, or lighting issues. Once you know the problem, you can adjust your plant care routine accordingly to restore its health.
Dull, yellowing leaves can be a sign that your green friend is in distress, often indicating an imbalance in its environment. We found that most yellow leaf problems are fixable with simple adjustments to your watering schedule, light exposure, or feeding routine.
- Identify the common causes of yellowing leaves.
- Learn how to assess your plant’s environment.
- Discover practical solutions for healthier foliage.
- Understand when to prune and when to wait.
Let’s walk through the exact steps to diagnose and treat those yellow leaves, getting your indoor plants back to their vibrant green glory.
Understanding Why Your Plant’s Leaves Turn Yellow
Yellow leaves, often called chlorosis, are a plant’s way of telling you something is wrong. It’s like a warning signal. Think of it as a low fuel light on your car dashboard; it means you need to check things out.
Most issues stem from imbalances in an indoor plant’s environment. We found that identifying the specific pattern of yellowing can help you narrow down the causes.
Common Causes of Yellow Leaves
Many factors can lead to yellowing leaves. It’s rarely just one thing. Your detective work starts here. You’ll want to look at a few key areas.
Watering Woes: Too Much or Too Little
This is probably the most common culprit. Both overwatering and underwatering can stress your plant. It sounds confusing, right?
- Overwatering: When roots sit in soggy soil, they can’t get oxygen. This leads to root rot. Leaves often turn yellow and feel soft or mushy, sometimes with brown tips. They might drop off easily.
- Underwatering: If plants don’t get enough water, they can’t transport nutrients. Leaves turn yellow, often starting from the bottom up, and feel dry or crispy. They might also curl.
Light Levels: Too Much or Not Enough Sun
Light is food for plants. Too much or too little light causes problems.
- Low Light: Plants become weak and leggy. Older, lower leaves often turn yellow and fall off because the plant is trying to save energy for new growth at the top.
- Too Much Light: Direct, intense light can bleach leaves. They often turn a pale yellow or even white. This is like getting a sunburn for plants.
Nutrient Deficiencies
Just like us, plants need a balanced diet. If they don’t get certain nutrients, their leaves show it.
- Nitrogen Deficiency: This is very common. Older leaves, usually at the bottom of the plant, turn light green or yellow evenly across the entire leaf.
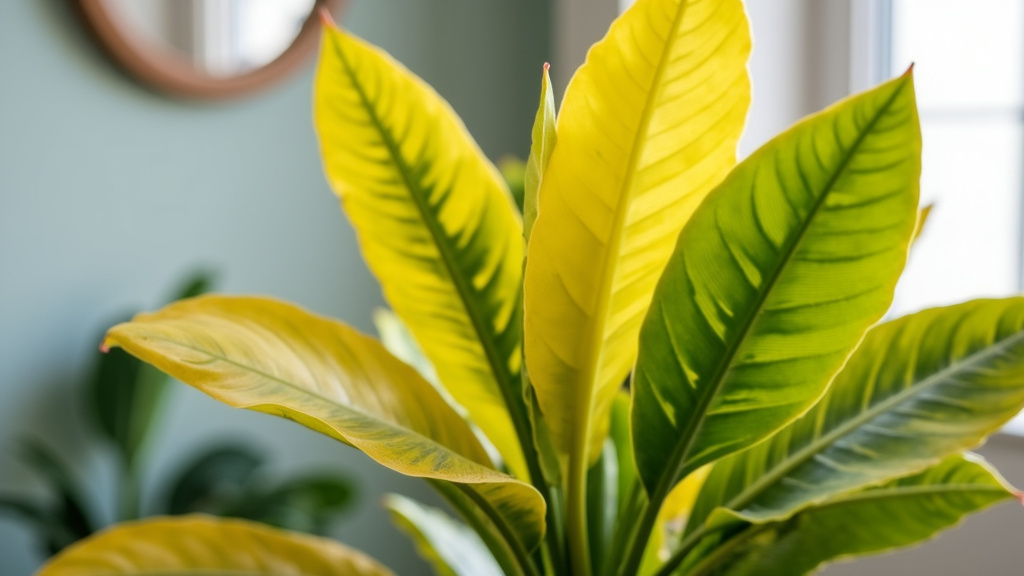
- Iron or Magnesium Deficiency: These often show up as what we call “interveinal chlorosis.” The area between the leaf veins turns yellow, but the veins themselves stay green. Young leaves near the top are often affected first.
Temperature and Humidity Stress
Indoor plants like stable conditions. Sudden changes or extremes are stressful.
- Cold Drafts or Low Temperatures: Leaves can yellow, wilt, and even develop brown spots. Think about what happens if you leave a tropical plant near an open window in winter.
- Low Humidity: Many tropical plants need more humidity than typical homes offer. Dry air can cause leaf tips and edges to turn yellow or brown.
Pests and Diseases
Tiny invaders can also cause yellowing. They literally suck the life out of your plant.
- Pests: Sucking insects like spider mites, aphids, or mealybugs feed on plant sap. Their feeding causes leaves to yellow, often with tiny speckles or distorted growth.
- Diseases: Fungal or bacterial infections can also cause yellowing, spotting, and wilting. This is less common for general yellowing but worth considering if other symptoms are present.
Age and Natural Shedding
Sometimes, yellow leaves are just part of nature. Plants don’t live forever, and neither do their leaves.
It’s normal for older leaves, especially at the base of the plant, to turn yellow and drop. Don’t panic if it’s just a leaf or two on an otherwise healthy plant. This is part of the plant’s natural life cycle.
Diagnosing the Problem: Your Plant Detective Checklist
Now that you know the common causes, let’s put on our detective hats. Examining your plant closely for clues is key. We found that a systematic approach works best (University of California Agriculture and Natural Resources).
You can usually rule out several causes quickly by checking a few simple things. This will help you pinpoint the real issue.
Examine Your Plant’s Leaves and Soil
Start with a good look at the yellow leaves. Where are they located? How does the soil feel?
- Location of Yellow Leaves: Are they mostly new leaves at the top, or older leaves at the bottom? This can tell you a lot about nutrient issues.
- Pattern of Yellowing: Is the whole leaf yellow, or just between the veins? Are there spots or crispy edges?
- Soil Moisture: Stick your finger into the soil. Is it soaking wet, bone dry, or just right? Check down about two inches.
- Texture of Yellow Leaves: Do they feel soft and squishy, or dry and brittle?
- Check for Pests: Look closely at the undersides of leaves and in leaf axils (where leaves meet the stem). Do you see tiny insects, webbing, or sticky residue?
Review Your Environmental Conditions
Next, let’s look at the plant’s surroundings. Is it getting the light, water, and humidity it needs?
- Watering Schedule: How often do you water? Do you check the soil first?
- Light Exposure: Is the plant getting direct sun all day, or is it in a dim corner? Has its light source changed recently?
- Temperature and Humidity: Is the plant near a drafty window, a heater, or an air conditioning vent? Do you have very dry air in your home?
- Fertilization: When was the last time you fertilized? Did you use the right type and amount?
Solutions for Restoring Greenery
Once you’ve identified the likely cause, it’s time for action. Most problems are solvable with minor adjustments. Don’t worry, your plant can recover!
Addressing Watering Issues
Correcting your watering habits is often the fastest way to see improvement.
- For Overwatering: Stop watering immediately. Allow the soil to dry out completely. If the soil is heavy and dense, consider repotting into fresh, well-draining soil and a pot with drainage holes. Make sure the pot isn’t sitting in standing water.
- For Underwatering: Give your plant a good, deep drink. Water until water comes out of the drainage holes. For very dry plants, you can try bottom watering: placing the pot in a saucer of water for 30 minutes to an hour to allow the soil to soak from the bottom up.
- The Best Way to Water: Always check the soil moisture before watering. Stick your finger two inches deep. If it feels dry, then water. If it still feels moist, wait a few more days.
Adjusting Light and Temperature
Finding the right spot for your plant makes a huge difference.
- For Low Light: Move your plant to a brighter location. A window that gets indirect light is often ideal. If natural light is limited, consider a grow light.
- For Too Much Light: Move your plant further away from a bright window. Sheer curtains can also help diffuse intense direct sunlight.
- Temperature Swings: Keep your plants away from drafty doors, windows, and heating/AC vents. Most indoor plants prefer consistent temperatures between 65-75°F (18-24°C).
Solving Nutrient Deficiencies
A little food can go a long way.
- Fertilize Appropriately: During the growing season (spring and summer), use a balanced liquid fertilizer at half strength every 2-4 weeks. Follow the product’s instructions carefully. Too much fertilizer can also burn roots.
- Consider Repotting: If your plant hasn’t been repotted in a year or two, the soil might be depleted of nutrients. Fresh potting mix will give it a boost.
Dealing with Pests
Catching pests early makes them easier to manage (Colorado State University Extension).
- Isolate the Plant: Move the affected plant away from others to prevent spread.
- Wipe Down Leaves: Use a damp cloth or cotton swab with rubbing alcohol to manually remove pests.
- Insecticidal Soap: Apply an insecticidal soap spray according to package directions. Repeat every 5-7 days for a few weeks to break the pest life cycle.
When to Prune Yellow Leaves
Once you’ve diagnosed and treated the cause, you might wonder what to do with the already yellow leaves.
Yellow leaves will not turn green again. They are permanently damaged. Some research suggests that removing spent foliage helps the plant redirect energy to healthier parts (University of Maryland Extension).
- Wait Until it’s Clearly Yellow or Brown: Avoid pruning leaves that are only slightly discolored. The plant may still be drawing some nutrients from them.
- Use Clean, Sharp Shears: Cut the leaf stem close to the main stem or base of the plant.
- Don’t Be Afraid to Trim: Removing dead or dying foliage can make your plant look better and help it focus on new, healthy growth.
Prevention is Key: Keeping Leaves Green
The best way to fix yellow leaves is to prevent them from happening. Regular, attentive care is your best defense.
| Aspect of Care | Preventative Action |
|---|---|
| Watering | Always check soil moisture before watering. Never let pots sit in standing water. |
| Light | Know your plant’s light needs and place it accordingly. Rotate plants for even light exposure. |
| Nutrients | Fertilize regularly during the growing season (spring/summer) at recommended strengths. |
| Humidity | Use a pebble tray, humidifier, or mist regularly for humidity-loving plants. |
| Pests | Inspect new plants before bringing them home. Check leaves regularly for signs of pests. |
| Repotting | Repot every 1-2 years to replenish soil nutrients and provide root space. |
By staying vigilant and responding to your plant’s needs, you can keep its leaves looking vibrant and healthy. It’s a bit of work, but your green friends are worth it!
Conclusion
You’ve now learned that yellow leaves are a common cry for help from your indoor plants. We’ve walked through how to be a plant detective, identifying issues from watering imbalances to nutrient needs and light problems. The good news? Most causes are straightforward to fix with simple adjustments.
By understanding your plant’s signals and making a few changes to its environment or care routine, you can nurse it back to health. Don’t forget that prevention through consistent care is always the best solution. Pay attention to your plants, and they’ll reward you with lush, green foliage.
Now, go check on your green friends and bring back their vibrant color!
Frequently Asked Questions
Should I remove yellow leaves immediately?
It’s generally best to wait until the leaf is fully yellow or brown before removing it. The plant might still be reabsorbing some nutrients from it. Once it’s clearly dying, you can prune it off with clean shears.
Can yellow leaves turn green again?
No, unfortunately, once a leaf has turned yellow due to damage or stress, it will not regain its green color. The chlorophyll that gives leaves their green pigment has broken down, and this process is irreversible.
How quickly will my plant recover after I fix the problem?
You might see new, healthy growth begin within a week or two, but it depends on the plant and the severity of the issue. Full recovery could take several weeks or even months as the plant replaces damaged foliage. Be patient and consistent with your improved care.
Why are only the bottom leaves turning yellow?
Yellowing on older, lower leaves often points to natural shedding or a nitrogen deficiency. Plants will prioritize nutrients for new growth. It can also indicate underwatering or, less commonly, low light conditions.
Is tap water safe for indoor plants if they have yellow leaves?
Most tap water is fine, but if your tap water is very hard or heavily chlorinated, it can sometimes contribute to nutrient imbalances or leaf problems. Letting tap water sit out overnight allows chlorine to dissipate. You could also consider filtered water for sensitive plants.