How to Start a Hydroponic Garden at Home?
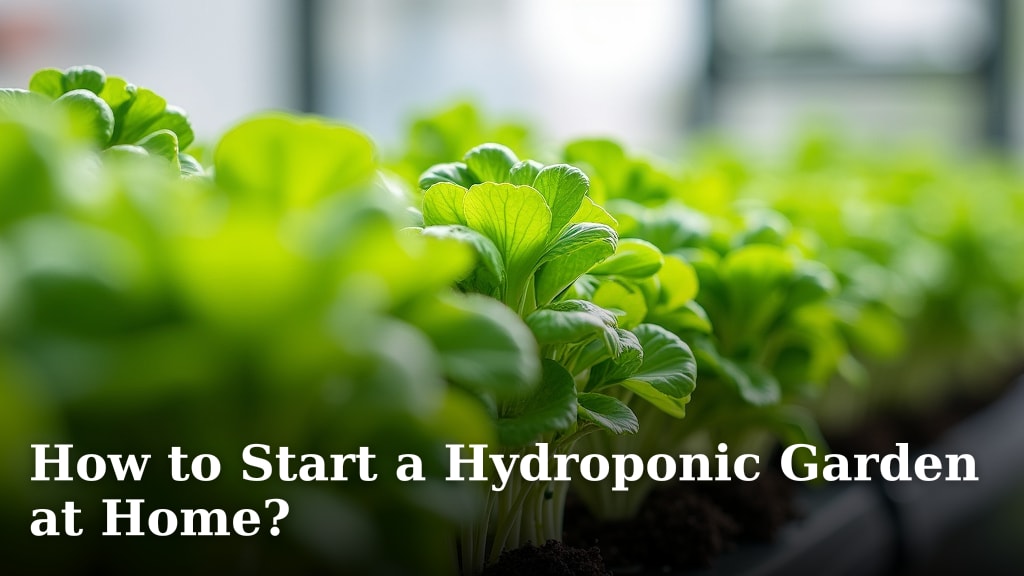
To start a hydroponic garden at home, you will need to choose a hydroponic system, gather your essential supplies, and prepare your nutrient solution. This innovative gardening method allows you to grow plants without soil, using nutrient-rich water instead.
Many people are curious about hydroponics because it saves space and water. It’s a fun way to grow fresh herbs and vegetables right in your home. You’ll find it can be a less messy and often more efficient gardening experience.
TL;DR:
- Hydroponics lets you grow without soil.
- You’ll need a system and nutrients.
- It saves space and water.
- Great for fresh produce at home.
- Can be less messy than traditional gardening.
Ready to get your hands a little wet (but not dirty, much)? Let’s walk through exactly how to set up your very own hydroponic garden, step by step.
Setting Up Your Home Hydroponics System
Starting with hydroponics at home is easier than you might think. We’ll guide you through each step, making sure you feel confident and prepared. You’re about to discover a fun, new way to grow.
The first significant decision you’ll make is choosing the right type of hydroponic system. This choice often depends on your space, budget, and what you want to grow. Don’t worry, there’s a perfect system for everyone!
Choosing Your Hydroponic System
There are several popular hydroponic systems suited for home use. Each has its advantages and a slightly different way of delivering water and nutrients. Understanding these differences will help you pick the best fit for you.
Think about how much hands-on time you want to spend. Also, consider the types of plants you’re hoping to cultivate. Larger plants might need a more robust system.
Deep Water Culture (DWC)
Deep Water Culture (DWC) is one of the simplest and most common systems for beginners. Your plant roots are suspended directly in a tank of nutrient-rich water. An air pump and air stone keep the water oxygenated.
We found DWC is excellent for fast-growing plants like lettuce, basil, and other leafy greens. It’s a very forgiving system, which makes it ideal for your first hydroponic adventure.
Nutrient Film Technique (NFT)
The Nutrient Film Technique (NFT) involves a shallow stream of nutrient solution flowing over the roots of your plants. The plants are usually housed in channels or tubes. This creates a thin “film” of water, hence the name.
NFT systems are known for their efficiency and are often used for similar plants to DWC. You’ll find these systems can be more complex to set up initially, but they offer great results.
Wick System
The wick system is considered one of the most passive hydroponic methods. It uses a wick to draw nutrient solution from a reservoir up to the growing medium around your plant’s roots. This relies on capillary action.
Many experts say this system is best for smaller, less thirsty plants. It’s often the least expensive to set up and requires very little electricity, sometimes none at all.
Drip System
A drip system works by delivering nutrient solution directly to the base of each plant. A small pump pushes the solution through tubes to individual drippers. The excess solution often drains back into the reservoir to be reused.
This system is very versatile and can accommodate a wide range of plants, even larger fruiting varieties. It offers precise control over nutrient delivery, which can be a plus for experienced growers.
Essential Hydroponic Supplies You’ll Need
Once you’ve chosen your system, it’s time to gather the necessary supplies. Having everything ready before you start will make the setup process smooth and enjoyable. Think of this as preparing your gardening toolkit.
Don’t be overwhelmed by the list; many items can be found at your local hardware store or garden center. Others might need a specialized hydroponics shop.
The Growing Medium
Because you’re not using soil, you’ll need a different material to support your plants. This is called the growing medium. It provides stability and holds moisture and air around the roots (Oregon State University Extension).
- Rockwool: Made from spun molten rock, it’s sterile and retains water well.
- Coco Coir: This is made from coconut husks. It’s sustainable and has good aeration.
- Hydroton (Clay Pebbles): Lightweight, reusable, and provides excellent support and air circulation.
- Perlite: A volcanic rock that’s light and porous, great for aeration.
We found that for most beginners, Rockwool or Coco Coir starter cubes are very effective. They prevent young roots from being waterlogged.
Nutrient Solution
This is the lifeblood of your hydroponic garden. Plants get all their food from this carefully balanced mixture of minerals. You can’t just use plain water!
You’ll typically buy hydroponic nutrients as concentrated liquids or powders. These come in “Part A” and “Part B” or “Grow” and “Bloom” formulas. You’ll mix them with water according to the manufacturer’s instructions. A healthy nutrient solution is key to plant growth.
pH Testing Kit
The pH level of your nutrient solution is super important. It affects how well your plants can absorb nutrients (University of California Agriculture and Natural Resources). Most plants thrive in a pH range of 5.5 to 6.5.
You’ll need a pH test kit or a digital pH meter to monitor this. You might also need pH Up or pH Down solutions to adjust the level if it drifts too far. This simple step can dramatically improve your plant’s health.
Air Stone and Air Pump
Especially for DWC systems, an air pump and air stone are vital. They bubble air into your nutrient reservoir, keeping the water oxygenated. This prevents root rot and ensures your plants can “breathe.”
Think of it like giving your plants fresh air, even underwater. Without enough oxygen, roots can drown, leading to plant death. Don’t skip this essential element.
Reservoir and Grow Tray/Channels
The reservoir holds your nutrient solution. It can be a simple plastic tote or a more specialized container. The grow tray or channels are where your plants sit, with their roots reaching into the solution.
Make sure your reservoir is lightproof. This prevents algae growth, which competes with your plants for nutrients. Many home systems come with these components included.
Lighting Options
Plants need light to grow, especially indoors. You have several choices for artificial lighting. The right light will determine how well your plants photosynthesize.
- LED Grow Lights: Energy-efficient and customizable spectrum.
- Fluorescent Lights (T5): Good for seedlings and leafy greens, more affordable.
- High-Intensity Discharge (HID): Very powerful, but generate more heat and use more energy.
For most home growers, LED grow lights are a fantastic choice. They’re efficient, long-lasting, and produce less heat than older technologies.
Preparing Your Nutrient Solution
Mixing your nutrient solution correctly is crucial for your plants’ health. It’s like preparing a gourmet meal for them every time. Measure everything carefully to ensure balance.
Always follow the mixing instructions provided by the nutrient manufacturer. They’ve tested their products for optimal results.
The Mixing Procedure
First, fill your reservoir with clean water. Tap water is usually fine, but you might want to let it sit for 24 hours to allow chlorine to dissipate. Then, add Part A of your nutrient solution, mix well, and then add Part B. Never mix the concentrated parts together directly.
After adding both parts, thoroughly stir the solution. This ensures all the beneficial minerals are evenly distributed. Your plants will thank you for it!
Checking and Adjusting pH
Once your nutrients are mixed, it’s time to check the pH. Dip your pH test strip or meter into the solution. Most plants prefer a pH between 5.5 and 6.5. If it’s too high, add a tiny bit of pH Down. If it’s too low, add pH Up.
Adjust gradually, waiting a few minutes between additions and re-testing. It’s like seasoning a soup; you can always add more, but you can’t easily take it out.
Planting Your Hydroponic Seeds or Seedlings
With your system ready and solution mixed, it’s time to introduce your plants! You can start from seeds or use small seedlings. This is where your garden truly begins to take shape.
Using seed starter cubes (like Rockwool) makes this process incredibly easy and clean. Your little plants will be comfy and ready to grow.
Starting From Seed
Place a few seeds into a pre-soaked seed starter cube. We found that two to three seeds per cube is a good idea. Once they sprout, you can thin them to the strongest seedling. This gives you backup options.
Keep the cubes moist and under gentle light until the seedlings are a few inches tall. This initial stage requires a little patience, but it’s very rewarding.
Transplanting Seedlings
Once your seedlings have developed a small root system, they’re ready for the hydroponic system. Gently place the seed cube into a net pot, and then place the net pot into the grow tray openings (Clemson University Cooperative Extension).
Ensure the roots can reach down into the nutrient solution or into the path of the flowing water. Be careful not to damage the delicate new roots during this process. They are the plant’s lifeline.
Maintaining Your Hydroponic Garden
Maintaining a hydroponic garden is less labor-intensive than traditional gardening, but it still requires attention. Regular checks ensure your plants stay healthy and productive.
Consistency is key. Small, regular efforts will pay off with a thriving garden.
Regular Water and Nutrient Checks
Check your nutrient reservoir regularly. The water level will drop as plants drink. You’ll need to top it off with fresh, pH-adjusted water every few days.
Every one to two weeks, completely drain the old nutrient solution and replace it with a fresh batch. This prevents nutrient imbalances and buildup. It’s like giving your plants a fresh meal.
Monitoring Plant Health
Keep a watchful eye on your plants. Look for any discoloration of leaves, stunted growth, or signs of pests. Catching problems early makes them easier to resolve.
A healthy plant usually means a healthy root system. Check the roots periodically; they should be white or off-white, not brown or slimy (National Gardening Association).
Your Hydroponic Gardening Checklist
Here’s a quick overview of what you’ll need to do to get started:
- Choose your preferred hydroponic system (DWC, NFT, etc.).
- Gather essential supplies: growing medium, nutrients, pH kit, air pump.
- Prepare and fill your nutrient reservoir with the correct solution.
- Check and adjust the pH level to the ideal range for your plants.
- Plant your seeds or seedlings into the system carefully.
- Install your chosen grow lights and set their timer.
You’re now well on your way to becoming a successful home hydroponic gardener! It’s a journey of learning and discovery, and you’ll love watching your plants thrive without soil.
Conclusion
You’ve seen that starting your home hydroponic garden is an exciting and rewarding journey. By choosing the right system, gathering your supplies, and carefully preparing your nutrient solution, you’re setting yourself up for success. We’ve covered everything from selecting a system that fits your needs to transplanting your delicate seedlings and maintaining optimal plant health. Remember, consistency in monitoring pH and nutrients is key. Take that first step today and watch your soil-free garden flourish!
Frequently Asked Questions
What are the best plants for a beginner hydroponic garden?
For beginners, we recommend starting with leafy greens like lettuce, spinach, and kale. Herbs such as basil, mint, and cilantro also do very well. These plants are generally forgiving and grow quickly, giving you satisfying results early on.
How often do I need to change the water in my hydroponic system?
You should completely drain and refill your hydroponic system’s reservoir with fresh nutrient solution every one to two weeks. This prevents nutrient imbalances and the buildup of undesirable elements that can harm your plants.
Can I use regular tap water in my hydroponic system?
Yes, you can generally use tap water, but it’s a good idea to let it sit out for 24 hours before mixing nutrients. This allows chlorine to dissipate. Always test the pH of your tap water first, as it can affect your nutrient solution’s balance.
Do hydroponic plants grow faster than soil-grown plants?
Research and our findings show that hydroponic plants often grow faster and yield more than traditional soil-grown plants. This is because they receive a constant supply of perfectly balanced nutrients and oxygen directly to their roots.
What kind of lighting is best for a small home hydroponic setup?
For most small home setups, LED grow lights are an excellent choice. They are energy-efficient, produce less heat, and allow you to customize the light spectrum for different growth stages. Fluorescent T5 lights are also a good, affordable option for leafy greens and seedlings.