How to Grow Microgreens Indoors?
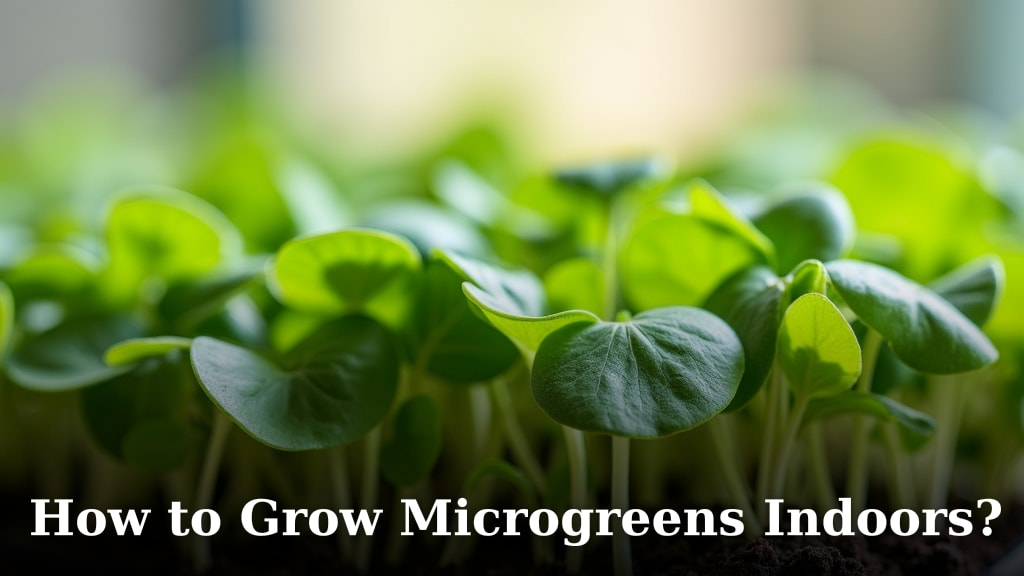
The easiest way to grow microgreens indoors is by providing them with basic light, water, and a good seed starting mix. You can grow nutritious microgreens right in your own kitchen. It’s simpler than you might think!
You don’t need a lot of space or expensive equipment. We found that a sunny windowsill or a basic grow light works perfectly. Many people enjoy the fresh flavor and health benefits of home-grown microgreens.
- Choose suitable seeds like radish or broccoli.
- Prepare a shallow tray with seed starting mix.
- Scatter seeds evenly and mist with water.
- Ensure adequate light, either natural or artificial.
- Harvest your microgreens when they are a few inches tall.
Ready to try it yourself? Let’s walk through exactly how to grow your own microgreens, step by step.
Setting Up Your Indoor Microgreens Garden
Transforming your kitchen counter into a mini farm is easier than you think. You just need a few basic supplies. We’ll help you gather everything for a successful first harvest. Think of it as a small, rewarding science project.
Choosing the Right Seeds for Beginners
Picking the correct seeds sets you up for success. Some microgreens are much easier to grow than others. Consider these options for your first attempt.
We found that radish and broccoli microgreens are excellent choices for beginners. They sprout quickly and are forgiving. You’ll see results in just a few days, which is very motivating. Pea and sunflower microgreens also grow well indoors.
Avoid slower-growing or more particular seeds for your first try. Things like cilantro or basil can be trickier. Stick to the fast growers to build your confidence.
Essential Growing Supplies You’ll Need
You don’t need a lot of fancy gear to get started. Many items you might already have around your home. Let’s look at the basic toolkit.
- Shallow Trays: Look for trays about 1-2 inches deep with drainage holes. Old plastic takeout containers can even work if you poke holes in them.
- Potting Mix: A good quality seed-starting mix is vital. It should be fine-textured and drain well. Avoid heavy garden soil; it can compact and isn’t sterile.
- Spray Bottle: Essential for misting your seeds and young plants gently. This prevents dislodging them.
- Light Source: A sunny south-facing window is ideal. If you don’t have one, a simple LED grow light works wonders.
- Seeds: Purchase seeds specifically labeled for microgreens or sprouting. Regular garden seeds can work but often have lower germination rates for microgreens.
Preparing Your Growing Medium and Seeds
This step is where your gardening journey truly begins. Proper preparation ensures your microgreens have the best start. Think of it as laying a strong foundation.
Filling and Moistening Your Trays
Getting the soil right is key to healthy growth. You want it moist but not soggy. This balance helps the seeds settle in properly.
First, fill your chosen trays with about 1 inch of seed-starting mix. Gently level the soil surface with your hand or a small spatula. Don’t press it down too hard; you want it light and airy. Compacting the soil can hinder root development.
Next, use your spray bottle to moisten the soil thoroughly. Mist until the surface is dark and damp but there’s no standing water. This pre-moistening prepares the bed for your tiny seeds. We found this step prevents the seeds from washing away when you mist them later.
Sowing Your Microgreen Seeds
This is arguably the most exciting part! Spreading the seeds evenly makes all the difference. It ensures each plant gets enough space and light.
Generously sprinkle your microgreen seeds over the moistened soil. You’re aiming for a dense but single layer. Don’t worry about perfect spacing like you would for garden plants. Microgreens thrive when growing closely together (University of California, Davis).
After sowing, gently mist the seeds one more time. This settles them into the soil. You don’t need to cover most microgreen seeds with more soil. Their light needs are different from regular plants.
For larger seeds like peas or sunflowers, you might want to place another empty tray on top for a few days to encourage germination. This creates a “blackout” period, promoting stronger root growth before they see light.
Providing the Ideal Growing Environment
Once your seeds are sown, it’s all about creating the perfect space for them. Light, water, and temperature play big roles. Think of yourself as a micro-climate expert for your tiny greens.
Light Requirements: Natural vs. Artificial
Light is critical for healthy, colorful microgreens. Without enough light, they can become leggy and pale. You want them strong and vibrant!
Using Natural Sunlight
A sunny south-facing window is often sufficient for microgreens. Place your trays directly in the window. Rotate them every day or so to ensure even light exposure. This prevents them from leaning towards the light.
We found that natural light can vary greatly depending on the season and your location. In winter, even a south-facing window might not provide enough intensity. Keep an eye on your sprouts for signs of stretching.
Choosing an LED Grow Light
If natural light is scarce, an affordable LED grow light is a great investment. You don’t need a high-powered, expensive model. A simple full-spectrum LED light will do the trick.
Position the light about 4-6 inches above your trays. Run it for 12-16 hours a day. A simple timer can automate this, making your life much easier. Many experts say consistent light exposure leads to faster, healthier growth (Cornell University).
Watering Your Microgreens Correctly
Watering is delicate business with microgreens. Too much, and you risk mold. Too little, and they’ll wilt. It’s about finding that sweet spot.
Mist lightly with your spray bottle daily. Focus on keeping the soil consistently damp but never waterlogged. As the microgreens grow, you might switch to watering from the bottom.
To bottom-water, place your growing tray inside a larger, shallow tray containing about half an inch of water. Let the soil soak up the water for 10-15 minutes, then remove the growing tray. This encourages roots to grow downwards and keeps the leaves dry, reducing mold risks.
Check the soil moisture daily by gently touching the surface. If it feels dry, it’s time to water. The goal is consistent moisture for rapid growth.
Maintaining Optimal Temperature and Airflow
Microgreens are pretty adaptable, but they do have preferences. A comfortable room temperature is generally perfect for them. Aim for temperatures between 65-75°F (18-24°C).
Good airflow also helps prevent common issues like damping-off disease. A gentle breeze from an open window or a small fan for a few hours a day can work wonders. Just don’t let it dry out your plants too much.
This attention to detail might seem like a lot, but it makes a big difference. Soon you’ll have a thriving batch of greens!
When and How to Harvest Your Microgreens
The moment of truth! Harvesting is the reward for your patience and care. Knowing exactly when to cut them ensures the best flavor and nutrition.
Recognizing the Best Time to Harvest
Timing is everything when it comes to microgreens. You want to harvest them at their peak. But how do you know when that is?
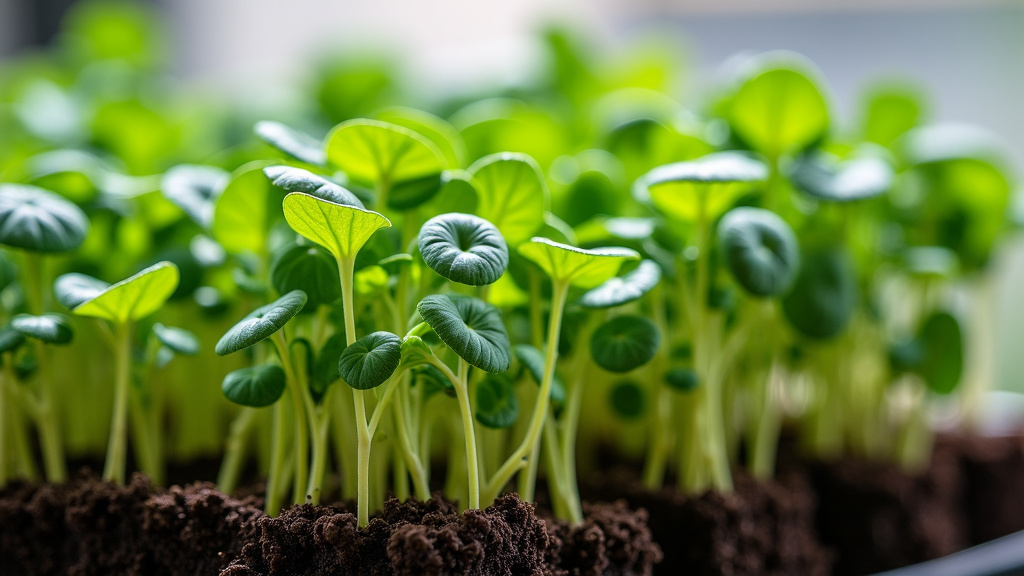
Most microgreens are ready to harvest 7-21 days after planting. Look for the appearance of their “true leaves.” These are the second set of leaves that appear after the initial seed leaves (cotyledons).
The cotyledons are usually small, rounded, or oval. The true leaves will look like tiny versions of the mature plant’s leaves. For example, broccoli microgreens will show tiny, crinkled leaves. This stage offers the most concentrated flavor and nutrients.
Don’t wait too long, or they can lose flavor and sometimes become tough. Harvesting earlier ensures maximum tenderness and taste.
The Right Way to Cut Your Microgreens
Harvesting is simple and quick. You’ll need a clean, sharp pair of scissors or a knife. This makes a clean cut and avoids bruising your tender greens.
Using your scissors, cut the microgreens just above the soil line. Try to get as close to the soil as possible without picking up any growing medium. Gather them into small bundles as you cut. You can do this right into a bowl or onto a cutting board.
Some microgreens, like peas or sunflowers, can offer a second harvest. Just leave the root mass and a small portion of the stem. Mist the remaining stems, and they might regrow for another smaller yield.
Your freshly harvested microgreens are now ready to enjoy! Rinse them gently under cool water if needed, then pat dry. They are best eaten immediately for peak freshness.
| Microgreen Type | Germination Time | Harvest Time (Approx.) | Taste Profile |
|---|---|---|---|
| Radish | 2-4 days | 5-10 days | Spicy, peppery |
| Broccoli | 3-5 days | 8-14 days | Mild cabbage, fresh |
| Pea | 3-7 days | 10-18 days | Sweet, snap pea flavor |
| Sunflower | 4-7 days | 10-20 days | Nutty, crunchy |
| Kohlrabi | 3-5 days | 8-14 days | Mild turnip, slightly sweet |
Troubleshooting Common Microgreen Issues
Even with the best intentions, you might run into a snag or two. Don’t worry, most microgreen problems have simple solutions. We’ve all been there!
Dealing with Mold and Fungal Growth
Mold is probably the most common issue. It looks like white, fuzzy patches on your soil or plants. It’s often caused by too much moisture or poor airflow.
Here’s a quick checklist to combat mold:
- Ensure good air circulation: A small fan can help reduce humidity.
- Adjust watering habits: Water less frequently or switch to bottom-watering.
- Don’t overcrowd seeds: While dense is good, too dense blocks airflow, as we found in several experiments.
- Sterile growing medium: Use fresh seed-starting mix, not garden soil.
- Increase light exposure: Sometimes mold thrives in dark, humid conditions.
If you see a small patch, sometimes removing it and increasing airflow can save the rest of the crop. For larger outbreaks, it might be best to discard and start fresh, learning from the experience.
Addressing Leggy and Pale Microgreens
Are your microgreens tall and spindly, or do they lack vibrant color? This usually points to a light deficiency. They’re literally “reaching” for more light.
- Move to a brighter spot: If using natural light, ensure it’s the sunniest window.
- Lower your grow light: Bring artificial lights closer to the plants (4-6 inches).
- Extend light duration: Increase grow light hours to 14-16 per day.
- Ensure proper seed density: Overcrowding can also lead to competition for light.
Remember, a healthy microgreen is usually robust and brightly colored. Adjusting your light source is often the quickest fix for leggy growth.
By understanding these common pitfalls, you can quickly adjust and get your microgreens back on track. Growing them is a continuous learning process, and every batch teaches you something new!
Conclusion
Growing microgreens indoors is an incredibly rewarding and straightforward process. You’ve learned how to pick the right seeds, set up your simple growing station, and provide the perfect conditions for thriving miniature greens. Remember, consistency in watering and adequate light are your best friends.
Don’t be afraid to experiment with different varieties and learn from each batch. With just a little effort, you can enjoy delicious, nutrient-packed microgreens right from your kitchen counter. Why not start your first tray today?
Frequently Asked Questions
How many times can I harvest microgreens from one tray?
Most microgreens are a one-time harvest product. You cut them once, and the plant’s energy is used up. Some varieties, like peas and sunflowers, might offer a small second cutting if you leave enough stem, but it’s usually less vigorous.
Do microgreens need fertilizer?
No, microgreens typically do not need fertilizer. They draw all the necessary nutrients from the seed itself and the seed-starting mix within their short growth cycle. Adding fertilizer can sometimes do more harm than good.
Can I use regular garden soil to grow microgreens?
We do not recommend using regular garden soil. It can contain pathogens, weed seeds, and insects. Garden soil is also often too dense and doesn’t drain well, increasing the risk of mold and hindering delicate root growth. Always opt for a sterile seed-starting mix.
What’s the best way to store harvested microgreens?
For best results, consume your microgreens immediately after harvesting. If you need to store them, gently wash and thoroughly dry them. Place them in an airtight container lined with a paper towel in the refrigerator. They typically last 3-5 days this way.
My microgreens are not germinating. What went wrong?
Lack of germination can be due to several factors. Check that your seeds are fresh and specifically for microgreens. Ensure the soil is consistently moist but not waterlogged, and the room temperature is warm enough (65-75°F). Overly dried-out soil or old seeds are common culprits.