How to Fertilize Indoor Plants Correctly?
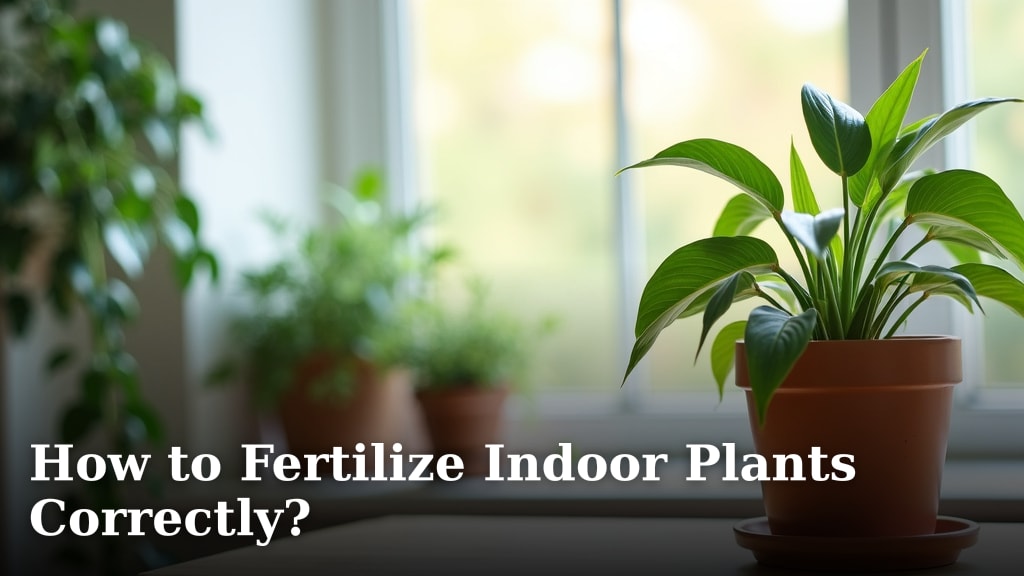
The easiest way to fertilize indoor plants correctly is to feed them regularly during their growing season with a balanced, liquid fertilizer applied at half strength. You want to match their needs without causing harm.
Every plant has different food requirements. For houseplants, fertilizer provides essential nutrients that soil alone can’t always supply. We found that understanding your plant’s growth cycle is key to successful feeding.
TL;DR:
- Choose the right fertilizer type.
- Always dilute liquid fertilizers.
- Fertilize during active growth (spring/summer).
- Reduce or stop feeding in fall/winter.
- Watch for signs of over or under-feeding.
Let’s walk through exactly how to feed your green friends so they truly thrive. We’ll show you how to give them just what they need.
Feeding Your Indoor Plants the Right Way
You want your houseplants to flourish, right? Giving them the right nutrients is like giving yourself a healthy diet. It powers their growth and keeps them strong.
But when it comes to fertilizing, many plant parents feel a little lost. Don’t worry; we’re here to clear things up and make it simple.
Understanding Plant Nutrition Basics
Plants need specific elements to grow. You might remember N-P-K from science class. These are the big three: Nitrogen (N) for leafy growth, Phosphorus (P) for roots and flowers, and Potassium (K) for overall health.
Fertilizers also include trace elements. These are like vitamins for plants. Things like iron, magnesium, and calcium are vital, even in small amounts (Iowa State University Extension).
Why Houseplants Need Fertilizer
In nature, outdoor plants get a constant supply of nutrients. Decomposing organic matter naturally replenishes the soil. But your potted plants aren’t so lucky.
Their soil mix has a limited nutrient supply. As your plant grows, it uses up these nutrients. Watering also washes some away over time. Eventually, the soil becomes depleted unless you step in.
Fertilizing replaces these lost nutrients. It supports new leaves, robust roots, and sometimes even beautiful blooms.
Choosing the Right Fertilizer for Indoor Plants
Walk into any garden store, and you’ll see a dizzying array of fertilizers. How do you pick the best one for your green pals? Let’s break it down.
Liquid Fertilizers: Your Best Bet
We found that liquid fertilizers are generally best for indoor plants. Why? They offer several advantages.
- Instant Availability: Plants can absorb nutrients quickly from liquid forms.
- Easy to Dilute: You have precise control over the strength of the solution. This is crucial for houseplants.
- Even Distribution: Liquid fertilizer spreads evenly through the soil when you water.
Slow-Release vs. Granular vs. Fertilizer Sticks
Other types exist, but they have their drawbacks for indoor use.
- Slow-Release Pellets: These release nutrients over weeks or months. They can be inconsistent indoors, sometimes releasing too much too fast. It’s harder to control the dosage.
- Granular Fertilizers: Designed for outdoor use, these can be too strong for potted plants. They might burn roots or accumulate salts in the soil.
- Fertilizer Sticks: Many experts caution against these. They tend to release nutrients unevenly, creating hot spots of high concentration that can damage roots.
Understanding N-P-K Ratios
You’ll see numbers like 10-10-10 or 2-1-2 on fertilizer bottles. These represent the percentage of Nitrogen, Phosphorus, and Potassium, respectively.
A “balanced” fertilizer has equal or near-equal numbers, like 10-10-10 or 20-20-20. For most houseplants, a balanced fertilizer works well. We found that a ratio closer to 2-1-2 or 3-1-2 is often ideal, as it’s a bit lighter on phosphorus.
The Golden Rule: Dilute, Dilute, Dilute!
This is probably the most important rule for fertilizing indoor plants. Many houseplant fertilizers are made for general use, and full strength is often too strong.
We consistently recommend diluting liquid fertilizers to half or even quarter strength. Why? It’s much safer for your plant’s sensitive root system. Over-fertilizing can lead to “fertilizer burn,” which looks like crispy leaf edges and stunted growth.
It’s always better to under-fertilize slightly than to over-fertilize. Think of it as a gentle boost, not a massive feast.
When to Fertilize: Timing is Everything
Your plants aren’t always actively growing. Their needs change throughout the year.
The Growing Season: Spring and Summer
This is when your plants are doing most of their work. They are putting out new leaves, stretching taller, and sometimes blooming. This increased activity demands more nutrients.
Begin fertilizing in early spring as you see new growth emerge. Continue through summer. For most plants, once every 2-4 weeks during this period is sufficient.
Dormancy: Fall and Winter
As days shorten and light intensity dwindles, most houseplants enter a period of rest, or dormancy. Their growth slows down dramatically, or stops altogether.
This means their nutrient needs plummet. Stop fertilizing entirely during fall and winter. If you continue feeding, the excess nutrients can build up in the soil, potentially harming roots.
An exception might be if you have plants under strong grow lights that continue active growth year-round. Even then, you’ll still want to reduce the frequency and strength.
How to Apply Fertilizer Correctly
Preparation and application are simple once you know the steps.
Always Water First
This tip is often overlooked but extremely important. Always water your plant thoroughly before fertilizing.
Applying fertilizer to dry soil can shock the roots. It can also cause the concentrated salts to burn the root system. Water first, let it drain, then apply your diluted fertilizer solution.
Application Methods
Once you’ve watered and diluted your fertilizer:
- Pour the diluted solution evenly over the soil surface.
- Continue until the solution drains out of the pot’s drainage holes. This ensures the roots get access to the nutrients and helps flush out old, built-up salts.
- Discard any excess runoff from the saucer. Don’t let your plant sit in standing water.
Recognizing Signs of Over and Under-Fertilizing
Your plants will tell you if they’re happy or stressed. Learning their language helps you adjust your feeding schedule.
| Sign | Probable Cause | What to Do |
|---|---|---|
| Yellowing lower leaves, stunted growth | Under-fertilizing (nutrient deficiency) | Start fertilizing with diluted solution during growing season. |
| Crispy, brown leaf tips/edges | Over-fertilizing (fertilizer burn) | Flush soil with plain water, reduce fertilizer strength/frequency. |
| White crust on soil surface or pot rim | Salt buildup from over-fertilizing | Flush soil thoroughly, consider repotting if severe. |
| Excessively leggy growth, weak stems | Too much nitrogen, possibly not enough light | Switch to a more balanced fertilizer, check light levels. |
| Lack of flowering on flowering plants | Too much nitrogen, too little phosphorus | Try a “bloom booster” fertilizer with higher P, or check light. |
When Not to Fertilize (Even During Growing Season)
Sometimes, even if it’s spring or summer, you should hold off on feeding your plants.
- When you’ve just repotted: Fresh potting mix contains new nutrients. Give your plant 4-6 weeks to settle in before fertilizing.
- If your plant is stressed or sick: A struggling plant needs to recover, not be fed. Address issues like pests, root rot, or low light first.
- If the soil is completely dry: As we mentioned, always water first to prevent root damage.
- If your plant shows signs of over-fertilization: Stop immediately and take corrective action.
A Quick Checklist for Fertilizing Success
To keep things simple, here’s a quick recap of the essentials:
- Choose a liquid, balanced fertilizer.
- Always dilute it to half strength.
- Fertilize only during spring and summer.
- Stop feeding in fall and winter months.
- Water your plant thoroughly before fertilizing.
- Watch your plant for signs of stress or happiness.
Conclusion
You now have the knowledge to confidently feed your indoor plants. Remember, fertilizing isn’t about guesswork; it’s about thoughtful care. By choosing the right liquid fertilizer, diluting it properly, and timing your applications, you’re setting your plants up for success.
Paying attention to their signals is key – they’ll tell you if they need more or less. Start with these simple steps, and watch your green companions flourish. Your houseplants will thank you with vibrant growth and lasting beauty.
Frequently Asked Questions
How do I know if my plant is starving for nutrients?
Look for signs like slow or stunted growth, yellowing leaves—especially older, lower ones—and a general lack of vigor. If new leaves are very small or pale, it often indicates a nutrient deficiency.
Can I use coffee grounds or banana peels as fertilizer?
While these contain some nutrients, they aren’t balanced fertilizers and release nutrients slowly and inconsistently. They may also attract pests or harbor mold in indoor conditions. We found that a commercial liquid fertilizer offers more reliable and complete nutrition.
What if I accidentally over-fertilize my plant?
If you suspect over-fertilization, immediately flush the soil with plenty of plain, clean water. Let water run through the drainage holes for several minutes to wash out excess salts. You might need to do this a few times over the next week. Also, stop fertilizing for a while.
Should I fertilize immediately after repotting a plant?
No, it’s best to wait. Most fresh potting mixes contain nutrients that will sustain your plant for a few weeks to a month. Give your plant time to adjust to its new home before adding more fertilizer.
Is there a specific NPK ratio that works for almost all houseplants?
A balanced liquid fertilizer with an NPK ratio around 2-1-2 or 3-1-2 is often ideal for most common houseplants. This provides a good balance for strong foliage without overdoing phosphorus or potassium, which can be less critical for purely foliage plants.