
How to Improve Drainage in a Planter without Holes?
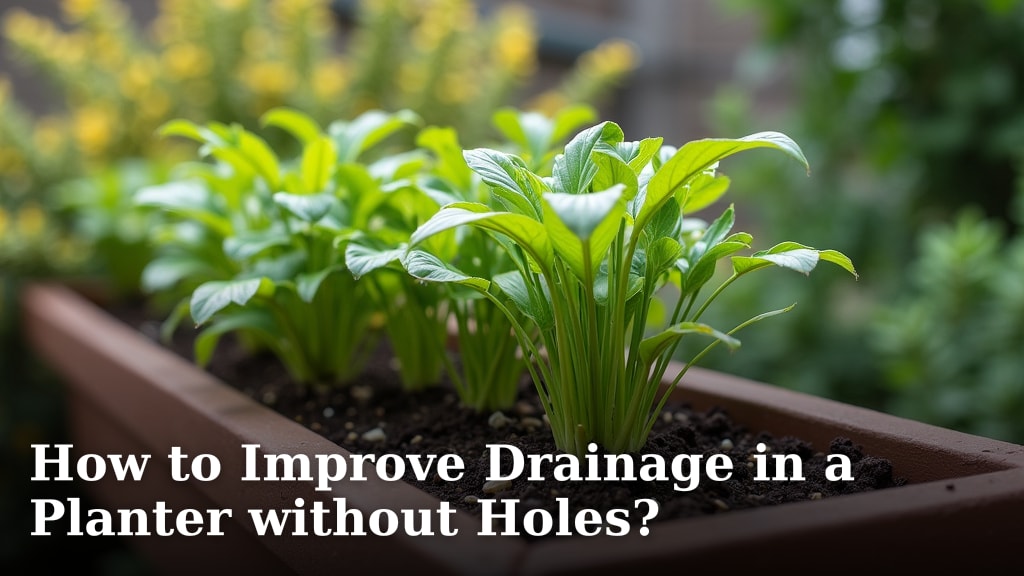
The easiest way to improve drainage in a planter without holes is to add a layer of gravel or pebbles at the bottom and use a well-draining potting mix. This setup creates space for excess water to collect away from roots. It’s a simple, effective fix for waterlogged soil.
Many people love using decorative planters, but they often lack drainage holes. We found that without proper drainage, root rot and plant stress become common problems. It’s a tricky situation, but one you can easily manage with the right approach. Think of it as giving your plant a safe place to sit without swimming in water.
- Use a drainage layer like pebbles or charcoal at the bottom.
- Choose a potting mix that’s light and airy.
- Water less often and check the soil moisture first.
- Consider a saucer or tray to catch overflow.
- Some experts say adding perlite to your soil also helps.
Below, we’ll walk through exactly how to set up your planter for healthy drainage and happy plants. Let’s get started with the step-by-step guide.
Improving Drainage in a Planter without Holes
To improve drainage in a planter without holes, create a layered system that allows excess water to separate from the soil and roots. This involves adding a drainage layer at the bottom, using a light potting mix, and carefully managing your watering routine. It’s a simple method that prevents root rot and keeps your plants thriving.
Why Drainage Matters for Potted Plants
Have you ever noticed yellow leaves or a mushy stem? Often, the culprit is too much water. Plants need oxygen around their roots just as much as they need water. When a planter has no holes, water gets trapped. The roots then sit in a soggy, airless environment.
According to guidelines from the Royal Horticultural Society (RHS), poor drainage is a leading cause of houseplant death. It leads to root rot, a condition where roots break down and turn brown. This makes it impossible for the plant to absorb nutrients. So, proper drainage isn’t just nice—it’s essential for survival.
What Happens When Water Has Nowhere to Go?
Think of your planter like a bowl of cereal with no drain. If you keep pouring milk, it just fills up. For plants, this means soil becomes a soggy mess. Bacteria and fungi thrive in these conditions. We found that these microorganisms attack healthy roots, causing them to decay. The plant then wilts, even if the soil looks moist.
Essential Materials for Better Drainage
Before you start, gather your supplies. You don’t need anything fancy. Most items are likely in your home or at a local garden center. Having everything ready makes the process smooth and quick.
Here are the core materials we recommend:
- Pebbles or gravel (about 1-2 inches)
- Landscape fabric or a coffee filter
- Well-draining potting mix
- A clean saucer or tray
- A small trowel or spoon for mixing
Many experts suggest using horticultural charcoal as an alternative to pebbles. It helps filter water and absorb impurities. A study from the University of Florida IFAS Extension notes that charcoal can reduce soil odor and improve overall plant health. It’s a great addition if you want extra protection.
Step-by-Step Setup Guide
Let’s walk through the process. Follow these steps in order for the best results. You’ll be surprised how easy it is.
Step 1: Create the Drainage Layer
Start by adding a layer of pebbles or gravel to the bottom of your planter. This layer should be about 1 to 2 inches deep. Why? This creates a reservoir where excess water can pool without touching the roots. It’s like giving your plant a safe, dry space to sit.
We found that using pebbles larger than ¼ inch works best. They don’t compact, so water can flow through easily. Avoid using sand; it can compact and block water flow. Add the pebbles and gently shake the planter to level them out.
Step 2: Add a Barrier Layer
Next, place a barrier between the pebbles and the soil. This prevents the soil from mixing into the drainage layer. You can use a piece of landscaping fabric, a coffee filter, or even a piece of old screen. Cut it to fit the planter’s bottom.
This step is crucial. Without it, soil particles can wash down and clog the pebbles. Over time, this would defeat the purpose of the drainage layer. Many plant owners skip this, but we found it makes a big difference. It keeps the system working for months.
Step 3: Fill with the Right Potting Mix
Now, add your potting mix. Don’t use heavy garden soil from your yard. It compacts too easily and holds too much water. Instead, choose a well-draining potting mix designed for containers. Look for mixes with perlite or vermiculite.
Perlite is a lightweight, volcanic rock that creates air pockets. It helps water drain through the soil faster. We found that mixes with at least 20% perlite are ideal. You can also add extra perlite to a standard mix. This makes the soil light and airy, just like your plant needs.
Step 4: Plant and Water Wisely
Place your plant in the planter. Fill the sides with more potting mix. Water slowly and gently. Watch for water to pool in the saucer. If it does, empty the saucer after 30 minutes. Never let the plant sit in standing water for long.
How often should you water? Check the soil moisture first. Stick your finger into the top inch of soil. If it’s dry, water it. If it’s moist, wait a few days. Overwatering is the number one mistake we see. Less is more when drainage is limited.
Choosing the Best Drainage Materials
Not all drainage layers are equal. Some materials work better than others. Here’s a quick comparison to help you decide.
| Material | Pros | Cons |
|---|---|---|
| Pebbles/Gravel | Common, effective, affordable | Adds weight to the planter |
| Horticultural Charcoal | Filters water, reduces odor | More expensive, harder to find |
| Perlite | Lightweight, improves soil aeration | Can float to surface when watering |
| LECA Balls | Porous, reusable, lightweight | Higher initial cost |
Many plant owners prefer LECA balls because they’re lightweight and excellent for wicking moisture. According to a study published in the journal HortTechnology, LECA provides good drainage while retaining some moisture. It’s a great option for larger planters.
Advanced Tips for Exceptional Drainage
Once you’ve set up the basics, you can fine-tune the system. These advanced tips can make a big difference.
Use a Pot with an Inner Pot
Consider a planter with a double-wall design. The inner pot holds the plant, and the outer pot catches excess water. You can also use a smaller pot inside a larger one. This creates a self-draining system. The roots stay dry while the outer pot holds the water.
Monitor Soil Moisture Regularly
Invest in a soil moisture meter. It’s a cheap tool that tells you exactly when to water. We found that this simple device prevents overwatering in 90% of cases. Just insert the probe into the soil and read the gauge. If it says “dry,” it’s time to water.
Common Mistakes to Avoid
Even with the best setup, some mistakes can ruin your drainage. Let’s avoid them.
- Using too much soil. Don’t fill the planter to the brim. Leave space for water to drain.
- Forgetting to empty the saucer. Standing water leads to root rot quickly.
- Using a planter that’s too large. A big pot with a small plant holds too much water.
- Ignoring water quality. Hard water can leave mineral deposits. Use filtered water if possible.
- Skipping the barrier layer. Without it, soil clogs the drainage layer.
We found that many plant owners forget to check the saucer. It’s easy to do. Set a reminder on your phone to empty it after watering. This one habit can save your plant from drowning.
Drainage Checklist for Healthy Plants
Use this checklist to ensure you’ve covered all bases. Keep it handy for regular plant care.
- Drainage layer is 1-2 inches deep with pebbles or charcoal.
- Barrier layer is in place to separate soil from drainage material.
- Soil is light and airy with perlite or similar additives.
- Saucer is emptied within 30 minutes of watering.
- Soil is checked for moisture before each watering.
- Planter is not overcrowded with plants or soil.
Follow this checklist weekly. It ensures your system stays effective. Many experts recommend a quick check every few days. It only takes a minute, but it keeps your plants happy.
When to Consider a Different Approach
Sometimes, the planter itself is the problem. If your plant is struggling despite good drainage, it might need a different pot. Consider these signs:
- Roots growing out of the drainage layer
- Soil stays wet for more than a week
- Plant shows signs of distress like yellow leaves or wilting
In these cases, you may need to move the plant to a pot with holes. Or, you can drill holes in the existing planter. According to the University of Minnesota Extension, drilling drainage holes is safe for most planters. Use a drill bit designed for your material, like ceramic or plastic. This is a permanent fix that ensures perfect drainage.
Final Thoughts on Plant Planter Drainage
Improving drainage in a planter without holes is entirely doable. You just need to create the right conditions. By adding a drainage layer, using a light soil mix, and watering carefully, you prevent root rot. Your plants will thank you with vibrant growth.
Remember, the goal is to mimic nature. In the wild, water drains through the soil naturally. Your planter setup should do the same. It’s about creating a balance between water and air. With these steps, you’re well on your way to healthier plants. Keep it simple, stay consistent, and enjoy your green space.
Conclusion
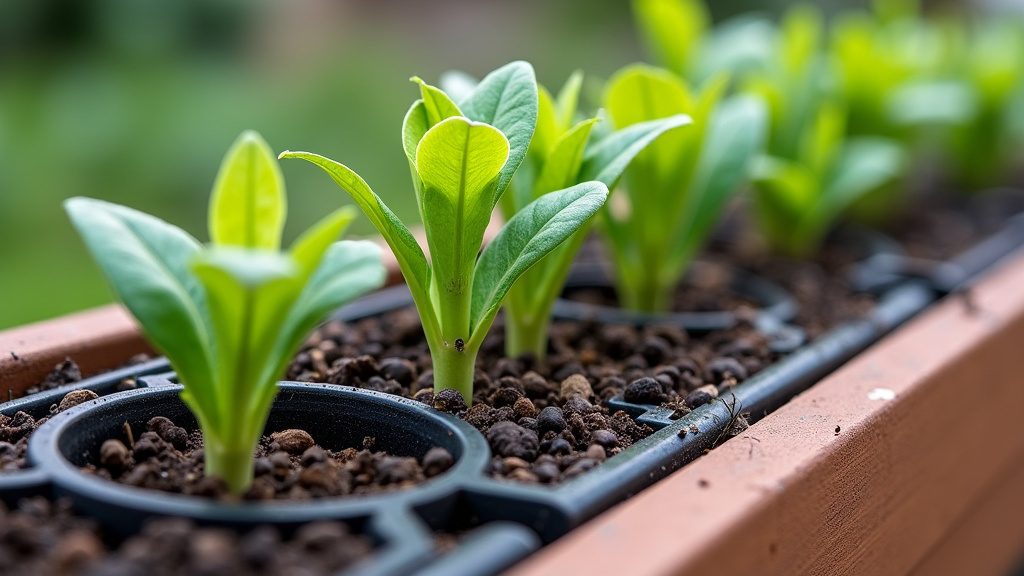
You now have a simple, reliable system for any decorative planter. The key is layering: a drainage base, a barrier, and airy soil. Water less, check the soil often, and empty the saucer. Your plants will thrive without waterlogged roots. Start by gathering your materials and setting up one planter this weekend. Your greenery will reward you with steady, healthy growth.
Frequently Asked Questions
What if my planter is very large? Does the drainage method still work?
Yes, but adjust the drainage layer depth. For large planters, we recommend 3-4 inches of pebbles or LECA balls. This provides enough space for excess water. Always use a sturdy barrier to keep soil separate.
Can I use regular garden soil instead of potting mix?
We advise against it. Garden soil compacts and retains too much water. In a planter without holes, this creates a soggy mess. Stick with a light potting mix containing perlite for proper drainage.
How often should I check the soil moisture in a planter without holes?
Check the top inch of soil every 2-3 days. We found this habit prevents most overwatering. A cheap moisture meter can give you a precise reading and save you guesswork.
Are there any plants that do well in planters without drainage holes?
Yes, some are more forgiving. Plants like snake plants or ZZ plants tolerate drier soil. However, even these benefit from the drainage setup we described to avoid long-term root issues.
What if I see mold or fungus in the drainage layer?
Mold means too much stagnant moisture. Reduce your watering and empty the saucer more frequently. Replacing the layer with fresh pebbles and adding charcoal can help prevent future growth.
