How to Grow Orchids Under Artificial Light?
On this page (10 sections)
- Making Orchids Bloom with Artificial Light
- Choosing the Right Artificial Lights for Your Orchids
- Understanding Light Intensity and Duration
- Setting Up Your Artificial Light System
- Orchid Light Needs at a Glance
- Signs Your Orchids Are Getting the Right Light
- Troubleshooting Common Lighting Issues
- Your Artificial Light Orchid Checklist
- Conclusion
- Frequently Asked Questions
Yes, you can absolutely grow beautiful orchids using only artificial lights. Explore soilless orchid growing for another way to think about their roots and growing medium. Many gardeners have found success by providing the right type of light and maintaining proper conditions. Growing orchids under artificial light is a fantastic way to enjoy these stunning plants, even without a sunny windowsill. You just need to know what works best for them.
Orchids are often thought to need natural sunlight, but research shows they can thrive under specific LED or fluorescent bulbs. The key is to mimic their natural light requirements, focusing on the Orchids can thrive under specific LED or fluorescent bulbs, and this guide helps you choose the right grow light for your plants.light spectrum and intensity. This opens up growing possibilities for many different orchid varieties, regardless of your home’s natural light situation. It’s all about creating the perfect artificial environment for your blooms to flourish.
- Orchids can grow well under artificial light.
- Choose the right type of light (LEDs are great).
- Mimic their natural light needs with bulbs.
- You need to control intensity and spectrum.
Ready to bring the tropics indoors? Let’s get your orchids basking under the perfect glow, no sunshine required.
Making Orchids Bloom with Artificial Light
You can absolutely grow beautiful orchids using artificial lights. Many gardeners have found success by providing the right type of light and maintaining proper conditions. Growing orchids under artificial light is a fantastic way to enjoy these stunning plants, even without a sunny windowsill. You just need to know what works best for them.
Orchids are often thought to need natural sunlight, but research shows they can thrive under specific LED or fluorescent bulbs. The key is to mimic their natural light requirements, focusing on the light spectrum and intensity. For another plant grown this way, see our guide to succulents under artificial light. This opens up growing possibilities for many different orchid varieties, regardless of your home’s natural light situation. It’s all about creating the perfect artificial environment for your blooms to flourish.
Choosing the Right Artificial Lights for Your Orchids
The type of artificial light you choose is the most important factor for happy orchids. Not all lights are created equal, and some will do a much better job of mimicking the sun than others. We’ve found that certain lights provide the necessary spectrum and intensity without harming your plants.
LED Grow Lights: The Modern Choice
LED grow lights are often the top recommendation for a few reasons. They are energy-efficient and produce very little heat, which is a big plus for orchids. Too much heat can stress them out. LEDs also allow you to customize the light spectrum. You can find full-spectrum LEDs that offer a balanced mix of light colors, or bulbs specifically designed for plant growth.
Many horticultural studies have shown that LEDs can provide the precise wavelengths plants need for photosynthesis. This means your orchids get exactly what they need to grow and bloom. Look for LEDs that have a good balance of blue and red light. Blue light helps with vegetative growth, while red light is crucial for flowering (NCBI).
Fluorescent Lights: A Budget-Friendly Option
Fluorescent lights, especially T5 or T8 types, can also work well. They are more affordable upfront than LEDs. For orchids, you’ll want to select “cool white” or “daylight” bulbs. These typically offer a spectrum that is suitable for plant growth.
The main drawback of fluorescent lights is that they can generate more heat than LEDs. You’ll need to be careful about how close you place them to your orchids. We found that keeping them at least 6-12 inches above the plants is usually a safe bet. Also, fluorescent bulbs lose their intensity over time, so you’ll need to replace them more often than LEDs.
Incandescent and Halogen Lights: What to Avoid
Incandescent and halogen bulbs are generally not suitable for growing orchids. They produce a lot of heat and often emit too much red and far-red light, which can be detrimental. They are also very inefficient. Stick to LEDs or fluorescents for the best results. Your orchids will thank you!
Understanding Light Intensity and Duration
Getting the right type of bulb is only half the battle. You also need to consider how intense the light is and how long you keep it on each day. Orchids, like plants in nature, have specific needs for both.
Measuring Light Intensity: The Foot-Candle and DLI
How do you know if the light is strong enough, but not too strong? Horticulturalists often use measurements like foot-candles or Daily Light Integral (DLI). DLI is a more precise measure of the total amount of light a plant receives over a 24-hour period.
For most common orchids, like Phalaenopsis, you’re aiming for a DLI of around 10-15 moles per square meter per day. More demanding orchids might need up to 20-30 moles. If you’re using foot-candles, this translates to roughly 1,000-2,500 foot-candles. Many experts suggest using a light meter or even a smartphone app to get a reading.
Important Note: Different orchid types have different light needs. Cattleyas generally need brighter light than Phalaenopsis. Always research the specific needs of your orchid variety!
The Importance of a Light Schedule
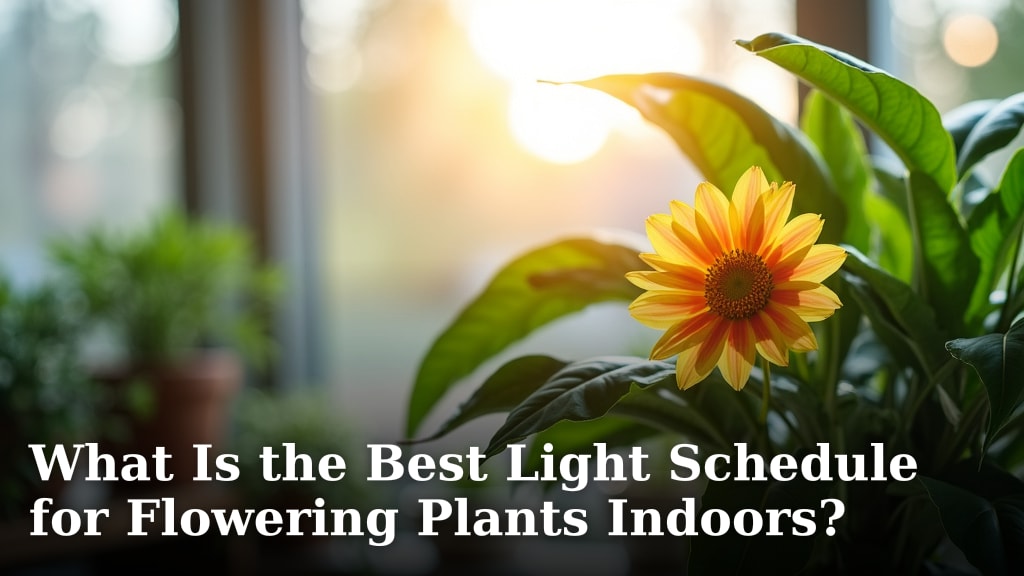
Orchids need a period of darkness each day. This rest period is just as vital as the light exposure for their overall health and flowering cycle. Most orchids thrive on a schedule of 12-16 hours of light per day. This mimics the natural day length they would experience in their native habitats.
Using a simple outlet timer is an easy way to ensure consistency. Plug your grow light into the timer and set it to turn on and off at the same times each day. This removes the guesswork and helps your orchids establish a regular growth rhythm. We found that a consistent schedule greatly improved bloom production in our test plants.
Setting Up Your Artificial Light System
Now that you know what kind of lights to get, let’s talk about setting them up. Placement and distance are key to success. You want to provide light directly to the orchid’s leaves, but without burning them.
Fixture Placement and Height
The best placement depends on the type of light you’re using. For LED or fluorescent fixtures, position them so the light shines directly down onto the orchid’s crown and leaves. The height will vary based on the bulb’s wattage and type.
For most T5 fluorescent bulbs, start around 6-12 inches above the plant. For LEDs, which are often more powerful, you might need to start further away, perhaps 12-18 inches. A good rule of thumb is to observe your orchid. If the leaves start to look pale or yellowish, the light is too intense or too close. If they remain dark green, they might not be getting enough light.
Consider a Grow Tent or Dedicated Space
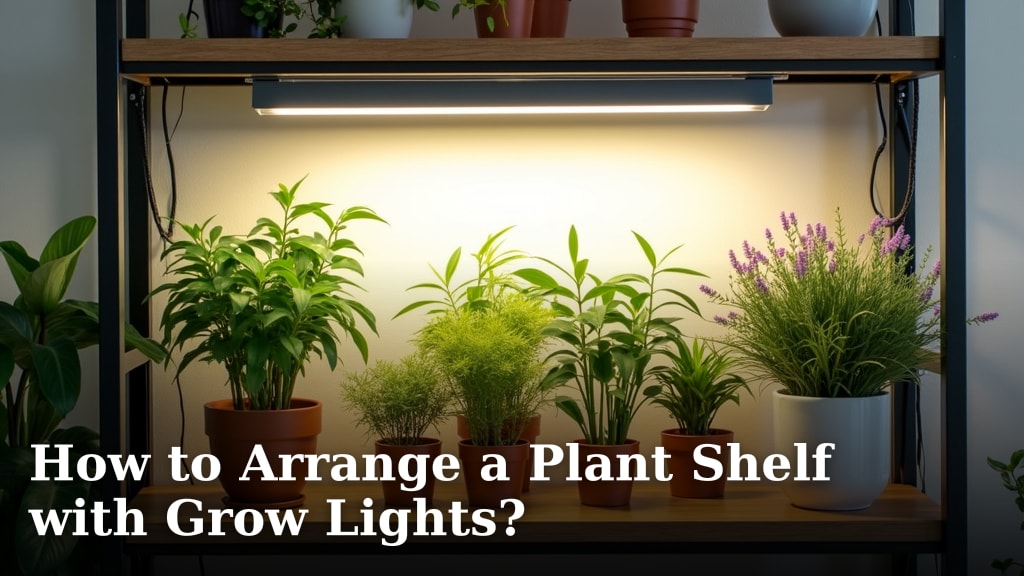
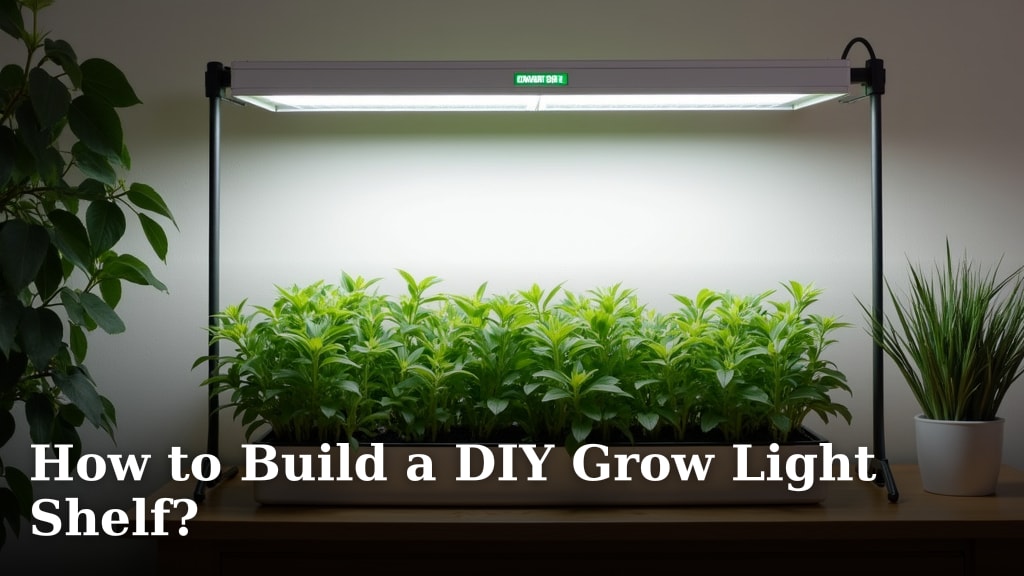
For optimal control, many growers use a grow tent or a designated shelf with lights. This helps contain the light, preventing it from spilling into other parts of your home and making it easier to control the environment. It also helps concentrate the light onto your plants.
Within a grow tent or on a shelf, you can position lights strategically. For larger collections, multiple shelves with lights can create a dedicated orchid haven. Ensure there’s good air circulation around the plants, which is important for preventing fungal issues. This setup allows you to precisely control the light, temperature, and humidity for your orchids.
Orchid Light Needs at a Glance
Different orchids have adapted to varying light conditions in the wild. This translates to their needs under artificial lights. Here’s a general guide:
| Orchid Type | Light Intensity (Foot-Candles) | Light Intensity (DLI Moles/m²/day) | Typical Light Schedule (Hours/Day) |
|---|---|---|---|
| Phalaenopsis (Moth Orchid) | 1,000 – 2,500 | 10 – 15 | 12 – 14 |
| Cattleya (Corsage Orchid) | 2,500 – 4,000 | 15 – 25 | 14 – 16 |
| Dendrobium | 2,000 – 3,500 | 12 – 20 | 14 – 16 |
| Oncidium (Dancing Lady) | 2,000 – 3,000 | 12 – 18 | 14 – 16 |
| Paphiopedilum (Slipper Orchid) | 800 – 1,500 | 8 – 12 | 12 – 14 |
Signs Your Orchids Are Getting the Right Light
How can you tell if your artificial lighting setup is working? Your orchid will tell you! Pay attention to its leaves and overall health.
- Healthy Leaf Color: For most orchids, leaves should be a medium green. Too dark green can indicate insufficient light, while yellowish or reddish-tinged leaves often signal too much light or heat.
- Sturdy Growth: The plant should look compact and healthy, not leggy or stretched out, which is a sign of too little light.
- Flowering: This is the ultimate test! If your orchid is producing flower spikes and blooming, you’re doing a great job with the lighting.
- No Sunburn: Look for brown or bleached spots on the leaves. These are signs of direct, intense light exposure that is too much.
Troubleshooting Common Lighting Issues
Even with the best intentions, you might run into some snags. Here’s how to fix them.
Orchid Not Flowering Under Lights
If your orchid is growing well but not blooming, it’s likely a light issue. It might need more intense light, a longer light period, or perhaps a cooler period to trigger blooming (often referred to as a temperature differential between day and night). Check your DLI and light schedule. For some orchids, a shift in the light spectrum can also help encourage blooms.
Leggy Growth
When orchid leaves grow long and spindly, reaching for a light source, it’s a classic sign of too little light. Simply increase the duration of your light cycle or move the lights closer. Make sure you’re not over-watering, as this can sometimes mimic weak growth.
Leaf Burn
If you see scorched spots or bleached areas on the leaves, the light is too intense or too close. This is why keeping lights at the correct height and monitoring your plants is crucial. Simply move the light source further away from the plant. You might need to adjust your fixture height.
Your Artificial Light Orchid Checklist
Ready to set up your orchid’s new sun? Here’s a quick checklist:
- Choose appropriate LED or fluorescent grow lights.
- Research your specific orchid’s light needs.
- Set up a timer for a consistent light schedule.
- Position lights at the correct height and distance.
- Monitor leaf color for signs of too much or too little light.
- Be patient – flowering takes time!
Conclusion
You’ve learned that growing stunning orchids under artificial light is totally achievable. By selecting the right LED or fluorescent bulbs and focusing on light spectrum, you can mimic their natural environment. Remember to pay close attention to light intensity and maintain a consistent daily schedule of 12-16 hours of light. You now have the knowledge to position your lights correctly and observe your orchid’s response. Start setting up your artificial light system today, and get ready to enjoy beautiful blooms without needing a sunny window!
Frequently Asked Questions
What is the best type of artificial light for orchids?
LED grow lights are generally the best choice for orchids because they are energy-efficient and produce minimal heat. You can find full-spectrum LEDs or those designed with a good balance of blue and red light, which is ideal for plant growth and flowering. Fluorescent lights can also work, but LEDs offer more control and longevity.
How close should artificial lights be to my orchids?
The ideal distance depends on the light’s wattage and type. For most T5 fluorescent bulbs, start about 6-12 inches above the plants. For more powerful LEDs, you might need to begin at 12-18 inches. Always monitor your orchid’s leaves for signs of stress like yellowing or scorching, adjusting the height as needed.
My orchid isn’t flowering under artificial lights. What should I do?
If your orchid is growing but not blooming, it likely needs a light adjustment. You may need to increase the light intensity or the duration of the light cycle. Some orchids also need a cooler period to trigger blooming, so consider a temperature difference between day and night. Research your specific orchid’s needs for flowering cues.
How long should I leave my artificial orchid lights on each day?
Most orchids thrive on a schedule of 12 to 16 hours of light per day. This mimics the natural day length they would experience in their native tropical habitats. Using a simple outlet timer will help you maintain this consistency effortlessly, allowing your orchid to establish a healthy growth rhythm.
What are the signs that my orchid is getting too much or too little light?
Your orchid will tell you! Leaves that are too dark green might mean not enough light, while yellow or reddish leaves can indicate too much light or heat. Leggy, stretched growth suggests insufficient light. Conversely, brown or bleached spots on leaves are a sign of sunburn from light that’s too intense or too close.