
What Is the Best Grow Tent Ventilation Setup?
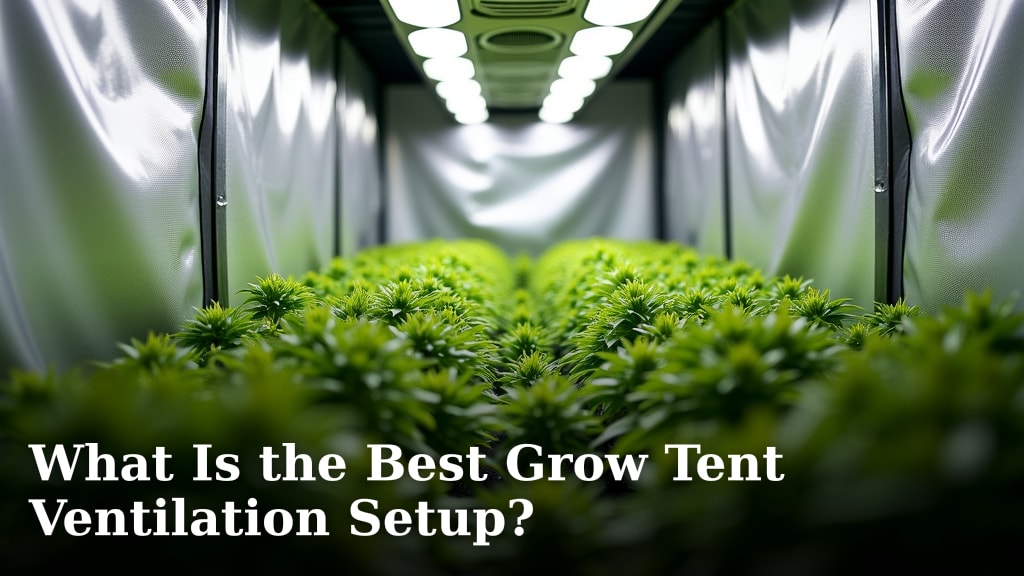
The best grow tent ventilation setup relies on a few key components working together. You need an exhaust fan to pull stale air out. A quality carbon filter is essential for odor control. Proper air intake, often through passive vents, ensures fresh air reaches your plants. Getting this balance right means healthier plants and better yields.
Choosing the right fan size and ducting is super important. Too small, and your tent gets too hot and humid. Too large, and you might dry out your plants too quickly. It’s about creating a gentle, consistent airflow. Think of it as the lungs of your grow tent, constantly refreshing the environment for your green friends.
- The best setup uses an exhaust fan and carbon filter.
- Proper air intake is also key for fresh air.
- Fan size matters to avoid issues like high heat and humidity.
- Consistent airflow helps keep plants healthy and productive.
Below, we’ll walk you through how to set up your grow tent ventilation for success. Let’s get your plants breathing easy!
Creating Your Ideal Grow Tent Ventilation System
Getting your grow tent’s airflow just right is key for happy, healthy plants. Think of it as providing your plants with a constant, gentle breeze. This keeps them strong and helps them produce better yields. We’ll guide you through setting up a ventilation system that works wonders.
Understanding the Core Components of Airflow
A great ventilation setup isn’t complicated. It’s about making sure the air inside your tent stays fresh and at the right temperature and humidity. You need to pull out the old air and bring in the new. This exchange is vital for your plants’ growth. Let’s break down what you absolutely need.
The Mighty Exhaust Fan: Your Air-Moving Muscle
The exhaust fan is the engine of your ventilation. Its main job is to suck stale, warm, and moist air out of your grow tent. This constant pulling action creates negative pressure. This means the air outside your tent wants to rush in. That’s a good thing!
Choosing the Right Fan Size (CFM Matters!)
Picking the right size fan is super important. Too small, and your tent will get too hot and humid. This is a recipe for plant stress and potential mold issues. Too big, and you might dry out your plants too quickly. You want a gentle, consistent air exchange. We need to calculate the fan’s CFM (Cubic Feet per Minute).
To figure this out, we found that many growers use a simple formula. You need to know the volume of your tent. Measure its length, width, and height. Multiply these numbers together to get your tent’s cubic feet. Then, multiply that number by a factor, often between 1 and 2. This gives you a target CFM for your fan.
For example, a 4×4 foot tent that’s 7 feet tall has a volume of 112 cubic feet (4 x 4 x 7). If you multiply this by 1.5, you’d aim for a fan around 168 CFM. Most experts recommend aiming for about one air change per minute, so multiply your tent’s volume by 1. This is a good starting point, but you might need a bit more power if you have powerful lights.
The Odor Obliterator: Your Carbon Filter
Unless you’re growing scentless plants (which are rare!), you’ll want a carbon filter. This attaches to your exhaust fan. It scrubbs the air before it leaves your tent. This is essential for keeping your grow private and pleasant for you and your neighbors.
How Carbon Filters Work Their Magic
Activated carbon has tiny pores. These pores trap odor molecules as the air passes through. Think of it like a sponge for smells. The more activated carbon, the better it filters. Most filters have a thick bed of carbon. This ensures thorough odor removal.
Matching Filter Size to Fan Power
It’s vital that your carbon filter can handle the airflow from your fan. If your filter is too restrictive, it will slow down your fan. This reduces its effectiveness and can even damage the fan motor. Always check the CFM rating on the filter. It should be equal to or higher than your exhaust fan’s CFM.
Ensuring Fresh Air: The Intake Strategy
While the exhaust fan pulls air out, you need a way for fresh air to get in. This is called passive intake. Most grow tents have vents with flaps. You simply open these flaps to let outside air in. This natural airflow helps maintain that gentle negative pressure.
Passive vs. Active Air Intake
For most setups, passive intake is perfectly fine. The negative pressure created by your exhaust fan does a good job. However, if you have a very powerful fan or a small tent, you might need an active intake. This involves a separate, smaller fan blowing fresh air into the tent.
Active intake can help regulate temperature. It can also prevent your exhaust fan from working too hard. Many experts suggest that for tents smaller than 4×4 feet, passive intake is usually sufficient. For larger tents or high-heat environments, consider adding an active intake fan (CDC).
Putting It All Together: The Ducting and Setup
Once you have your fan and filter, you need to connect them. This is where ducting comes in. Ducting is like the veins of your ventilation system. It carries the air where it needs to go. The type and size of ducting matter.
Choosing the Right Ducting
You’ll typically use flexible, insulated ducting. The diameter of the ducting should match your fan’s outlet size. Common sizes are 4-inch, 6-inch, and 8-inch. Using the wrong size can restrict airflow. This can make your fan less efficient.
Installation Tips for Optimal Airflow
When installing your ducting, try to keep it as short and straight as possible. Every bend and curve adds resistance. This reduces the fan’s actual CFM. Secure the ducting tightly to the fan and filter using clamps. This prevents air leaks, which can waste energy and reduce effectiveness.
Fan and Filter Placement: A Matter of Importance
Where you place your fan and filter can impact your tent’s environment. Many growers hang the filter inside the tent, near the top. This allows it to pull air from the warmest part of the tent. The fan is then typically connected to the filter via ducting. The exhaust air is then vented outside or into another room.
Some people prefer to keep the fan outside the tent. This can help reduce the tent’s internal temperature. The fan pulls air through the filter and ducting, then exhausts it. Research indicates this method can lower the overall tent temperature by a few degrees (NCBI). Consider your tent’s space and your specific cooling needs.
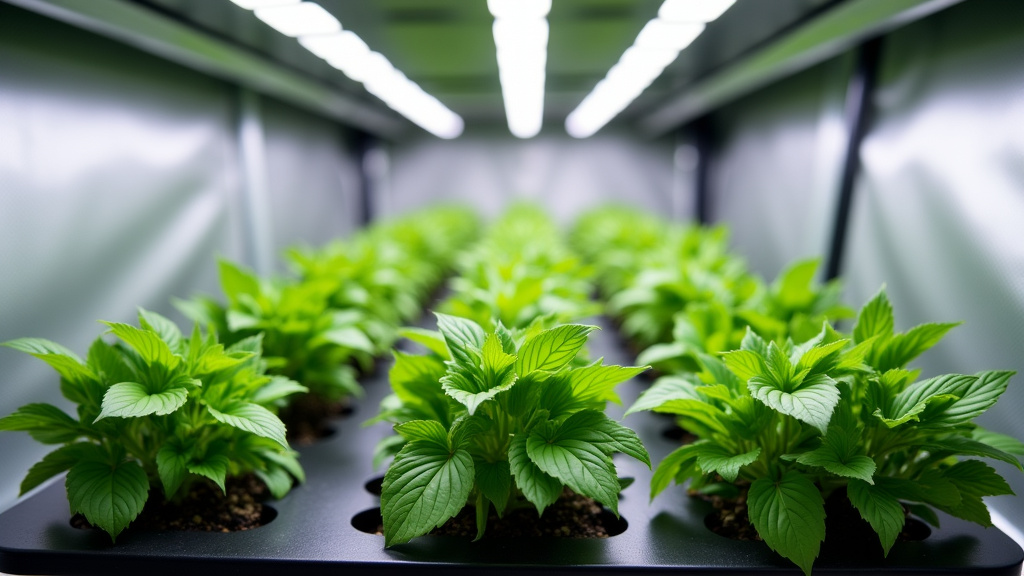
Maintaining Your Ventilation System for Peak Performance
Like any mechanical system, your ventilation setup needs a little TLC. Regular maintenance ensures it keeps running smoothly. This saves you money and keeps your plants happy.
Filter Life and Replacement
Carbon filters don’t last forever. The activated carbon gets saturated over time. You’ll notice the odor control starts to fade. Depending on the filter quality and how much odor it’s filtering, they can last anywhere from 12 to 18 months. Always follow the manufacturer’s recommendations for replacement.
Fan Checks and Cleaning
Your fan might need occasional cleaning. Dust and debris can build up on the blades. This can make it less efficient. Gently clean the fan blades with a damp cloth. Ensure the fan is unplugged before you start cleaning. Check for any strange noises or vibrations. These could indicate a problem.
Ducting Inspection for Leaks
Periodically inspect your ducting. Look for any tears or holes. Make sure all connections are still secure. Even small leaks can reduce the overall effectiveness of your system. Seal any leaks with strong tape, like duct tape.
Your Grow Tent Ventilation Checklist
- Calculate your tent’s cubic feet to determine CFM needs.
- Select an exhaust fan with adequate CFM for your tent size.
- Choose a carbon filter rated for at least your fan’s CFM.
- Ensure your ducting diameter matches your fan outlet.
- Keep ducting runs as short and straight as possible.
- Regularly check and clean your fan and inspect your ducting.
Conclusion
You’ve learned that the best grow tent ventilation setup is all about balance. It’s a system of components working together to keep your plants breathing easy. You need the right exhaust fan and a quality carbon filter for clean, odor-free air. Proper air intake ensures a constant supply of fresh oxygen. By calculating your tent’s volume and matching your fan’s CFM, you avoid common pitfalls like heat and humidity issues. Now, take that knowledge and apply it to your own grow space. Your plants will thank you with healthier growth and better yields!
Frequently Asked Questions
How often should I replace my carbon filter?
Research and found that most carbon filters last between 12 to 18 months. This lifespan depends on the filter’s quality and how much odor it’s processing. You’ll know it’s time to replace it when you start noticing odors escaping your tent again.
Can I use a fan that’s too powerful for my grow tent?
While it might seem like more power is better, an oversized fan can actually harm your plants. It can create too much negative pressure and dry out your grow environment too quickly. This can stress your plants and negatively impact their growth and development.
What’s the difference between passive and active air intake?
Passive intake relies on natural airflow created by negative pressure from your exhaust fan. Active intake uses a separate, smaller fan to actively push fresh air into the tent. For most setups, passive intake is sufficient, but active intake can be helpful in larger tents or hotter environments.
How can I tell if my ventilation system isn’t working properly?
Signs of poor ventilation include consistently high temperatures, excessive humidity, or stagnant air within your tent. You might also notice mold growth or an increase in plant stress. If you see these issues, it’s time to re-evaluate your fan size and setup.
Does the placement of my fan and filter matter that much?
Yes, placement can make a difference. Hanging the filter high inside the tent allows it to capture the warmest air. Some growers prefer to mount the fan outside the tent to reduce internal heat. Experimenting with placement can help optimize your tent’s microclimate.
