
How to Ventilate a Grow Tent Properly?
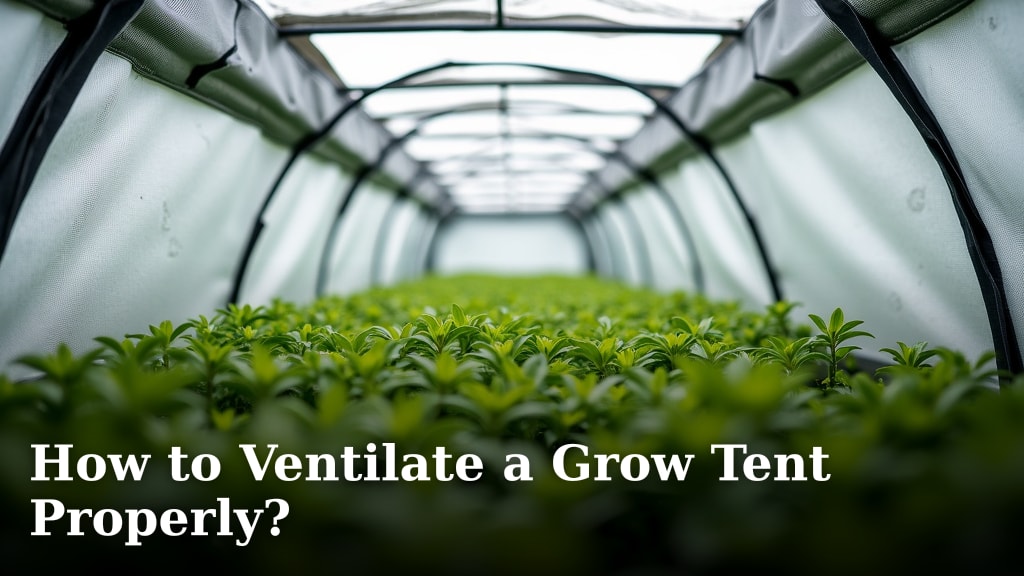
To properly ventilate a grow tent, you must install an intake fan to pull fresh air in and an exhaust fan to push stale air out. This creates essential airflow that regulates temperature and humidity for healthy plants.
Without this exchange, your grow space can quickly become too hot, humid, or starved of carbon dioxide. We found that consistent airflow is a key factor in preventing mold and supporting strong growth. It’s a fundamental system every indoor garden needs.
- An intake fan pulls fresh, CO2-rich air into the tent.
- An exhaust fan removes hot, humid, and stale air.
- Fans should be matched to your tent size, measured in CFM.
- Place the intake low and the exhaust high for the best results.
- Use ducting to vent exhaust air outside the growing area.
Let’s walk through exactly how to set up this system step by step. Below, we break down everything from choosing the right fans to positioning them for perfect airflow.
Setting Up Your Grow Tent Airflow System
You need a system that brings in fresh air and pushes out stale air. This simple exchange is the lifeblood of your indoor garden. We found that without it, you’re just growing a box of problems like mold and weak plants. The good news is, setting it up is straightforward once you know the parts.
The Core Components of Grow Tent Ventilation
Think of your grow tent as a small room. That room needs a window and a fan. The two main pieces of equipment you’ll buy are an exhaust fan and an intake fan. These work together to create a constant flow of air.
Many new growers ask if one fan is enough. The short answer is no. An exhaust fan alone can create a negative pressure situation, which is good for odor control but can strain the fan and doesn’t guarantee fresh air reaches your plants. An intake fan makes the system efficient and effective.
Exhaust Fan: The Evacuator
This fan’s job is to remove the bad air. It pulls hot air, excess humidity, and stale carbon dioxide from the top of your tent. Hot air rises, so this fan is always installed up high. It should be connected to ducting that vents the air completely outside your growing area, not just into the same room.
Intake Fan: The Provider
This fan pulls cool, fresh air into the tent from outside. It supplies the carbon dioxide your plants need for photosynthesis. We found that placing this fan low and opposite the exhaust creates the best cross-breeze. Some growers use a passive intake (a vent opening) instead, but an active fan gives you more control.
Calculating the Right Fan Size (CFM is Key)
Size matters. You need to match your fans to the volume of your tent. The measurement for this is CFM, which stands for Cubic Feet per Minute. It tells you how much air the fan can move. An undersized fan will struggle. An oversized fan might be loud and waste energy.
The basic formula is simple: Length x Width x Height of your tent equals its volume in cubic feet. A good rule of thumb is to choose an exhaust fan with a CFM rating equal to or slightly higher than your tent’s volume. If you have a long duct run, add about 25% to the CFM requirement to account for friction.
Quick Sizing Guide for Common Tent Volumes:
| Tent Size (Volume) | Recommended Exhaust CFM |
|---|---|
| 2’x2’x4′ (16 cu ft) | 16+ CFM |
| 4’x4’x6′ (96 cu ft) | 96+ CFM |
| 5’x5’x6.5′ (162 cu ft) | 162+ CFM |
| 4’x8’x6.5′ (208 cu ft) | 208+ CFM |
Strategic Placement for Maximum Efficiency
Where you put the fans creates the airflow pattern. The goal is a steady, gentle stream that touches every part of your garden, not a hurricane that stresses your plants.
The standard, proven method is cross-ventilation. Place your intake fan low on one side of the tent, near the floor. Install your exhaust fan high on the opposite side, near the roof. This creates a diagonal airflow path that pulls cool air across the canopy and pushes hot air out.
Why Hot Air Goes Up: A Simple Analogy
Imagine a hot air balloon. The hot air inside is less dense, so it rises. Your grow lights create a lot of heat, which gathers at the top of your tent. The exhaust fan is like opening a door at the top of a hot attic. It lets that rising hot air escape. If you only vent from the bottom, you’re trying to fight physics.
Step-by-Step Installation Guide
Let’s get this built. Follow these steps in order for a smooth setup. Before you start, unplug all lights and equipment for safety.
1. Install the Exhaust Fan First. Mount it inside the tent at the top corner or roof port. Connect it to a flexible ducting tube. Run this ducting to an exit point—usually a window, a dedicated vent, or outside. Seal all connections with foil tape to prevent leaks.
2. Mount the Intake Fan. Attach it to a lower port on the opposite side. You can often use a short ducting run here. Some fans come with a flange that fits directly into the tent’s port.
3. Seal All Openings. Check every other port and zipper on your tent. Any hole is a path for uncontrolled air. Cover unused ports with the included fabric patches or solid duct caps. We found that a tent in negative pressure (suction inward when you unzip the door) is a sign your exhaust is working perfectly.
Optimizing Your Environment Beyond the Fans
Great airflow is the foundation. Now you can fine-tune it. Many experts recommend adding a clip-on circulation fan inside the tent. This isn’t for air exchange; it creates a gentle breeze among your plants. This breeze strengthens stems and helps prevent powdery mildew (CDC notes that stagnant, humid air promotes mold growth).
Place this circulation fan to blow across the canopy, not directly at it. Think of it like a gentle wind rustling the leaves, not a hairdryer pointed at one spot. This internal circulation, combined with your exchange system, creates the ideal climate.
Maintaining Your Ventilation System
Once it’s set up, your job isn’t done. A dirty or poorly maintained system loses efficiency. Filters get clogged. Ducts develop kinks. Noise levels can creep up. A quick monthly check keeps everything running smoothly.
The most important part to check is your carbon filter. If you’re using one for odor control, it has a limited lifespan. We found that most high-quality filters need replacement every 12-18 months, depending on use. A clogged filter will restrict airflow and make your exhaust fan work much harder, reducing its effectiveness and lifespan.
Your Ventilation Setup Checklist
- Tent Volume Calculated: You know your CFM requirement.
- Exhaust Fan Mounted High: With ducting sealed and venting outside.
- Intake Fan Mounted Low: On the opposite side from the exhaust.
- All Other Ports Sealed: Tent is under slight negative pressure.
- Internal Circulation Fan Added: Creating a gentle breeze on the plants.
Troubleshooting Common Airflow Issues
Sometimes things don’t go as planned. Is your tent getting too hot? First, check for kinks in the exhaust ducting. A sharp bend can cut your CFM in half. Ensure you’re not exhausting air back into the same room. That just recycles the heat.
Are you seeing humidity spikes, especially at night? This is normal to a degree, but excessive moisture is a problem. A dehumidifier inside the tent can help, but it will generate heat. Sometimes, simply upgrading to a more powerful exhaust fan is the real solution.
A Quick Note on Air Quality
You are breathing this air, too. The CDC recommends good ventilation for indoor spaces to reduce exposure to pollutants. Venting your grow tent properly benefits your plants and contributes to healthier air in your home by removing excess humidity and other airborne particulates from the growing process.
Bringing It All Together
Proper grow tent ventilation is a system, not just a single product. It’s the deliberate movement of air for a purpose. By choosing the right size fans, placing them strategically, and maintaining the setup, you create a resilient environment. You’ve now moved from just having a tent to running a controlled, thriving ecosystem.
Conclusion
Now you know the core system that keeps your grow tent healthy. You need an exhaust fan placed high to remove hot, stale air and an intake fan placed low to bring in fresh, CO2-rich air. Match your fan size to your tent volume using CFM. Seal every other opening. Add an internal circulation fan to strengthen your plants. Maintain your setup monthly, especially your carbon filter.
Getting this right means fewer problems with mold, heat stress, and weak growth. Your plants will thank you. The best next step is to grab a tape measure, calculate your tent volume, and pick fans that fit. Don’t overthink it — just start building that airflow. Your indoor garden is waiting.
Frequently Asked Questions
Can I vent my grow tent exhaust back into the same room?
You can, but it’s not ideal. Exhausting back into the same room recycles hot, humid air and raises the room’s temperature over time. We found that venting outside — through a window or dedicated vent — gives you the best results. If you must vent indoors, consider adding an air conditioner to the room.
How often should I run my exhaust fan?
Most growers run their exhaust fan continuously during the light cycle. When lights are off, you can reduce speed or turn it off if temperatures stay stable. We recommend using a fan with a speed controller so you can adjust airflow based on temperature and humidity readings. Consistent airflow is better than on-and-off cycling.
Do I need a carbon filter for my grow tent?
A carbon filter is not required, but it’s essential if odor control is a priority. It attaches to your exhaust fan and scrubs the air before it leaves the tent. Without one, smells from flowering plants can fill your home. We found that most growers who want discretion install a filter right away.
What if my tent still gets too hot after setting up ventilation?
Check for kinks in your ducting first — a sharp bend can cut airflow significantly. Make sure your exhaust fan’s CFM matches your tent volume. You can also add a small air conditioner inside the tent or switch to cooler LED lights. Sometimes upgrading to a more powerful exhaust fan is the only fix you need.
Can I use just a passive intake instead of an intake fan?
Yes, a passive intake works by letting air flow in through an open vent while the exhaust fan pulls it. However, we found that an active intake fan gives you much more control over airflow and temperature. Passive intakes can also let in dust and pests through unfiltered openings. For most setups, an active intake is worth the small extra cost.
