
How to Set a Timer for Grow Lights?

Setting a timer for your grow lights is surprisingly simple and super important for healthy plant growth. You can easily set your grow lights on a timer using a basic electrical timer or a smart plug. These devices automatically turn your lights on and off, ensuring your plants get the consistent light cycles they need to thrive. No more guessing or manual flipping!
Giving your plants the right amount of light is key to their development. Without a timer, inconsistent light can confuse them, leading to stunted growth or other issues. Research shows that a predictable light schedule helps plants regulate their natural processes, just like in nature. So, a timer isn’t just a convenience; it’s a vital tool for successful indoor gardening and can save you from a lot of plant-related stress.
TL;DR:
- Use an electrical timer or smart plug.
- Set it to match your plants’ light needs.
- Consistency is key for plant health.
- Timers prevent guesswork and plant stress.
- Save time and ensure better growth.
Ready to get your grow lights on a schedule? Let’s walk through exactly how to set up a timer step by step. Ready to get your grow lights on a schedule? Let’s walk through exactly how to set up a timer step by step.
Automating Your Grow Lights: A Simple Setup Guide
Getting your grow lights on a schedule is a **super easy win** for your plants. You essentially want to mimic the natural day and night cycles. Your plants need periods of light for photosynthesis. They also need darkness for other important growth processes. A timer is your magic wand for this. It takes the guesswork out of it all. You won’t have to remember to flick switches. This means your plants get the **consistent light they crave**. This consistency is vital for preventing stress and promoting robust growth.
Choosing the Right Timer for Your Setup
When it comes to timing your grow lights, you’ve got a couple of main options. Each has its own benefits. Let’s look at what’s available. We’ll help you pick the one that best fits your needs and budget. It’s not a one-size-fits-all situation. Understanding your options is the first step to success.
Understanding Basic Electrical Timers
These are the old-school heroes of the timer world. They’re simple, reliable, and usually very affordable. You plug the timer into the wall outlet. Then, you plug your grow light into the timer. Most of these timers have little pegs or buttons. You set these pegs to tell the timer when to turn on and off. Think of it like setting an old alarm clock. You’re creating a schedule by **physically setting the times**. They’re fantastic for beginners and for basic setups. You can control multiple lights if they’re plugged into a power strip that then plugs into the timer. Just make sure the timer can handle the total wattage. We found that most basic timers can handle up to 15 amps, which is plenty for most home grow setups (Electrical Safety Foundation International).
How to Set a Mechanical Timer
Setting up a mechanical timer is pretty straightforward. First, you’ll need to identify the pins or tabs on the side of the timer. These are what control the on/off schedule. Each pin usually represents a set amount of time, often 30 minutes or an hour. You’ll push in the pins for the times you want your light to be OFF. You’ll leave the pins out for the times you want the light to be ON. Most timers have a dial that rotates. This dial shows a 24-hour cycle. You’ll turn this dial until the current time is at the indicator mark. Then, you adjust the pins to match your desired light cycle. For example, if you want your lights on for 16 hours and off for 8 hours, you’ll set the pins accordingly. Many people run a 16/8 or 18/6 light schedule for vegetative growth. For flowering, a strict 12/12 schedule is often used (University Extension Office).
Don’t be afraid to experiment a little with the pins. If you accidentally set it wrong, you can just adjust them. The goal is to create a cycle that your plants will love. It’s like giving them a perfectly timed day. This simple act can make a **big difference** in their health and growth.
Exploring Smart Plugs and Wi-Fi Timers
Smart plugs are the modern upgrade. They offer more flexibility and control. You plug the smart plug into the wall. Then, you plug your grow light into the smart plug. You control the timer via a smartphone app. This app lets you set detailed schedules. You can often create different schedules for different days. Some even let you control the lights remotely. This is great if you’re away from home. You can also monitor energy usage with some smart plugs. This can help you keep your electricity bills in check. Many offer features like sunrise/sunset simulations. This can be incredibly beneficial for your plants. They mimic natural light changes.
Setting Up a Smart Plug Timer
Setting up a smart plug usually involves a few easy steps.
- Download the app associated with your smart plug brand.
- Create an account and connect the smart plug to your Wi-Fi network.
- Follow the app’s prompts to set your desired on/off times.
- You can usually set recurring schedules for each day of the week.
- Some apps allow for custom routines, like dimming or random on/off to deter pests.
Why Consistency is Key: The Plant’s Perspective
Imagine you’re trying to sleep, but your lights are constantly turning on and off. It would be pretty disruptive, right? Plants experience something similar. They have internal clocks called circadian rhythms. These rhythms are set by light and dark cycles. When these cycles are unpredictable, it confuses the plant. This confusion can lead to several problems. Stunted growth is common. Some plants might even delay flowering or produce fewer blooms. We found research indicating that consistent photoperiods (light/dark cycles) are essential for plant development stages, including germination, vegetative growth, and flowering (National Gardening Association).
Common Light Schedules and What They Mean
Different plants have different needs. Most common houseplants and vegetables in their vegetative stage thrive under longer light periods. An 18 hours on, 6 hours off (18/6) schedule is very popular. This gives them ample time to photosynthesize. Some growers even use a 24/0 schedule, meaning lights are always on. However, many experts suggest that plants also need a dark period to perform certain metabolic functions. For flowering plants, especially cannabis, a strict 12 hours on, 12 hours off (12/12) schedule is critical. This darkness period signals to the plant that it’s time to bloom. Without that uninterrupted dark period, flowering might not occur or could be of lower quality. It’s always best to research the specific needs of your plants. A good starting point is often to look up the “natural habitat” of your plant. This can give you clues about their ideal light cycles. Different plants have different light needs depending on their growth stage.
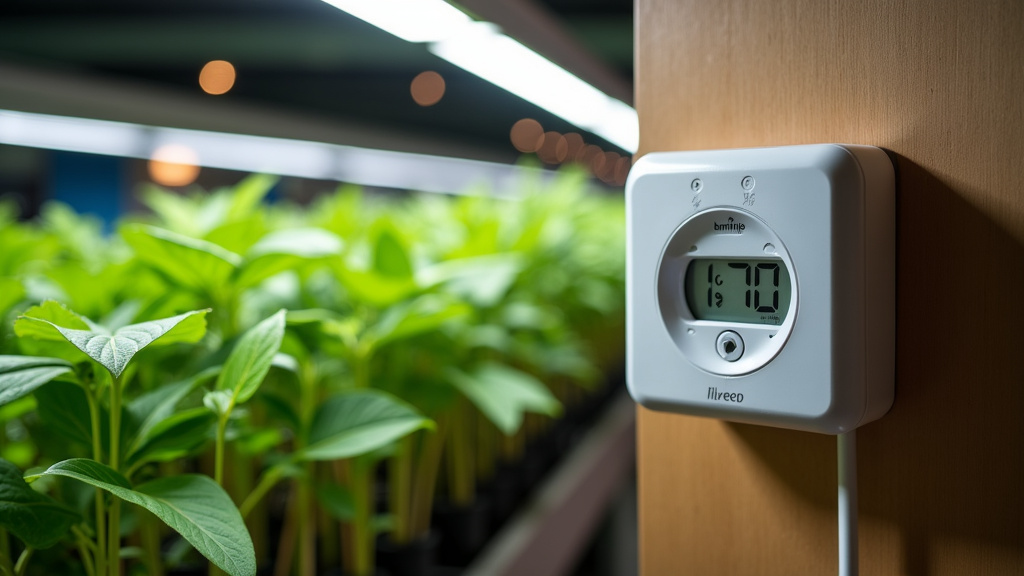
Putting Your Timer to Work: Step-by-Step
Now that you know your options, let’s get down to setting things up. It’s easier than you think! We’ll break it down into simple steps to ensure you don’t miss a beat. Remember, precision isn’t as important as consistency here. Your plants will thank you for the regular routine.
Step 1: Determine Your Plants’ Light Needs
This is the most important pre-setup step. You need to know how much light and dark your specific plants require.
- Research your plant species: Are they seedlings, in the vegetative stage, or flowering?
- Note the hours of light (photoperiod): Many plants need 14-18 hours of light for growth.
- Note the hours of darkness: For flowering, an uninterrupted 12 hours of darkness is often necessary.
Step 2: Connect Your Timer and Light
This step is where you physically set up the hardware.
- For an electrical timer: Plug the timer into your wall outlet. Then, plug your grow light (or a power strip with your lights) into the timer’s outlet.
- For a smart plug: Plug the smart plug into your wall outlet. Then, plug your grow light into the smart plug.
Step 3: Program Your Desired Schedule
This is where you tell the timer exactly when to turn your lights on and off.
- Mechanical Timer: Follow the instructions for your specific timer to set the ON and OFF pins for your chosen schedule. Rotate the timer dial to align with the current time.
- Smart Plug: Open the associated app on your smartphone or tablet. Navigate to the scheduling or timer section. Input your desired ON and OFF times, and set it to repeat daily or on specific days of the week.
Step 4: Test and Monitor
It’s a good idea to test your setup. Turn the timer on manually to see if the light comes on. Then, wait until the scheduled off time to ensure it turns off. Watch your plants for a few days. Look for signs of stress. This could include wilting, yellowing leaves, or stunted growth. If you notice any issues, it might be time to **adjust your light schedule**. Your plants are the best indicators of whether your timer is set correctly. They’ll let you know if something isn’t quite right.
Troubleshooting Common Issues
Sometimes things don’t go exactly as planned. Don’t worry, most issues are easily fixable.
- Light not turning on/off: Check that the timer is properly plugged in. Ensure the power outlet is working. For mechanical timers, check that the pins are set correctly. For smart plugs, verify your Wi-Fi connection and app settings.
- Timer not holding schedule: If using a mechanical timer, ensure it’s receiving power. Some older timers might need a battery backup. For smart plugs, ensure it’s always connected to Wi-Fi and has power.
- Plants showing stress: Revisit your light schedule. Are the timings accurate? Is the duration correct for your plant species? You might need to adjust the ON/OFF times.
Conclusion
You’ve now learned how to easily set a timer for your grow lights, whether you choose a simple electrical model or a modern smart plug. Automating your light cycles is a straightforward way to ensure your plants get the consistent light and dark periods they need to thrive. This consistency prevents plant stress and supports healthy growth stages. Don’t overthink it; the goal is predictability for your plants. Your next step is to pick the timer that best suits your setup and start programming your plants’ perfect day and night!
Frequently Asked Questions
What happens if I don’t use a timer for my grow lights?
Without a timer, your light schedule will be inconsistent. This can confuse your plants, leading to stunted growth or other health issues. Plants rely on predictable light and dark cycles for their natural development.
Can one timer control multiple grow lights?
Yes, you can control multiple lights with a single timer, but you need to be careful. Plug all your lights into a heavy-duty power strip, and then plug that power strip into the timer. Ensure the timer’s wattage capacity can handle the total load of all connected lights.
How do I know what light schedule is best for my plants?
Research your specific plant species. Look for information on their needs during different growth stages (seedling, vegetative, flowering). Many common plants do well with 16-18 hours of light, while flowering often requires a strict 12 hours of darkness.
Do smart plugs offer any advantages over basic electrical timers?
Smart plugs offer more convenience and flexibility. You can control them remotely via a smartphone app, set custom schedules, and some even offer features like sunrise/sunset simulations. This allows for fine-tuning and remote adjustments.
What should I do if my plants look stressed after setting up the timer?
If your plants show signs of stress like yellowing leaves or wilting, review your timer settings. Double-check that the ON and OFF times are correct and that the total light duration matches your plant’s needs. Adjust the schedule as needed.
