
How to Grow Orchids Indoors Successfully?
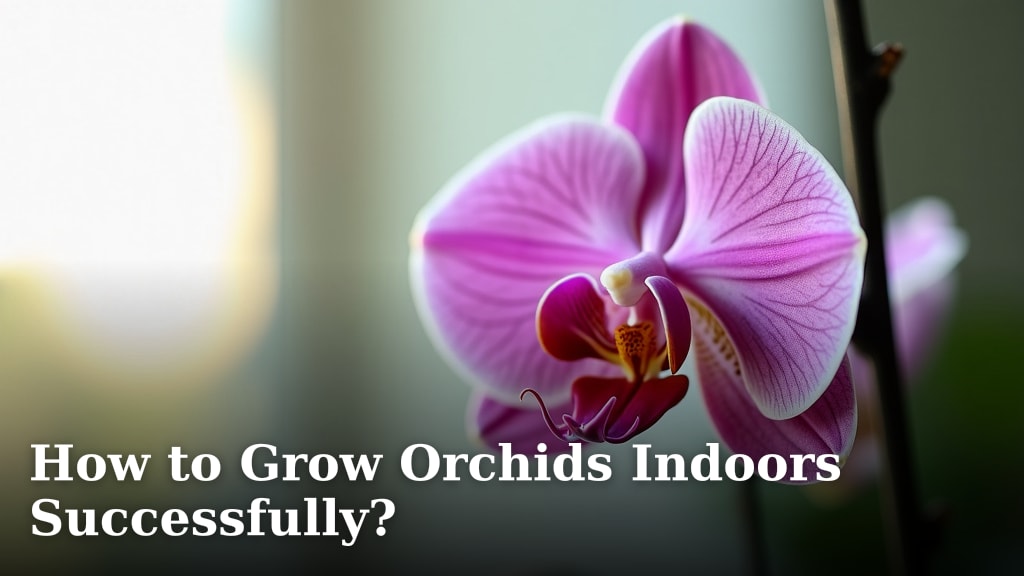
To successfully grow orchids indoors, you need to mimic their natural tropical environment by providing the right balance of light, humidity, and proper watering techniques.
Many people think orchids are hard to grow, but with a few simple adjustments, you can keep these beautiful plants thriving in your home. We found that understanding their basic needs makes all the difference.
- Choose the right orchid type for beginners.
- Give your orchid plenty of indirect sunlight.
- Water correctly, avoiding soggy roots.
- Maintain good humidity around your plant.
- Feed your orchid regularly during growth.
Are you ready to turn your home into an orchid paradise? Let’s walk through exactly how to care for these stunning plants, step by step.
Setting Up Your Indoor Orchid Oasis
Transforming your home into a perfect spot for orchids is simpler than you might think. We’ve seen that understanding their needs for light, water, and humidity really helps them thrive. You’ll want to think about where your orchid will live and what kind of “house” it needs. Think of it like creating a mini-ecosystem tailored just for them.
Choosing the Right Orchid for Beginners
Not all orchids are created equal, especially for new growers. Some varieties are much more forgiving and easier to care for than others. We recommend starting with a popular, less demanding type. This way, you build confidence and learn the basics without too much frustration.
Phalaenopsis: The Beginner’s Best Friend
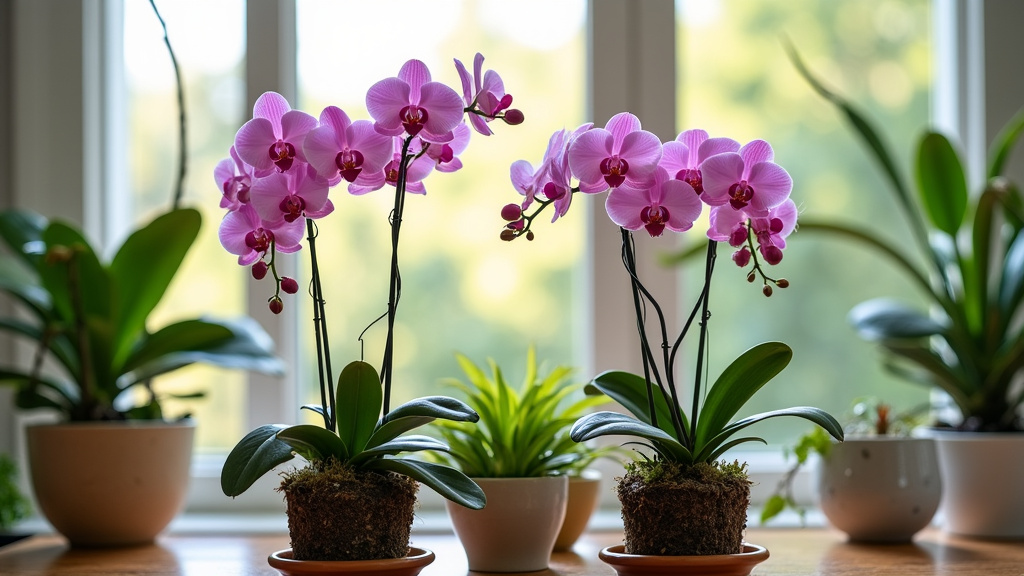
If you’re just starting, the Phalaenopsis orchid, also known as the Moth Orchid, is your go-to. You’ve probably seen these beautiful plants at your local grocery store or garden center. They are widely available and tolerate a wider range of conditions than many other orchids. Their lovely blooms can last for months, making them a very rewarding choice. We found that their care requirements are pretty straightforward, which is a big plus.
- Easy to find and buy.
- Tolerant of common indoor conditions.
- Blooms last a very long time.
Other good choices for beginners include the Cattleya and Dendrobium varieties, but Phalaenopsis remains the top recommendation. They are less sensitive to minor watering mistakes or humidity fluctuations. Starting with one of these helps ensure your first orchid experience is a positive one.
The Goldilocks Zone: Light Requirements
Light is super important for your orchid’s health and bloom production. They need just the right amount – not too much, not too little. Too much direct sun can scorch their leaves, leaving ugly brown spots. Too little light means no blooms and weak growth. It’s all about finding that perfect balance, the “Goldilocks Zone” as we like to call it.
Most orchids, especially Phalaenopsis, prefer bright, indirect light. Think of the light filtering through a sheer curtain or coming from a north- or east-facing window. A west-facing window can work too, but you might need to move the plant back from the glass or use a sheer curtain to diffuse the afternoon sun. We found that morning sun is gentler and usually ideal.
- Bright light without direct sunbeams.
- North or east-facing windows are often best.
- Watch for yellowing leaves (too much sun) or dark green leaves with no blooms (too little sun).
If your home doesn’t have enough natural light, don’t worry! You can supplement with artificial grow lights. Many indoor gardeners use LED grow lights placed a foot or so above the plant. This helps mimic natural daylight hours and intensity, giving your orchid the energy it needs to flourish (University of Florida IFAS Extension).
Mastering the Art of Watering Orchids
This is where many new orchid parents get nervous. “How much water? How often?” are common questions. The key to successful orchid watering is understanding that they don’t like to sit in soggy soil. Their roots need air! In their natural habitat, they often grow on trees, so their roots are exposed and dry out quickly between rains. You need to simulate this drying period.
The “When In Doubt, Don’t” Rule
Overwatering is the number one killer of indoor orchids. When roots stay too wet, they can rot, which leads to plant death. A good rule of thumb is to water only when the potting mix feels dry. You can stick your finger about an inch or two into the mix to check. Another reliable method is to lift the pot – a dry pot will feel significantly lighter than a watered one.
Many Phalaenopsis orchids are sold in clear plastic pots, which is very helpful! You can actually see the roots. When they are healthy and watered, they look plump and green. As they dry out, they turn a silvery-white color. This is your cue to water!
The Soak and Drain Method
When it’s time to water, give your orchid a good, thorough drink. Place the pot in a sink and run lukewarm water through the potting mix for several minutes until it flows freely from the drainage holes. You can also let the pot sit in a bowl of water for about 10-15 minutes to allow the mix to absorb moisture from the bottom up. We found this method works really well for ensuring the entire root ball gets hydrated. After watering, make sure all excess water drains away. Never let your orchid sit in standing water in its decorative pot or saucer.
The frequency of watering depends on several factors: the type of orchid, the potting mix, humidity levels, and temperature. Generally, you might water once every 7-10 days, but always check the pot first. You might water more often in warmer, drier conditions and less often in cooler, more humid environments.
The Importance of Humidity and Air Circulation
Orchids love humidity! They come from tropical and subtropical regions where the air is naturally moist. Indoor environments, especially with heating or air conditioning, tend to be very dry. Providing adequate humidity is crucial for healthy leaves and blooms. We found that a lack of humidity often causes flower buds to dry up and drop before opening.
Boosting Humidity Around Your Orchid
There are several ways to increase humidity. One popular method is using a humidity tray. This is a shallow tray filled with pebbles and water. Place your orchid pot on top of the pebbles, making sure the bottom of the pot doesn’t touch the water. As the water evaporates, it creates a more humid microclimate around your plant. This simple trick makes a big difference.
Another option is a room humidifier. This is particularly useful if you have multiple orchids or other humidity-loving plants. Misting your orchid leaves is often suggested, but we found that while it provides a temporary boost, it’s usually not enough on its own and can sometimes lead to bacterial or fungal issues if water sits on the leaves for too long (American Orchid Society).
Good air circulation goes hand-in-hand with humidity. Stagnant, humid air can encourage fungal diseases. A gentle fan in the room can help move air around, preventing problems while still allowing humidity to build. Think of a light breeze in a rainforest – that’s what your orchid likes.
Feeding Your Orchid: Nutrition for Blooms
Like all living things, orchids need nutrients to grow and produce those stunning flowers. They aren’t heavy feeders, but regular fertilization during their growth cycle is essential. We found that inconsistent feeding can lead to fewer blooms or weaker plants.
Use a specialized orchid fertilizer. These are formulated to meet the specific needs of orchids, which differ from regular houseplants. Many growers use a “weakly, weekly” approach, meaning they fertilize at a quarter or half strength every time they water during the plant’s active growth phase. Always follow the instructions on your chosen fertilizer bottle, as concentrations can vary widely.
During the orchid’s resting period (often after blooming), you can reduce or stop fertilizing. Think of it like taking a little break. Resume feeding when you see new growth, like fresh leaves or roots appearing. It’s better to under-fertilize than over-fertilize, as too much fertilizer can burn the roots.
Potting Mix and Repotting Best Practices
The right potting mix is critical for orchid health. Unlike most houseplants that grow in soil, orchids need a chunky, well-draining medium that allows for plenty of airflow around their roots. This mimics their natural growth environment on trees. Standard soil will quickly suffocate their roots and lead to rot.
Most orchid mixes contain materials like fir bark, sphagnum moss, perlite, and charcoal. These components break down over time, so orchids need to be repotted every 1-2 years. You’ll know it’s time when the potting mix starts to look mushy, breaks down into fine particles, or if the roots are starting to grow out of the pot.
When repotting, choose a pot that is only slightly larger than the previous one, or even the same size if the root ball isn’t significantly bigger. Trim away any dead or mushy roots with sterilized scissors. Gently place the orchid in the new pot, spreading the roots, and fill with fresh potting mix. Don’t pack the mix too tightly; keep it airy. Repotting is a good opportunity to check on root health and give your orchid a fresh start.
Your Orchid Care Checklist
To help you keep track, here’s a quick list of things to remember for happy, blooming orchids:
- Provide bright, indirect light (north or east window).
- Water only when potting mix is dry to the touch.
- Ensure excellent drainage; never let pots sit in water.
- Boost humidity with a pebble tray or humidifier.
- Fertilize regularly during active growth with orchid food.
- Repot every 1-2 years into fresh, chunky orchid mix.
| Care Aspect | Ideal Condition for Most Orchids | What to Watch For |
|---|---|---|
| Light | Bright, indirect light | Yellow leaves (too much), dark green leaves/no blooms (too little) |
| Watering | When potting mix is dry (every 7-10 days) | Mushy roots (overwatering), shriveled leaves (underwatering) |
| Humidity | 50-70% ideal | Shriveled leaves, bud blast (buds drying up) |
| Temperature | 65-80°F (day), 60-70°F (night) | Leaf damage (too hot/cold), lack of growth |
| Potting Mix | Chunky, well-draining bark/moss mix | Roots rotting, plant instability, foul smell |
With these steps, you’re well on your way to enjoying beautiful, healthy orchids in your home. It’s about patience and observation. Your orchid will tell you what it needs if you learn to “listen” to its cues. Happy growing!
Conclusion
You now have all the tools to successfully grow orchids indoors. We’ve seen that understanding their specific needs for light, water, humidity, and nutrition makes all the difference. Don’t be intimidated; orchids are more forgiving than you might think!
By mimicking their natural environment, you’re setting your beautiful plants up for success. We found that consistent care and a little observation will lead to stunning blooms. So, pick out your first Phalaenopsis, and get ready to enjoy the rewarding journey of orchid parenting!
Frequently Asked Questions
How can I tell if my orchid needs water?
The best way is to feel the potting mix; if it feels dry an inch or two down, it’s time to water. For orchids in clear pots, look at the roots: if they’re silvery-white, they need water. If they’re green, they’re hydrated.
My orchid isn’t reblooming. What could be wrong?
Lack of reblooming is often due to insufficient light. Ensure your orchid receives bright, indirect light. Sometimes, a slight drop in nighttime temperature can also trigger blooming in certain varieties.
Can I use regular potting soil for my orchid?
No, absolutely not. Regular potting soil is too dense and will suffocate your orchid’s roots, leading to root rot. Orchids need a specialized, chunky mix like bark, sphagnum moss, or perlite to allow for proper airflow and drainage.
What are those silvery things on my orchid’s leaves?
Those are likely water spots, especially if you have hard water. While not harmful, you can wipe them off with a soft, damp cloth. Always avoid getting water in the crown (center) of the plant to prevent rot.
How often should I repot my orchid?
Most orchids, especially Phalaenopsis, benefit from repotting every 1 to 2 years. This is because the potting mix breaks down over time, losing its aeration and drainage properties. Repotting with fresh mix keeps roots healthy.
