
How to Grow Herbs Indoors Year Round?
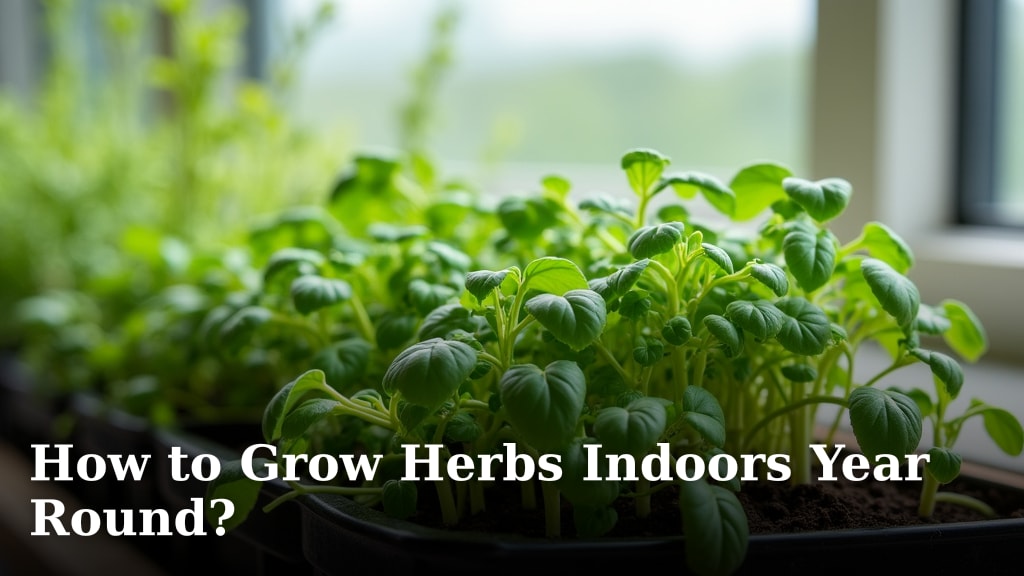
You can grow herbs indoors year-round by providing the right conditions. This means giving your plants enough light, water, and proper nutrients. With a little care, you’ll enjoy fresh herbs anytime you want, no matter the season. It’s easier than you might think!
Many people assume herb gardening is only for outdoor spaces or warmer months. We found that with a few simple techniques, you can easily bring your garden inside. Imagine adding fresh basil to your pasta in January! It’s all about creating an environment where your herbs feel happy and healthy.
- Choose the right herbs for indoor growing.
- Ensure proper lighting, often with grow lights.
- Provide consistent watering and good drainage.
- Fertilize your herbs occasionally.
- Harvest correctly to encourage growth.
Let’s walk through exactly how you can turn your home into a thriving indoor herb garden, step by step.
Cultivating Your Indoor Herb Garden All Year Long
Transforming your home into an herb haven is totally achievable. You’re aiming to recreate the ideal outdoor conditions inside. Think about what herbs love outdoors: plenty of sunshine, good soil, and consistent care. We can replicate much of that indoors, meaning you can have fresh flavors always at hand.
Selecting the Right Herbs for Indoor Life
Not all herbs are created equal when it comes to indoor growing. Some are super chill and happy in a pot on your windowsill. Others are a bit more demanding and need extra attention. Choosing the right ones sets you up for success from the start.
Beginner-Friendly Herbs
If you’re just starting, pick herbs that are known to be forgiving. We found that these varieties are excellent for newcomers. They tolerate slightly less-than-perfect conditions and still thrive. You’ll build confidence with these easy growers.
- Basil: Loves warmth and sunshine. Keep it away from cold drafts.
- Mint: Grows like crazy, sometimes too much! It’s best to keep mint in its own pot because it can take over.
- Chives: Simple to grow from seed or a small plant. They bounce back quickly after harvesting.
- Oregano: A hardy herb that doesn’t mind a bit of neglect. It’s quite resilient.
- Parsley: Flat-leaf or curly, both do well indoors. It just needs consistent moisture.
More Demanding (But Rewarding) Herbs
Once you’ve got a few successes under your belt, you might want to try these. They might need a bit more light or specific watering. Still, the reward of fresh rosemary or thyme is totally worth it.
- Rosemary: Needs lots of light and good air circulation. Don’t overwater it.
- Thyme: Prefers bright light and slightly drier soil. It’s delicate but flavorful.
- Dill: Tends to stretch out and needs ample light. It’s beautiful but can be finicky.
The Pillars of Indoor Herb Success
Every living thing needs certain basics to survive, right? For indoor herbs, it boils down to a few critical factors. Get these right, and your herbs will flourish. Think of it as creating their own personal spa environment.
Lighting: Your Herbs’ Daily Sunshine Dose
This is probably the most important factor for indoor herbs. Most herbs are sun-worshippers! They need lots of bright light to grow strong and flavorful. A weak light source means weak, leggy plants. Think about where your natural light comes from.
Natural Light: Window Placement
A south-facing window is usually your best bet. It offers the most daylight hours and intensity. East or west-facing windows can work too, but might provide less direct light. North-facing windows rarely offer enough light for most herbs, we’ve found.
- Aim for 4-6 hours of direct sunlight daily.
- Rotate your pots every few days. This helps your plant grow evenly toward the light.
- Watch for signs of insufficient light: leggy, pale stems.
Artificial Light: Grow Lights to the Rescue
Even with a sunny window, natural light often isn’t enough, especially in winter. This is where grow lights become your best friend. They can provide the consistent, intense light your herbs crave. Many experts agree that grow lights are essential for year-round indoor herb growing (Gardening Know How).
| Light Type | Pros | Cons |
|---|---|---|
| LED Grow Lights | Energy-efficient, low heat, long lifespan, customizable spectrum. | Higher initial cost. |
| Fluorescent Grow Lights (T5) | Affordable, good for starting seeds and leafy greens, lower heat. | Less intense than LEDs, bulbs need replacing. |
| Incandescent Bulbs | Very cheap. | Produce too much heat, inefficient, not suitable for plant growth. |
We found that LED or T5 fluorescent grow lights are the most practical choices for home growers. Place lights about 6-12 inches above your plant tops. Use a timer to give your herbs 12-16 hours of “daylight” per day.
Watering Wisely: Not Too Much, Not Too Little
Getting watering right is crucial. Overwatering is a common killer of indoor plants. Underwatering is also bad, but plants usually bounce back from that more easily. It’s a delicate balance, like cooking that perfect steak – you want it just right.
- Always use pots with drainage holes. This is non-negotiable.
- Water when the top inch of soil feels dry to the touch. Stick your finger in there!
- Water thoroughly until you see water drain from the bottom. Discard excess water.
- Don’t let pots sit in standing water. This can lead to root rot (Penn State Extension).
- Adjust watering frequency seasonally. Herbs often need less water in winter.
Soil and Nutrition: Fueling Growth
Just like we need good food, your herbs need good soil and some nutrients. The soil provides stability and holds water and nutrients. Good soil makes a huge difference in plant health.
Potting Mix Matters
Don’t just grab any old dirt from outside. Use a high-quality potting mix designed for containers. We found that a good mix offers excellent drainage while retaining some moisture. Look for mixes that are light and airy, often containing perlite or vermiculite.
- Start with a fresh bag of potting mix. It’s often sterile, reducing pest issues.
- Avoid garden soil, which can compact in pots and introduce diseases or pests.
Feeding Your Herbs
Potting mixes usually contain some nutrients, but they get used up over time. After a few months, your herbs will get hungry. A little fertilizer gives them a boost, much like a vitamin for you.
- Use an all-purpose liquid fertilizer, diluted to half or quarter strength.
- Fertilize every 2-4 weeks during active growth (spring and summer).
- Reduce or stop fertilizing in winter when growth slows down.
- Always apply to moist soil to avoid burning the roots.
Temperature and Humidity: Cozy Climates
Most herbs are happy at room temperature, around 65-75°F (18-24°C). Avoid extreme temperature swings. Think about where you’d be comfortable; your herbs probably feel the same way. Drafts from windows or vents can stress them out.
Many herbs also appreciate a bit of humidity, especially in dry indoor environments (Kansas State University). Consider placing plants on a pebble tray filled with water, or grouping them together. A small humidifier nearby can also help.
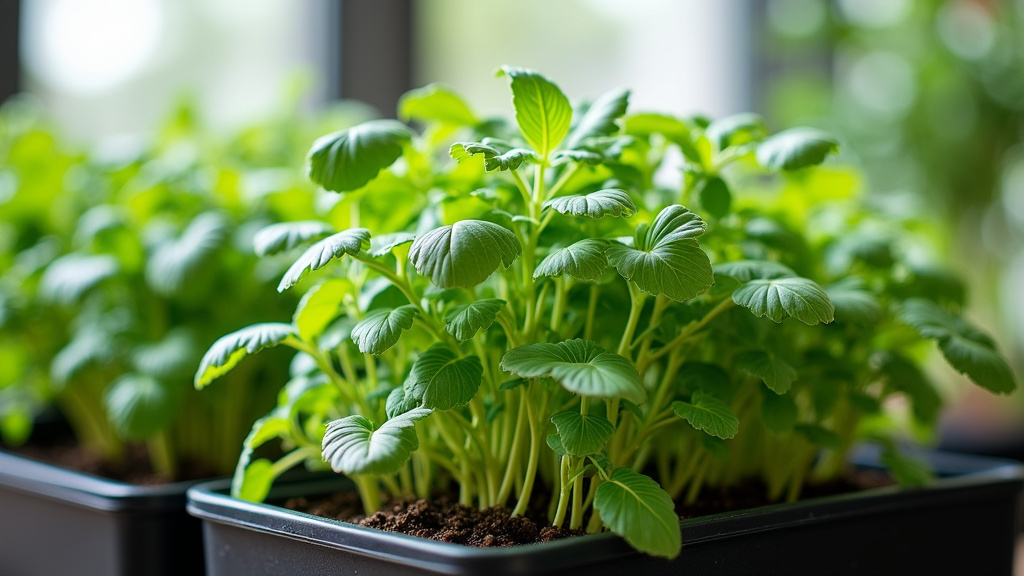
Ongoing Care and Harvesting for Continued Growth
Growing herbs isn’t just about planting them and walking away. Regular care ensures they stay productive and healthy. Think of it as a continuous conversation with your plants; you give them what they need, and they give you delicious herbs.
Pruning and Pinching: Encouraging Bushiness
This is where you become the plant’s stylist. Pruning and pinching don’t just keep your plants tidy; they make them grow fuller. When you snip off the top, the plant makes new growth from the sides. It’s counter-intuitive but works wonders! A bushier plant means more leaves to harvest.
- Pinch off flower buds: Unless you want seeds, remove flower buds as soon as you see them. Flowering can change the leaf flavor and signal the plant to stop producing leaves.
- Trim regularly: Don’t be afraid to snip away! Take about one-third of the plant’s height at a time.
- Focus on outer leaves first for most herbs. For basil, pinch off the top sets of leaves.
Pest Patrol: Keeping Critters Away
The bad news: indoor plants can still get pests. The good news: indoor pests are often easier to spot and manage. Regularly inspecting your plants for uninvited guests is key. It’s like checking for dust bunnies under the couch; a little check goes a long way.
- Inspect leaves regularly: Look on the tops and undersides for tiny bugs or sticky residue.
- Common pests: Aphids, spider mites, and whiteflies are typical culprits.
- Gentle solutions: A strong spray of water can dislodge many pests. Insecticidal soap is also very effective and safe for edible plants.
- Isolate new plants: Keep any new additions away from your existing herbs for a week or two to make sure they aren’t carrying hitchhikers.
Harvesting Your Hard Work
This is the fun part – enjoying the fruits (or in this case, leaves) of your labor! Proper harvesting encourages your plant to produce even more. It’s a win-win.
- Harvest frequently: Don’t wait until the plant is huge. Regular, light harvesting is better than one big chop.
- Use sharp scissors or snips: Clean cuts heal faster and reduce stress on the plant.
- Harvest in the morning: Many believe herbs have the best flavor and aroma in the morning after the dew has dried.
- Don’t take too much: Never harvest more than one-third of the plant at once. It needs leaves to continue photosynthesis and grow.
Your indoor herb garden checklist:
- Choose suitable herbs for indoor growing.
- Provide 6+ hours of bright light (supplement with grow lights).
- Water consistently when the top inch of soil is dry.
- Use well-draining potting mix.
- Fertilize lightly during active growth.
- Prune regularly to encourage bushiness.
Conclusion
Growing herbs indoors all year is completely within your reach. By focusing on adequate light, consistent watering, and proper nutrients, you’ll create a thriving indoor garden. Remember that a little attention to detail goes a long way in keeping your herbs happy and productive. We’ve found that the effort truly pays off with a continuous supply of fresh, flavorful herbs.
Don’t wait for warmer weather to enjoy your favorite herbs. Start small with a basil plant or some chives, and soon you’ll be adding fresh tastes to your meals every day. Your culinary adventures are about to get a whole lot greener and more delicious!
Frequently Asked Questions
Can I grow all types of herbs indoors year-round?
While many herbs adapt well to indoor conditions, some are more challenging than others. We found that Mediterranean herbs like rosemary and thyme often require more intense light and drier conditions. Focus on beginner-friendly options first to build your confidence.
How do I know if my herbs are getting enough light indoors?
Look for signs like pale, leggy stems and slow growth, which often indicate insufficient light. If your herbs are stretching towards the window or have smaller, paler leaves, they likely need a stronger light source. Consider supplementing with a good quality grow light.
What’s the best way to prevent pests on indoor herbs?
Regular inspection is your best defense against pests. Check the tops and undersides of leaves frequently for any tiny bugs or sticky residue. If you spot pests, a gentle spray of water or an application of insecticidal soap (diluted as per instructions) can effectively manage them.
How often should I fertilize my indoor herbs?
During their active growing periods (typically spring and summer), fertilize your indoor herbs every 2-4 weeks. Use a diluted, all-purpose liquid fertilizer to avoid overfeeding, and always apply it to moist soil. Reduce or stop fertilizing in the fall and winter when growth naturally slows.
My herbs are flowering; what should I do?
Pinch off any flower buds as soon as you see them. Flowering often signals the end of the plant’s leaf production cycle and can change the flavor of the leaves. Removing buds encourages the plant to put its energy back into producing more foliage, keeping it bushy and flavorful.
