
How to Build a DIY Grow Light Shelf?
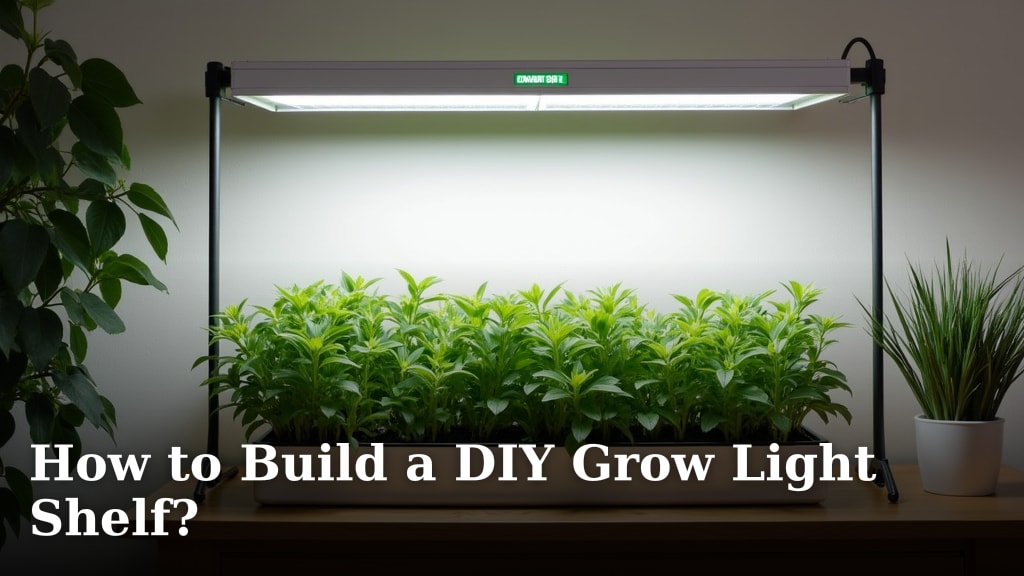
Building your own DIY grow light shelf is a fantastic way to give your plants the light they need. You can create a custom setup that fits your space and budget perfectly. This project is totally achievable, even if you’re new to DIY projects.
We found that many home gardeners struggle with finding affordable and effective lighting solutions. A DIY grow light shelf solves this problem by letting you control every aspect of your plant’s environment. It’s a smart choice for healthier plants and a more vibrant indoor garden.
- You can build a custom grow light shelf.
- It’s an affordable way to light your plants.
- Control your plants’ lighting needs easily.
- Perfect for any size indoor garden space.
Ready to get your hands dirty and build something amazing for your green friends? Let’s walk through exactly how to build your own DIY grow light shelf step by step.
Putting Together Your DIY Grow Light Shelf
Building your own grow light shelf is easier than you might think. You can create a custom setup that perfectly fits your plants’ needs and your available space. This project lets you control light intensity, spectrum, and duration. You’ll end up with a more efficient and affordable lighting solution than many store-bought options.
Step 1: Planning Your Grow Light Shelf Design
Before you grab any tools, let’s plan. Think about the size and type of plants you want to grow. Seedlings might need less intense light than mature fruiting plants. How much space do you have? Measure it carefully. This will determine the dimensions of your shelf and the number of lights you’ll need. We found that sketching out your design first saves a lot of time and potential mistakes later.
Choosing Your Materials
You’ll need some basic materials. Wood is a popular choice for the shelf structure. Pine or plywood are good, affordable options. You’ll also need shelving brackets, screws, and a way to attach your lights. For the lights themselves, consider LED grow lights. They are energy-efficient and come in various spectrums. We recommend looking for full-spectrum LEDs. They mimic natural sunlight well. We recommend looking for full-spectrum LEDs, as they mimic natural sunlight well.
Deciding on the Light Setup
How will you hang your lights? You can mount them directly to the underside of the shelf above. Or, you might want to create a separate frame for the lights. Some people use wire or chain to suspend them. This allows for height adjustment as your plants grow. Make sure your chosen method can securely hold the weight of the lights.
Step 2: Gathering Your Tools and Supplies
Once your plan is set, it’s time to gather everything you need. Having all your supplies ready makes the building process smooth. You don’t want to stop halfway through to run to the store. Here’s a checklist of common items you’ll likely need.
- Wood for the shelf and frame (cut to size if possible)
- Shelving brackets
- Screws (for wood and brackets)
- Drill and drill bits
- Saw (if you need to cut wood)
- Measuring tape
- Pencil
- Level
- LED grow lights
- Light hangers or mounting hardware
- Timer for your lights
- Wire nuts or electrical tape (if wiring yourself)
- Safety glasses and gloves
Step 3: Building the Shelf Structure
Now for the fun part – building! Start with the frame of your shelf. If you’re using simple shelves, attach your brackets to the wall first. Use a level to ensure they are straight. Then, place your shelf boards on the brackets and secure them with screws. If you’re building a freestanding unit, you’ll assemble the frame first. Then add the shelves. Research suggests that a sturdy frame is essential for safety and longevity.
Assembling the Frame and Shelves
For a wall-mounted shelf, mark where your brackets will go. Use a stud finder to locate wall studs for the strongest support. Secure the brackets to the studs. Place your shelf boards on the brackets and screw them down from the top. For a freestanding unit, you’ll be building a box-like structure. Connect vertical supports to horizontal ones. Then add the shelves. Always double-check that everything is square and level.
Step 4: Installing the Grow Lights
This is where your shelf truly becomes a grow light station. Decide where your lights will be positioned under the shelf. They should provide even coverage for the plants below. Many LED grow lights come with hanging kits. If yours don’t, you might need to get some S-hooks and chain. Ensure the lights are securely fastened. Consider the heat output of your lights; some LEDs produce very little heat, which is ideal. This allows for height adjustment as your plants grow, which is crucial for optimal light exposure.
Connecting Your Lights
If your lights plug into a standard outlet, the wiring is straightforward. You’ll just need to plug them in. If you’re building a more integrated system, you might need to connect multiple lights. Always follow the manufacturer’s instructions carefully. Many experts recommend using a timer. This ensures your plants get a consistent light schedule, which is vital for their growth cycle (National Gardening Association). A timer automates this process.
Step 5: Final Touches and Testing
Once everything is assembled and connected, it’s time for a final check. Ensure all screws are tight and the structure is stable. Plug in your lights and test the timer. Watch to make sure all the lights are working correctly. You want to be sure everything is safe and functional before you add your precious plants.
Safety First!
Electrical components and water don’t mix well. Make sure all wiring is neat and tucked away. Avoid letting cords dangle where they could be a hazard. If you’re unsure about any electrical work, it’s always best to consult with someone knowledgeable. Safety should always be your top priority. We found that organizing cords with zip ties or clips makes a big difference.
Understanding Light Requirements for Your Plants
Different plants have different light needs. Seedlings and leafy greens generally do well with moderate light. Fruiting plants like tomatoes or peppers require more intense light. Research the specific needs of the plants you intend to grow. The spectrum of light also matters. Blue light is good for vegetative growth, while red light encourages flowering and fruiting. Full-spectrum lights offer a good balance.
Light Intensity and Duration
Light intensity is often measured in PPFD (Photosynthetic Photon Flux Density). While this can be complex, for most home growers, choosing the right wattage and type of LED is a good starting point. The duration of light is also important. Most plants need 12-16 hours of light per day. A timer is your best friend here. It takes the guesswork out of light cycles. Many sources suggest avoiding lights that are too close or too far away. Aim for a distance that provides good coverage without scorching your plants.
Choosing the Right Grow Lights: LED vs. Fluorescent
We’ve focused on LEDs, and for good reason. LEDs are energy-efficient and produce less heat than older fluorescent or HID (High-Intensity Discharge) lights. This means lower electricity bills and less risk of burning your plants. Fluorescent lights, like T5s, are also a viable option, especially for seedlings and greens. They are generally less expensive upfront but may need replacing more often and use more energy. For a DIY shelf, LEDs offer a great balance of performance and cost over time. Studies show LEDs can last much longer than other types of grow lights (Horticultural Lighting Group).
| Type | Pros | Cons | Best For |
|---|---|---|---|
| LED | Energy-efficient, long-lasting, low heat output, customizable spectrums | Higher upfront cost | All stages of plant growth, seedlings to fruiting plants |
| Fluorescent (T5) | Lower upfront cost, good for seedlings and greens | Less energy-efficient than LEDs, shorter lifespan, can be bulky | Seedlings, microgreens, leafy greens |
Tips for Optimizing Your Grow Light Shelf
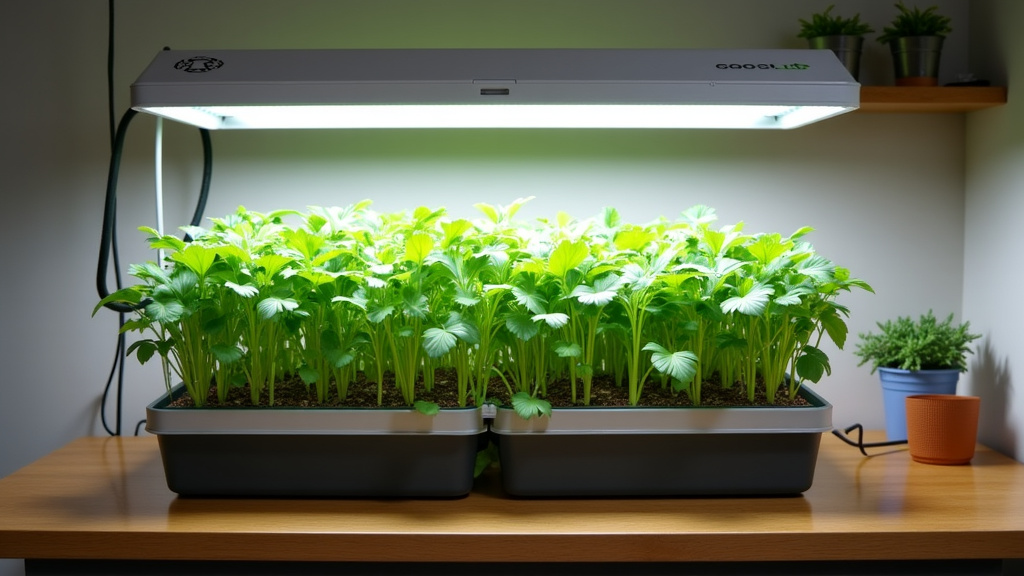
Once your shelf is built and your plants are under it, you can fine-tune. Observe your plants closely. Are they stretching towards the light? They might need more intensity or closer lights. Are the leaves showing signs of bleaching or yellowing? The lights might be too intense or too close. Adjusting the height of your lights is key. This is why adjustable hanging systems are so popular. Regularly clean your lights and shelves too. Dust can reduce light output. A clean setup leads to healthier plants.
Conclusion
You’ve learned how to build your own grow light shelf, giving your plants the light they need to thrive. This project offers a customizable and affordable solution for your indoor gardening. By following these steps, you’ve created a functional and attractive setup. Remember to observe your plants and make adjustments as needed. Now, go ahead and brighten your plants’ world with your fantastic new DIY grow light shelf!
Frequently Asked Questions
How much weight can a DIY grow light shelf hold?
The weight capacity depends on your materials and construction. Using sturdy wood and securing shelves into wall studs will provide the most support. Always use appropriate screws and brackets rated for the expected load. It’s wise to test the shelf’s stability before adding heavy equipment.
Can I adjust the height of the grow lights on my shelf?
Yes, adjustable lighting is a great feature! You can use chains, adjustable hangers, or simple pulley systems to suspend your lights. This allows you to easily change the light distance as your plants grow. Many pre-made kits are available for this purpose.
What’s the best type of wood to use for a grow light shelf?
For most DIY projects, pine or plywood are excellent choices. They are affordable and easy to work with. Plywood offers good stability. If you plan to place heavy pots on your shelf, consider using thicker boards or reinforcing the structure for extra strength.
Do I need a special timer for LED grow lights?
No, standard outlet timers work perfectly with most LED grow lights. You just plug the light into the timer, and the timer into the wall outlet. This automates your plants’ light cycle, ensuring they get consistent light without you having to flip switches manually.
How close should my grow lights be to my plants?
This varies by light intensity and plant type. Generally, start with lights about 6-12 inches above your plants. Observe your plants for signs of stress like yellowing or scorching (too close) or excessive stretching (too far away). Adjusting the height is key for optimal growth.
