How to Repot an Indoor Plant?
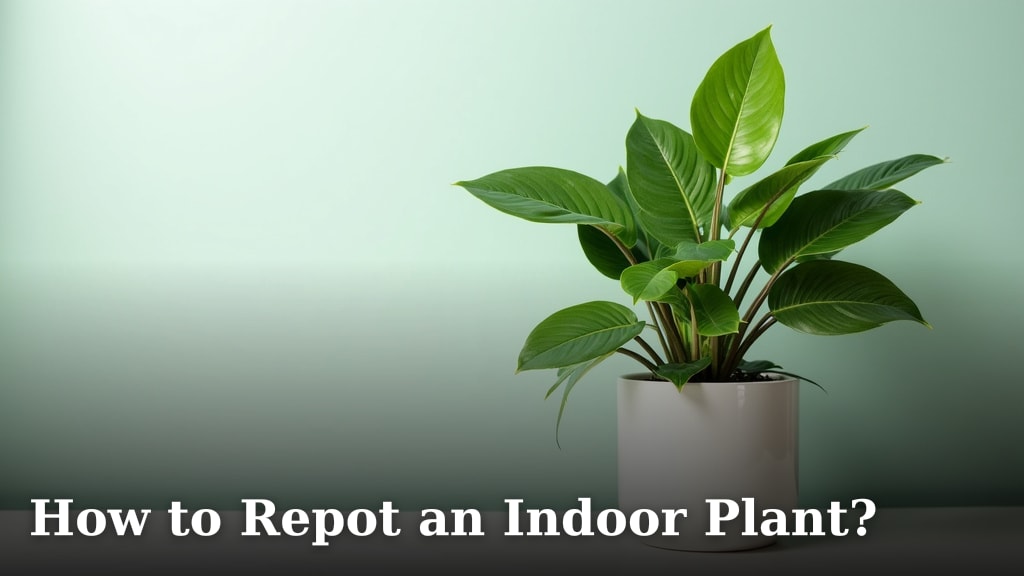
To repot an indoor plant, you should first choose a slightly larger pot with drainage holes, gently remove the plant, loosen its roots, and then place it in the new pot with fresh potting mix. This process helps your plant continue to grow happily and stay healthy.
You might be wondering when the right time is to give your leafy friend a new home. We found that most indoor plants need repotting every 12 to 18 months, or when they start looking a bit cramped in their current pot, like their roots are circling the bottom. It’s a simple act of care that can make a big difference for your plant’s long-term health and vibrance.
- Choose a pot that’s 1-2 inches wider.
- Gently remove your plant from its old pot.
- Inspect and carefully loosen the root ball.
- Add fresh potting mix to the new pot.
- Water thoroughly after repotting.
Ready to give your green buddy the upgrade it deserves? Let’s walk through exactly how to repot an indoor plant, step by step, ensuring a smooth transition for your beloved botanical companion.
Giving Your Indoor Plant a New Home
Repotting isn’t just about moving dirt; it’s about giving your plant room to grow and thrive. Think of it like upgrading to a bigger house! It’s a simple process, but some planning helps everything go smoothly for you and your leafy friend.
When to Know It’s Time to Repot
How do you know when your plant is ready for a new pot? Your plant will often send you signals. It wants to tell you, “Hey, I need more space!”
Are Roots Showing?
One of the clearest signs is seeing roots growing out of the drainage holes at the bottom of the pot. Sometimes, you’ll even see roots circling around the top of the soil surface. This means your plant has outgrown its current home.
You might also notice the plant looks top-heavy and unstable in its pot. Or perhaps its growth has just… stopped. Research shows that plants in too-small pots often become “root-bound,” meaning their roots are so tightly packed they can’t absorb water and nutrients effectively (University of Florida).
Checking the Soil
Another clue is how quickly the soil dries out. If you find yourself watering your plant much more often than before, or if the water runs straight through the pot without soaking in, it might be root-bound. The packed roots leave little room for soil to hold moisture.
Additionally, if your plant is showing signs of nutrient deficiency, like yellowing leaves despite regular feeding, it could be that the soil is depleted. Fresh soil provides a boost of nutrients that older soil often lacks.
Gathering Your Repotting Toolkit
Before you start, gather everything you’ll need. This makes the job quicker and less messy. It’s like preparing for a cooking project – having all your ingredients ready makes the recipe easier to follow.
- New pot: Choose one that’s 1-2 inches wider than the old one. We found that choosing a pot that’s too much larger can lead to overwatering issues. Always make sure it has drainage holes!
- Fresh potting mix: Not just any soil! Use a high-quality mix formulated for indoor plants. Some plants, like succulents, need special fast-draining mixes.
- Gloves: Protect your hands from soil and potential plant irritants.
- Small trowel or scoop: For moving soil.
- Pruners or scissors: For trimming roots if needed.
- Watering can: For giving your plant a good drink after repotting.
- Old newspaper or a tarp: To protect your work surface from dirt.
Choosing the Right Pot: Size and Material
The new pot is a big decision for your plant. It’s not just about aesthetics; it’s about providing the best environment for root growth and overall health.
Pot Size Matters
You might be tempted to go big, thinking more space is always better. However, a pot that’s too large can hold too much moisture. This can lead to root rot, which is bad news for your plant. We found that increasing the pot size by just 1-2 inches in diameter is usually perfect for most indoor plants. Taller plants might need a slightly larger jump, but generally, small increments are best. Large pots also take longer to dry out, making it harder to gauge when to water your plant again.
Pot Materials: Pros and Cons
Pot material plays a role in how your plant “breathes” and how often it needs water. Let’s look at the common choices:
| Material | Pros | Cons |
|---|---|---|
| Terracotta (Clay) | Porous, allows roots to breathe. Dries out quickly, good for plants that dislike wet feet. Heavy, stable. | Dries out quickly, requires more frequent watering. Can break easily. Heavy. |
| Plastic | Lightweight, inexpensive. Retains moisture well, good for plants that like consistent dampness. | Can lead to overwatering if not careful. Less breathable. Can become brittle over time. |
| Ceramic (Glazed) | Aesthetically pleasing. Retains moisture similar to plastic. | Heavy. Can be expensive. Less breathable than terracotta. |
| Grow Bags (Fabric) | Excellent aeration, prevents root circling. Lightweight. | Dries out very quickly. Can be less decorative. Best for temporary homes. |
Consider your watering habits and your plant’s specific needs when making your choice. Do you tend to overwater? Perhaps a terracotta pot is your friend. Forget to water? Plastic might be better.
The Repotting Process: Step-by-Step
You’ve got your tools, your new pot, and your plant is begging for an upgrade. Let’s get to it!
Prepare Your Work Area
Lay down your newspaper or tarp. This makes cleanup a breeze. Have your fresh potting mix ready and open. You don’t want to be fumbling with bags of soil when your plant is out of its pot.
Gently Remove Your Plant
This is where you need to be gentle. Turn the plant on its side, cradling the stem with one hand. With the other hand, gently tap the bottom and sides of the old pot. If it’s stubborn, you might need to run a knife around the inner edge of the pot. Many experienced gardeners recommend avoiding pulling the plant by its stem, as this can damage it. Instead, tease it out from the base.
Inspect and Loosen the Root Ball
Once the plant is out, you’ll probably see a tangled mass of roots – the “root ball.” This is normal! Carefully examine the roots. Are they brown and mushy? That could mean root rot, and you’ll want to trim those away. Healthy roots are usually white or light brown and firm.
Gently use your fingers or a small tool to loosen some of the outer roots. If they’re tightly circling, you can carefully uncoil them a bit. This encourages them to grow outwards into the new soil. If the roots are very dense, you might need to trim about 1/4 to 1/3 of the bottom roots to encourage new growth (Missouri Botanical Garden).
Add Fresh Soil to the New Pot
Place a layer of fresh potting mix at the bottom of the new pot. The amount depends on the size of your plant and how much space it needs. You want to make sure the top of the plant’s root ball will sit about an inch below the rim of the new pot. This leaves room for watering.
Position Your Plant
Center your plant in the new pot. Hold it steady with one hand while you use your other hand to fill in around the root ball with fresh potting mix. Gently tap the sides of the pot to help the soil settle. You want to avoid large air pockets, but don’t compact the soil too tightly. Roots need oxygen, too!
Final Touches and Watering
Once the pot is filled, leave about an inch of space from the top of the soil to the rim. This “headroom” is essential for watering. Give your repotted plant a thorough watering until water drains from the bottom. This helps settle the soil and provides much-needed hydration after the move.
Aftercare: Helping Your Plant Adjust
Repotting can be a bit of a shock for your plant. It’s like moving to a new house; there’s an adjustment period. Give it a little extra love for the first few weeks.
- Reduce light: Place your plant in an area with slightly less intense light for a week or two. Direct, harsh sunlight might be too much for its recovering roots.
- Hold off on fertilizing: Fresh potting mix usually contains enough nutrients for several weeks. Adding fertilizer too soon can burn sensitive, new roots.
- Monitor watering: Don’t assume the same watering schedule as before. Check the soil moisture regularly. Stick your finger into the soil. Water only when the top inch or two feels dry.
- Be patient: It might take a few weeks for your plant to show new growth or fully bounce back. Don’t worry if it looks a little droopy initially; this is often normal “transplant shock.”
Repotting is a significant act of care that can breathe new life into your indoor plants. By following these steps, you’re setting your green companions up for continued health and vibrant growth.
Repotting Checklist: Your Handy Guide
Here’s a quick recap to ensure you cover all your bases for a successful repotting!
- Gather all necessary supplies (new pot, soil, tools).
- Prepare a clean work surface.
- Gently remove your plant from its old pot.
- Inspect and carefully loosen the root ball.
- Add a base layer of fresh soil to the new pot.
- Center the plant and fill the pot with soil, leaving an inch of space.
- Water thoroughly until drainage occurs.
Conclusion
You’ve seen how a bit of planning and gentle care can transform your plant’s living situation. Repotting isn’t just about moving soil; it’s about giving your plant a new lease on life, ensuring its roots have the space and nutrients they need to flourish. By understanding the signs, gathering your tools, and following these steps, you’re becoming a more attuned plant parent.
Each time you repot, you’re investing in your plant’s future growth and vibrance. So, take a look at your indoor garden. Which leafy friend is ready for its upgrade? Your plants will thank you with healthier growth and lush foliage.
Frequently Asked Questions
How can I tell if my plant is in transplant shock?
If your plant looks a bit wilted or its leaves droop after repotting, it’s likely experiencing transplant shock. This is normal and usually temporary. Give it a few days in a slightly less bright spot to recover.
When should I fertilize my plant after repotting?
It’s best to wait at least 4-6 weeks before fertilizing your newly repotted plant. Fresh potting mix usually contains enough nutrients for this period, and fertilizing too soon can stress the roots.
Can I reuse the old potting mix?
We recommend using fresh potting mix when repotting. Old soil can be depleted of nutrients and might harbor pests or diseases. Fresh soil gives your plant the best start in its new home.
What if my plant’s roots are tightly wrapped (root-bound)?
If you find your plant is severely root-bound, gently tease apart about one-quarter to one-third of the dense roots. You can even trim some of the bottom roots to encourage new growth outwards into the fresh soil.
Should I water my plant before repotting?
Yes, watering your plant a day or two before repotting can help. This makes the soil and root ball easier to remove from the old pot. It also ensures the plant is hydrated, reducing stress during the process.